10 Clever Ways to Reuse Planters After Your Plants Die
Reusing planters after your plants die is an excellent way to reduce waste and get creative with your gardening. Here are some clever ways to repurpose planters:
Mini Herb Garden: Plant new herbs like basil, rosemary, or mint in the planter. Herbs are relatively easy to grow, and having fresh herbs on hand for cooking is always a useful and enjoyable option.
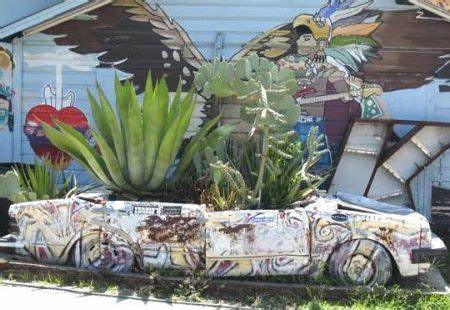
Succulent or Cactus Garden: Opt for low-maintenance succulents or cacti in your old planter. These plants are hardy and require minimal attention, making them perfect for busy or forgetful gardeners.
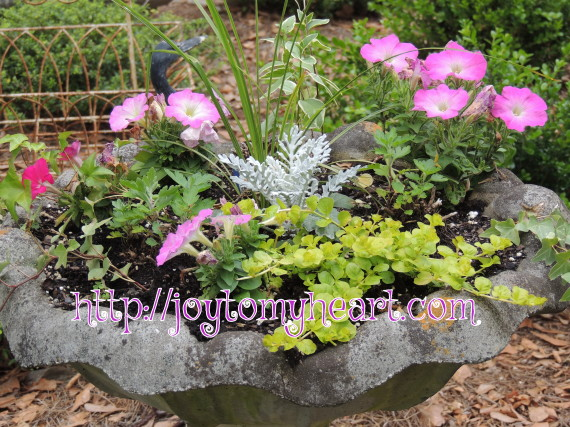
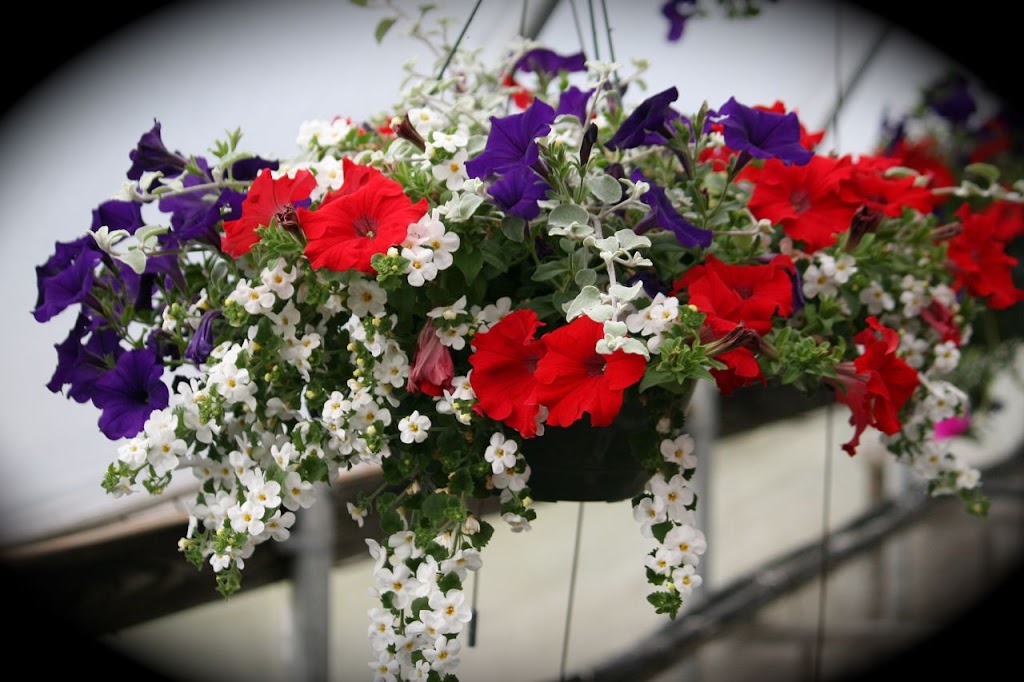
Flower Arrangements: Create seasonal flower arrangements in your planter. You can switch out the flowers according to the season, bringing a fresh burst of color to your space.
Indoor Water Garden: Turn the planter into a small indoor water garden with aquatic plants like water lilies, duckweed, or dwarf papyrus. This can add a serene and unique touch to your home.
Bird Feeder: Transform the planter into a bird feeder by filling it with birdseed. Hang it from a tree or place it on your patio, and enjoy watching the birds visit your garden.
Fairy Garden: Create a whimsical fairy garden using miniature accessories, small figurines, and tiny plants like moss and small ferns. This is a fun and imaginative way to reuse your planter.
Tea Garden: Plant herbs like chamomile, lavender, or lemon balm in your planter to create your own tea garden. Harvest the leaves and flowers to make soothing herbal teas.
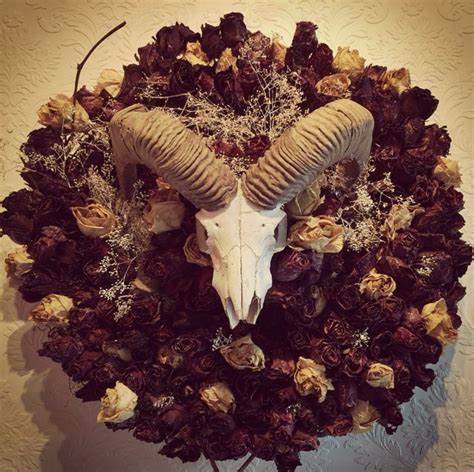
Succulent Wreath: Arrange succulents in a circular pattern on a wreath frame that fits the planter’s dimensions. Hang it on your front door for a unique and eye-catching decoration.
Storage Container: Use the planter as a stylish storage container. It can hold gardening tools, outdoor cushions, or even serve as a home for pet toys.
Table Centerpiece: Paint or decorate the planter to match your table decor and use it as a centerpiece. Fill it with candles, decorative stones, or seasonal items like pinecones.
Vertical Garden: Attach the planter to a wall or fence to create a vertical garden. This is a space-saving solution for growing flowers, herbs, or small vegetables.
DIY Fountain: With some modifications, your planter can become the base for a small water fountain. Add a small submersible pump, some decorative rocks, and water plants for a soothing water feature.
Painted Planter Art: Turn your old planters into pieces of art. Paint them with colorful designs, mosaics, or patterns and use them as outdoor or indoor decorations.
Kid’s Sandbox: If the planter is large enough, it can be filled with sand and become a small sandbox for children to play in.
Aromatherapy Planter: Plant fragrant herbs or flowers like lavender, jasmine, or rosemary in the planter to create a small aromatherapy garden. The scent can be soothing and calming.
Remember to clean and prepare the planter appropriately before repurposing it, and ensure it has proper drainage if needed for the new plants or use. Reusing planters not only helps the environment but also allows you to exercise your creativity and adaptability in your gardening endeavors.
Also Like :- 5 REASONS TO FORMULATE
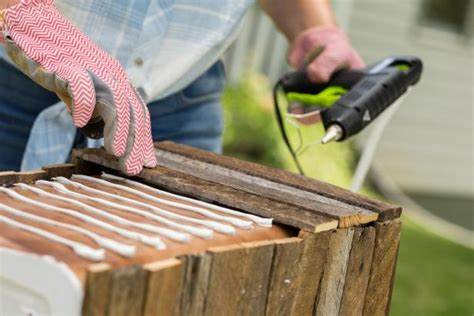
1. Light it up


“Light it up” is a colloquial expression that can have a few different meanings depending on the context. Here are a couple of interpretations:
Illuminate: If you’re asking to “light it up,” you might be asking someone to turn on the lights, light a lamp, or brighten a room or area.
Start a Fire: In a different context, “light it up” can mean to start a fire or ignite something, like lighting a campfire or a barbecue grill.
If you have a specific context or need more information related to this phrase, please provide more details, and I’d be happy to help further.
2. Turn it into a present

“Turn it into a present” means to transform or package something in a way that makes it suitable as a gift for someone. Here are some ideas on how to turn something into a present:
Wrap It: Place the item in a gift box or wrap it in decorative wrapping paper. Adding a bow or ribbon can enhance the presentation.
Personalize It: If the item can be customized or engraved, consider adding the recipient’s name or a special message to make it more personal.
Create a Gift Basket: If you have several smaller items, arrange them in a basket or container, and add some filler material like shredded paper or tissue paper. This works well for themed gifts.
Add a Card: Include a thoughtful card with a handwritten message expressing your well-wishes or sentiments.
Use Gift Bags: If you have an item that is difficult to wrap, place it in a decorative gift bag and add tissue paper for a polished look.
Decorate with Ribbons and Bows: Enhance the presentation with colorful ribbons and bows. You can attach these to the item or the wrapping.
Choose Appropriate Packaging: Consider the recipient’s preferences and the nature of the gift. For example, use a jewelry box for jewelry or a tin for cookies.
Themed Packaging: Tailor the presentation to the recipient’s interests or the occasion. For example, for a gardening enthusiast, you could use a flower pot as a “wrapping.”
Gift Wrap Services: Many stores and online retailers offer gift wrap services, where you can choose from various wrapping options and have the item sent directly to the recipient.
Presentation Matters: Pay attention to how you present the gift. A well-wrapped present with attention to detail can make the gift-giving experience more special.
Remember that the thought and effort you put into the presentation can make a gift even more meaningful to the recipient. It’s not just about the item itself, but how you present it that can create a memorable and enjoyable gift-giving experience.
3. Stash one in the guest room
It seems like you want to place or hide something in the guest room. Can you please provide more context or specify what you’d like to stash in the guest room? This will help me provide you with more detailed information or instructions.
4. Use them to bolster other plants
It sounds like you’re interested in using certain items or materials to support or strengthen other plants in your garden or indoor space. Commonly, people use materials like stakes, trellises, or supports to bolster plants, especially tall or climbing varieties. Could you provide more specific details about the items you’re considering or the types of plants you’d like to support? This information will help me provide you with more accurate guidance.
5. Corral little items

It sounds like you’re looking for a way to organize or group small items together. You can use containers, baskets, trays, or shelves to corral and keep little items neatly organized. If you have a specific situation or type of items in mind, please provide more details, and I can offer more tailored advice on how to corral those items effectively.
6. Mount one to the wall
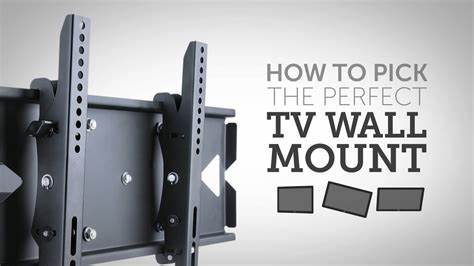
Certainly, it seems like you’re interested in mounting something to the wall. To do this, you’ll typically need the following materials:
Wall Anchors: These provide stability and support. The type of anchor you need depends on the wall material (drywall, plaster, concrete, etc.).
Screws: You’ll need screws appropriate for the wall anchors.
Tools: You’ll need a screwdriver, drill, or other tools for creating holes and securing the mount.
The Item to Be Mounted: Ensure it has the necessary fixtures or brackets to hang it securely.
Level: This ensures that your item is mounted straight.
Measuring Tape: For precise placement.
Here’s a general process for mounting something to the wall:
Measure and Mark: Use your measuring tape and a pencil to mark the precise location where you want to mount your item.
Drill Holes: If you’re using wall anchors, drill holes in the marked spots. Make sure the hole size matches the anchor size.
Insert Wall Anchors: Place the wall anchors into the holes.
Mounting: Attach the fixture or bracket on your item to the wall using screws and the anchors. Use a level to ensure it’s straight.
Secure: Tighten the screws until the item is securely mounted.
Double-Check: Make sure everything is stable and level.
Keep in mind that the specific steps may vary depending on the type of item you’re mounting and the wall material. Always follow any manufacturer’s instructions for the item you’re mounting, and if you’re unsure, it’s a good idea to consult with a professional or someone experienced in DIY projects.
7. Repurpose as a wastebasket
To repurpose an item as a wastebasket, you can follow these general steps:
Select an Item: Choose an item that can serve as a wastebasket. Common repurposing options include a decorative container, a bucket, a storage bin, or even an old piece of furniture like a wooden crate.
Prepare the Item: Clean and sanitize the item if it has been used for a different purpose. Make sure it’s free from any dirt, debris, or residue.
Lining (Optional): Consider adding a plastic or paper liner to the inside of the repurposed item. This makes it easier to clean and change the trash bag when needed.
Trash Bag: Place a trash bag inside the repurposed item. Ensure that the bag fits well and is held securely in place.
Decorate (Optional): If you want to enhance the aesthetics of your repurposed wastebasket, you can paint it, add stickers, or use any other decorative techniques to match your room’s decor.
Use: Now, your repurposed item is ready to use as a wastebasket. Simply place it in the desired location and start using it for trash disposal.
The key to repurposing is creativity and adaptability. You can give a new life to an old or unused item by using it for a different purpose. Just make sure that it’s clean, functional, and suits your needs as a wastebasket.
8. Organize footwear
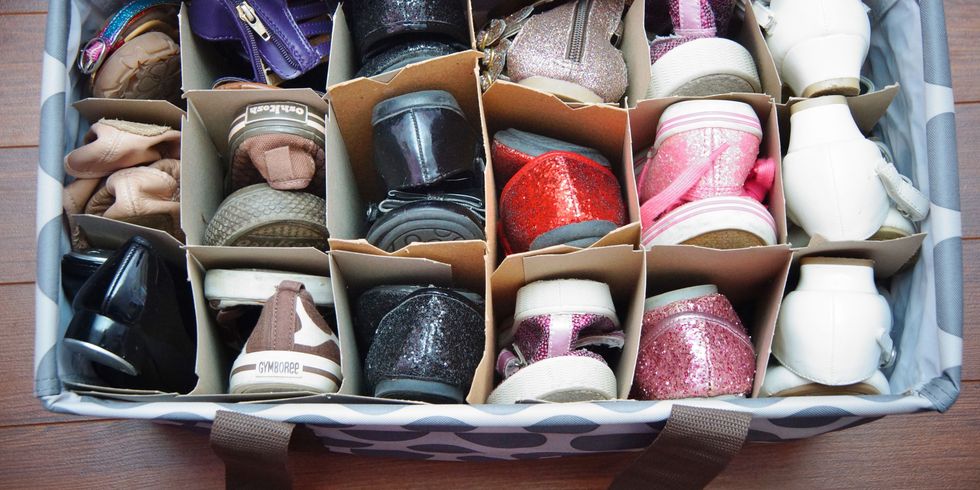
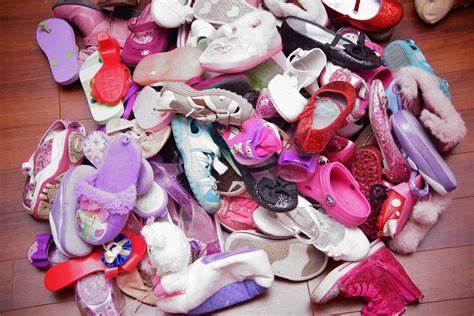
Organizing footwear can help keep your shoes tidy and accessible. Here are some tips for effectively organizing your shoes:
Declutter: Start by going through your footwear and getting rid of any shoes or sneakers that you no longer wear or need. Donate or discard the ones that are no longer in good condition.
Categorize: Group your shoes into categories, such as sneakers, dress shoes, sandals, and boots. This will make it easier to find the pair you’re looking for.
Storage Solutions:
Shoe Rack: A shoe rack is a convenient way to keep your shoes organized and visible. There are various styles available, from over-the-door shoe organizers to floor-standing racks.
Shoe Cubbies: Cubby-style storage units are great for organizing shoes, and they can be stacked to save space.
Clear Shoe Boxes: Clear plastic shoe boxes are perfect for keeping shoes dust-free and are stackable.
Hanging Shoe Organizer: These are great for small spaces and can be hung on a closet door.
Labeling: Consider labeling or categorizing your storage solutions to easily identify where specific shoes are located.
Rotate Seasonal Shoes: If you have limited space, store seasonal shoes that you’re not currently wearing in a separate area, like under the bed or in a storage closet.
Shoe Care: Keep a designated area for shoe care items like polish, brushes, and shoe trees. This will help you maintain the condition of your shoes.
Regular Maintenance: Periodically go through your shoe collection to ensure it stays organized. This is especially important if you frequently acquire new shoes.
Consider Shoe Trees: For delicate or expensive shoes, shoe trees can help maintain their shape and prolong their life.
Organize by Usage: Consider organizing your shoes based on how often you wear them. Shoes you wear daily should be easily accessible, while special occasion shoes can be stored in less accessible areas.
Shoe Storage Furniture: If you have the space, furniture pieces like shoe cabinets or benches with shoe storage can be both functional and decorative.
Remember that the key to effective shoe organization is to find a system that works for your space and lifestyle. Regular maintenance and decluttering are essential to keep your footwear organized and easily accessible.
9. Let them eat cake

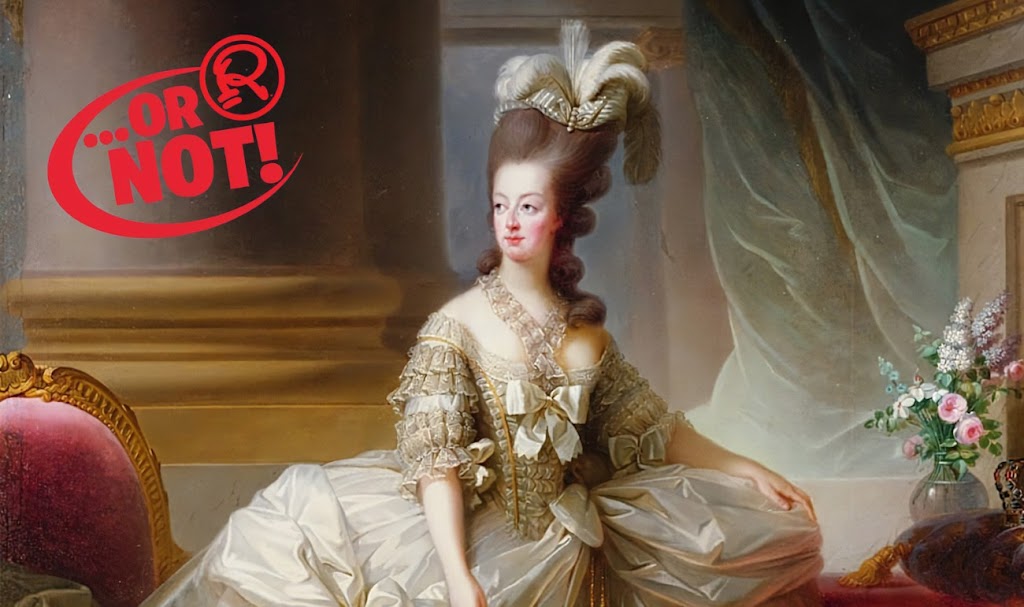
“Let them eat cake” is a famous phrase often attributed to Marie Antoinette, the Queen of France during the late 18th century. However, there’s no historical evidence to support that she actually said this.
The phrase is often used to illustrate the ignorance or indifference of the ruling class to the suffering of the common people, particularly in times of hardship or famine. It’s a symbol of out-of-touch elitism and has been associated with the idea that those in power are disconnected from the realities and needs of the less fortunate.
Please let me know if you have any specific questions or if there’s more information you’d like related to this phrase.
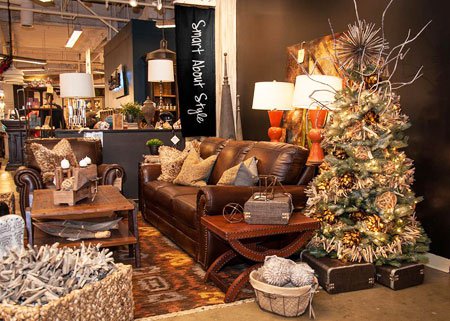
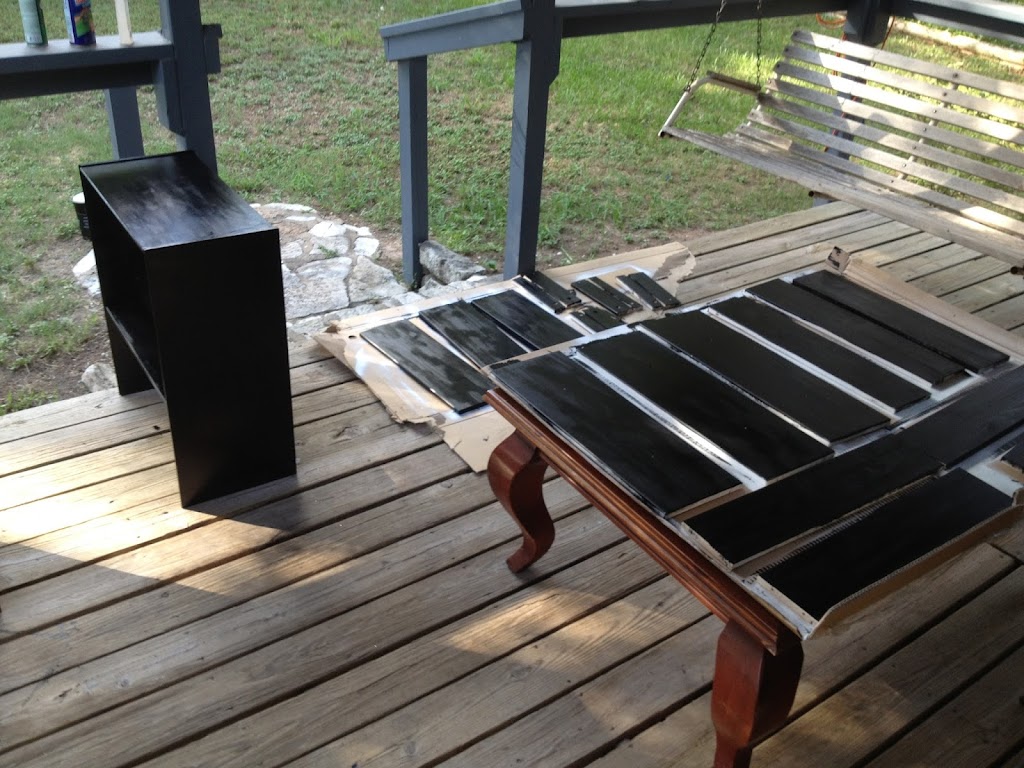
10. Use one as a side table
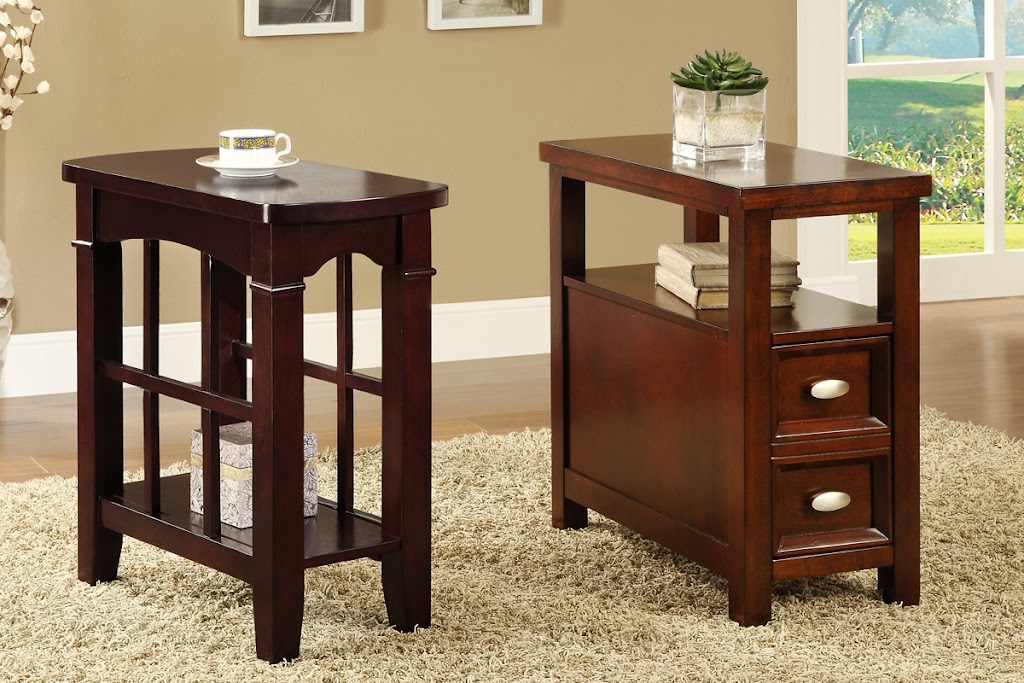
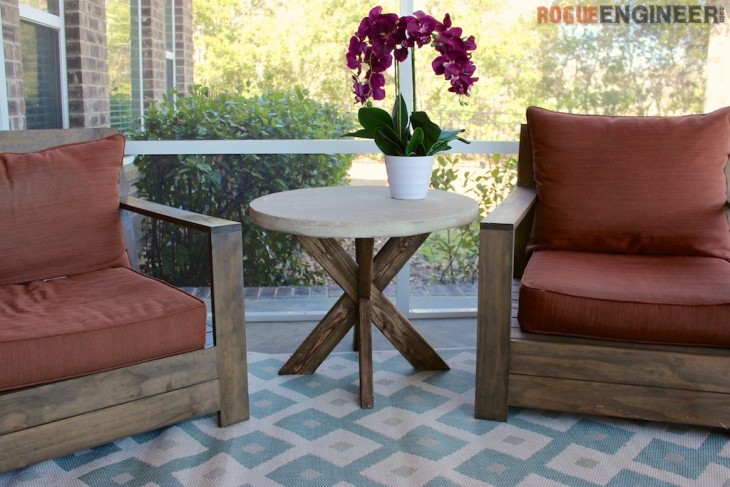
Certainly! If you want to use “one” as a side table, you can set it up as follows:
“One” in this context refers to a numerical value of 1. To use “one” as a side table, you can simply place a small, sturdy object or piece of furniture that is approximately the same height and size as a typical side table. This could be something like a stack of books, a wooden crate, or any other suitable item.
For example, you might say, “I couldn’t find a side table, so I used a stack of books as one.”
This allows you to temporarily have a surface for placing items like drinks, books, or a lamp next to your seating area, even if you don’t have a traditional side table. Just ensure that the item you use is stable and secure to prevent accidents.