6 Art Activities That Require Minimal Supplies
Certainly! Here are some art activities that require minimal supplies:
1. Paper Collage:
• Supplies: Old magazines, newspapers, scissors, and glue.
• Create collages by cutting out images and arranging them on a piece of paper.
2. Charcoal Sketching:
• Supplies: Charcoal sticks and paper.
• Charcoal is great for creating expressive sketches.
3. Ink or Pen Doodling:
• Supplies: Any type of ink pen and paper.
• Doodle and create intricate patterns and designs.
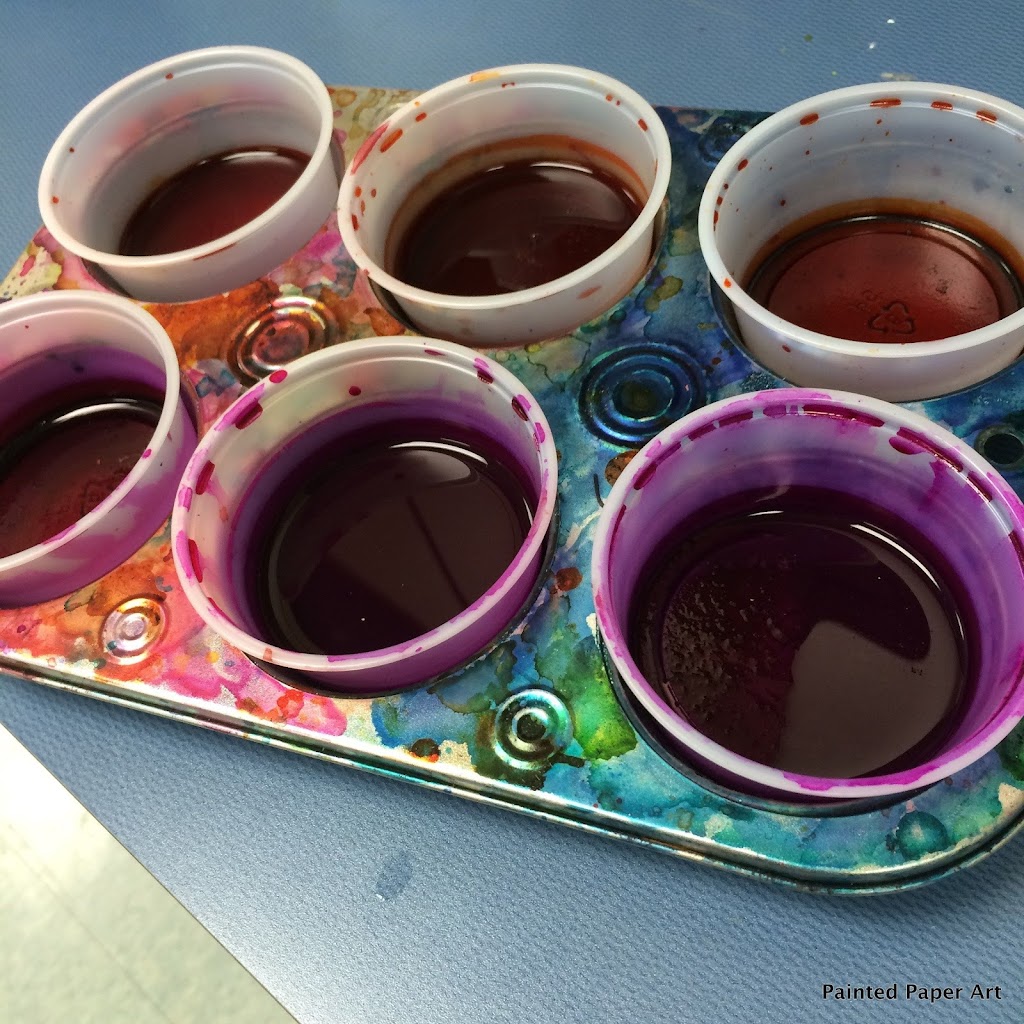
4. Watercolor Resist Painting:
• Supplies: White crayon, watercolors, and paper.
• Draw with the white crayon, then paint over it with watercolors to reveal the hidden design.
5. Nature Sketching:
• Supplies: Pencil and a sketchbook.
• Go outside and draw what you see in nature.
6. Origami:
• Supplies: Square sheets of paper.
• Create intricate paper sculptures through the art of origami.
7. Leaf Print Art:
• Supplies: Leaves, paper, and paint.
• Dip leaves in paint and press them onto paper to create leaf prints.
8. String Art:
• Supplies: Nails, a small piece of wood, hammer, and string.
• Create geometric patterns by winding string around nails.
9. Sgraffito Drawing:
• Supplies: Crayons and black tempera paint.
• Color a piece of paper with crayons, then cover it with black paint and scratch designs into the paint.
10. Melted Crayon Art:
• Supplies: Crayons, canvas, and a hair dryer.
• Melt crayons onto a canvas using a hair dryer for a colorful, abstract design.
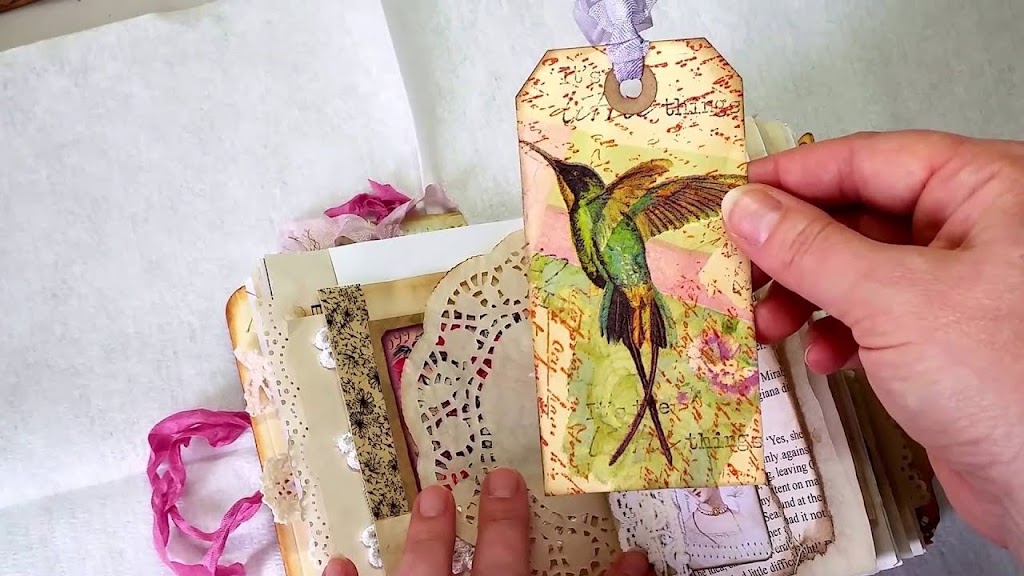
11. Tissue Paper Art:
• Supplies: Tissue paper and glue.
• Tear or cut tissue paper into small pieces and glue them onto paper to create vibrant mosaics.
12. Rock Painting:
• Supplies: Smooth rocks, acrylic paint, and brushes.
• Paint rocks with colorful designs and use them for decoration or as paperweights.
13. Sun Prints (Cyanotype):
• Supplies: Sun-sensitive paper or fabric and objects for blocking light (leaves, flowers, etc.).
• Arrange objects on the sun-sensitive material and leave it in the sun to create unique prints.
These art activities are not only enjoyable but also require minimal investment in art supplies. You can explore your creativity and have fun with these simple and accessible projects.
Also Like :- Art Projects for 4th Grade
1. Marker Monoprints
Marker monoprints are a unique and creative form of printmaking that combines the techniques of monoprinting with the use of markers or felt-tip pens. Monoprinting is a versatile printmaking method where each print is one-of-a-kind, making it a popular choice for artists seeking to create original, handcrafted works of art.
To create marker monoprints, you’ll need the following materials:
1. Smooth Printing Plate: This can be made of glass, Plexiglas, or any other smooth, non-absorbent material. The plate serves as the surface on which you create your artwork.
2. Water-based Markers: Use a variety of water-based markers, such as Sharpies, Tombow Dual Brush Pens, or any markers that work well on non-porous surfaces.
3. Paper: You’ll need sheets of paper to transfer the images from the plate to the paper. Printmaking paper or heavy-weight drawing paper works well.
4. Brayer or Roller: A brayer or roller is used to spread ink or marker color on the printing plate evenly.
Here’s how to create marker monoprints:
1. Prepare Your Printing Plate:
• Clean the printing plate thoroughly to ensure there are no dirt or residue.
• If desired, you can add a small amount of water to the plate to create interesting watercolor-like effects when you apply markers.
2. Design Your Image:
• Start drawing or coloring directly on the printing plate with your markers. You can create a full image or just abstract shapes and colors.
3. Blending and Texture:
• Use your fingers, brushes, or other tools to blend and manipulate the markers on the plate. You can create different textures and effects by smudging or adding more ink.
4. Transfer to Paper:
• While the marker ink is still wet on the plate, place a sheet of paper on top.
• Gently but firmly press the paper onto the plate using your hands or a clean brayer, ensuring that the ink is transferred to the paper.
5. Peel and Reveal:
• Carefully lift the paper from the printing plate to reveal your monoprint. Each print will be unique due to the variability in marker application and the transfer process.
6. Experiment and Repeat:
• Don’t be afraid to experiment with different colors, techniques, and layering. You can create a series of monoprints, each with its own distinct character.
7. Allow to Dry:
• Let your monoprints dry completely before handling or displaying them. The drying time may vary depending on the markers and paper used.
Marker monoprints offer a great way to explore color, texture, and spontaneity in your artwork. The process is both creative and unpredictable, making it a fun and expressive medium for artists of all levels.
2. Mud Painting
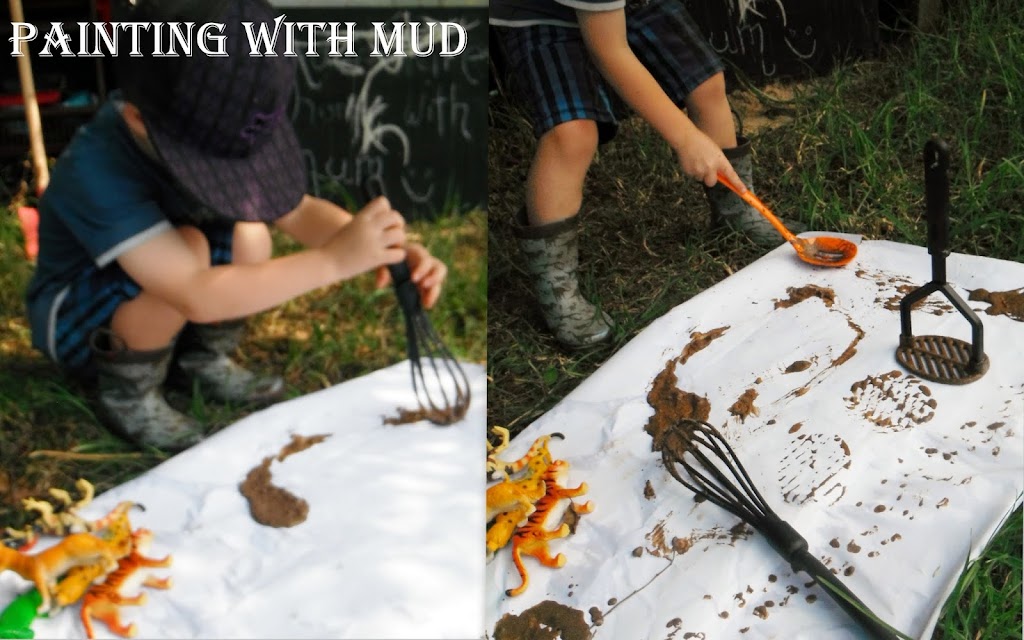
Mud painting is a traditional form of art that involves using mud or clay as the primary medium for creating artwork. This unique and ancient art form has been practiced by various cultures around the world, and it continues to be a popular form of artistic expression in many places. Here’s an overview of mud painting:
Materials and Process:
1. Mud or Clay: Mud painting typically uses natural clay or mud obtained from the local environment. The type of clay or mud used can vary depending on its availability and the artist’s preferences.
2. Binder: To make the mud suitable for painting, it is often mixed with a binder, such as water or organic materials like plant juices, animal fat, or egg whites. This helps create a paintable consistency and enhances the adhesion of the mud to the painting surface.
3. Painting Surface: Mud paintings can be created on a variety of surfaces, including rocks, walls, canvas, cloth, or paper. The choice of surface depends on the artist’s intention and the tradition they follow.
4. Tools: Artists may use their hands, fingers, sticks, or brushes made from natural materials to apply the mud to the surface. These tools allow for different textural effects and details in the artwork.
Techniques: Mud painting techniques can vary greatly depending on the culture and tradition. Some common techniques include:
1. Relief Painting: Artists create three-dimensional designs by layering and molding the mud onto the surface. This technique is often used for decorative or architectural purposes.
2. Linear Painting: Mud is applied to the surface in a linear or brushstroke manner to create detailed and intricate designs, much like conventional painting with brushes.
3. Stencil Painting: Stencils made of various materials, such as leaves, cloth, or paper, are used to create intricate patterns or designs on the painting surface.
4. Mural Painting: Mud paintings on walls or large surfaces often depict cultural stories, myths, or historical events.
Themes and Styles: Mud paintings can feature a wide range of themes, including religious or spiritual motifs, nature, animals, landscapes, and abstract designs. The style and symbolism of mud paintings can vary greatly from one culture to another.
Significance: Mud painting holds cultural and historical significance in many societies. It is often used to convey stories, beliefs, and traditions. In some cultures, mud paintings are considered a sacred art form, while in others, they serve as a form of decoration and expression.
Preservation: Preserving mud paintings can be challenging, as they are susceptible to erosion and damage from weather and environmental factors. Efforts are made to protect and conserve mud paintings, especially those of historical or cultural importance.
In conclusion, mud painting is a captivating and diverse art form that showcases the creativity and cultural richness of various societies. It reflects the resourcefulness of artists who utilize readily available materials to create unique and meaningful works of art.
3. Make Your Own Brushes
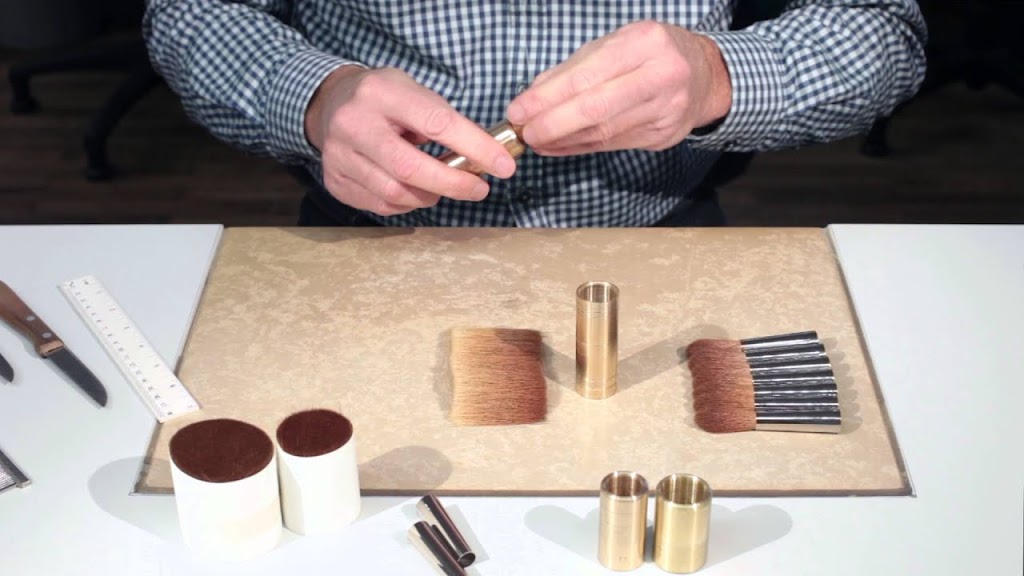
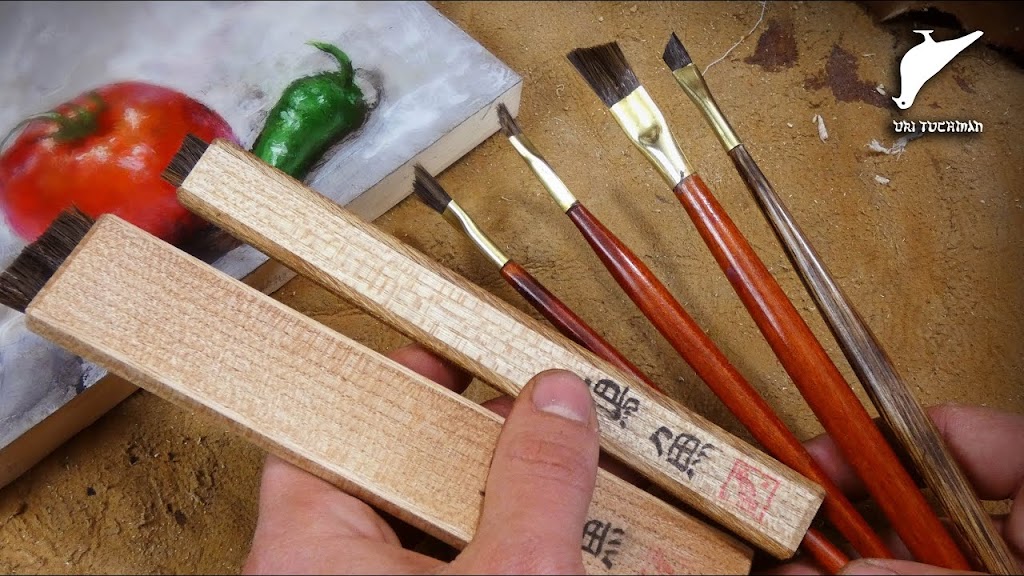
Creating your own custom brushes can be a fun and creative way to enhance your digital artwork. Whether you’re using software like Adobe Photoshop, Adobe Illustrator, or another digital art tool, making your own brushes allows you to add unique textures, patterns, and effects to your work. Here’s a general guide on how to make your own brushes:
For Adobe Photoshop:
1. Select an Image or Create a New One: Start by choosing an image or creating a design that you want to turn into a brush. This can be a texture, a pattern, or any artwork.
2. Isolate the Element: Use selection tools to isolate the part of the image you want to turn into a brush. For example, if you’re creating a brush from a leaf, select just the leaf.
3. Define the Brush: In Photoshop, go to Edit > Define Brush Preset. This will turn your selection into a brush.
4. Adjust Brush Settings: You can further customize your brush by going to the Brush Settings panel. Adjust options like size, spacing, shape dynamics, and scattering to get the desired effect.
5. Save the Brush: Name your brush and click OK to save it.
6. Test and Use: To use your custom brush, select the Brush tool, and your custom brush will be available in the brush palette.
For Adobe Illustrator:
1. Create or Import Artwork: Start by creating your artwork or importing an image into Illustrator.
2. Convert to a Symbol: Select your artwork, and go to Object > Expand. Then, go to the Symbols panel and click “New Symbol.” This will convert your artwork into a symbol.
3. Adjust Symbol Options: Double-click the new symbol to access its options. You can set the type to “Graphic” and adjust registration and transformation options as needed.
4. Drag onto Artboard: Drag your symbol onto the artboard. This will be your custom brush shape.
5. Use the Brush Tool: Select the Brush tool and choose the new symbol you created as your brush.
6. Adjust Brush Settings: To customize the brush further, go to the Brushes panel and double-click your new brush. Here, you can modify settings like size, scatter, and rotation.
7. Apply the Brush: With your custom brush settings in place, you can now paint or draw with your custom brush.
Remember that these are just general guidelines, and you can get as creative as you like with your custom brushes. Experiment with different settings, shapes, and textures to achieve the desired effect in your digital artwork. Custom brushes can add a unique touch to your work and make it stand out.
4. Coffee and Tea Painting

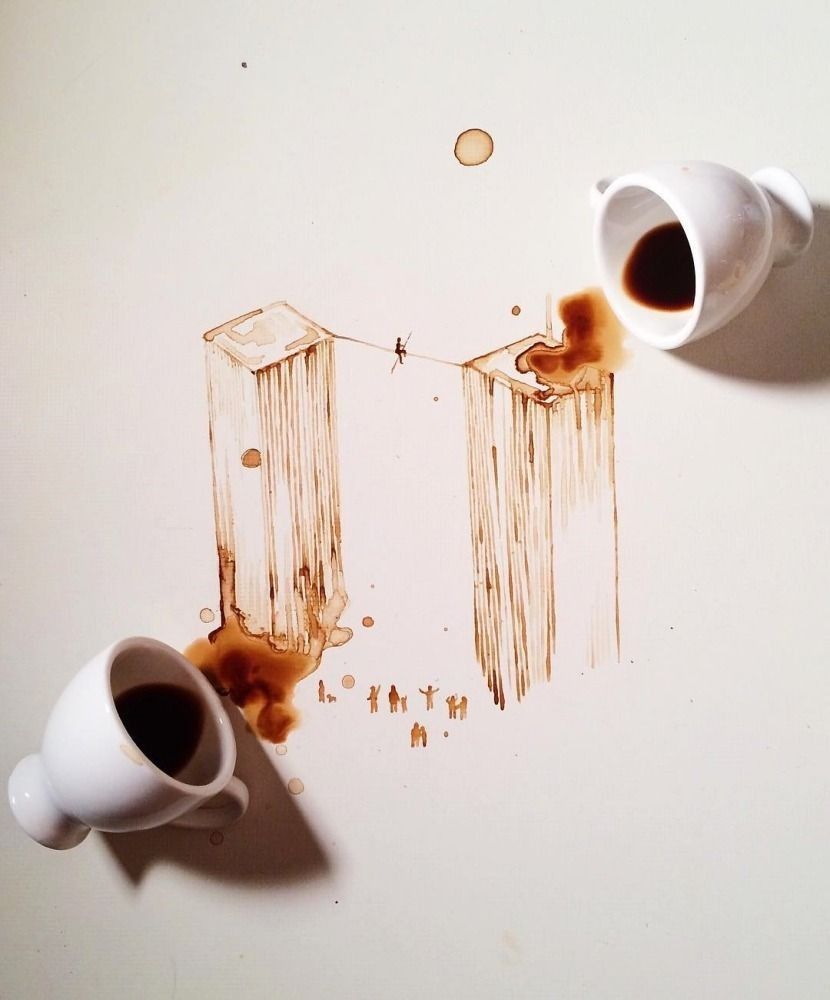
Creating a painting that celebrates the beauty of coffee and tea is a wonderful idea. You can approach this project in various ways, from a realistic still life to a more abstract and imaginative interpretation. Here’s a description of a potential painting to inspire your work:
Title: “A Sip of Tranquility”
Description: In “A Sip of Tranquility,” the canvas comes alive with the rich, warm hues of coffee and tea. The painting is divided into two main sections, each representing the essence of these beloved beverages.
On the left side of the canvas, a steaming cup of coffee takes center stage. The cup, adorned with intricate patterns, is placed on a saucer. Rising from it, wisps of aromatic steam curl upwards, almost dancing in the air. The deep, earthy tones of the coffee contrast beautifully with the pristine white porcelain. You can capture the play of light and shadow on the surface of the liquid, as well as the reflection of the surroundings in the shiny ceramic.
On the right side, a teapot and a delicate china teacup sit on a lace doily. The teapot’s spout gracefully pours a stream of amber-hued tea into the cup, creating a serene, timeless moment. The details on the teapot, from its ornate handle to the decorative lid, offer an opportunity to showcase intricate patterns and textures. The soft, warm colors of the tea evoke a sense of comfort and relaxation.
Between the coffee and tea, a few coffee beans and tea leaves are scattered on a wooden table, adding a tactile dimension to the painting. These elements introduce a sense of aroma and touch, enhancing the sensory experience of the piece.
The background can be kept simple, with a muted, neutral palette that allows the coffee and tea to take center stage. Soft, diffuse light from a window or a warm, gentle glow from a table lamp bathes the scene, creating a cozy and inviting atmosphere.
The composition should evoke the feeling of serenity and contemplation, inviting the viewer to savor the moment of enjoying a cup of coffee or tea. Through careful attention to detail, you can bring out the unique qualities and personality of each beverage, making this painting a celebration of the simple pleasures in life.
5. Make Homemade Chalk Paint
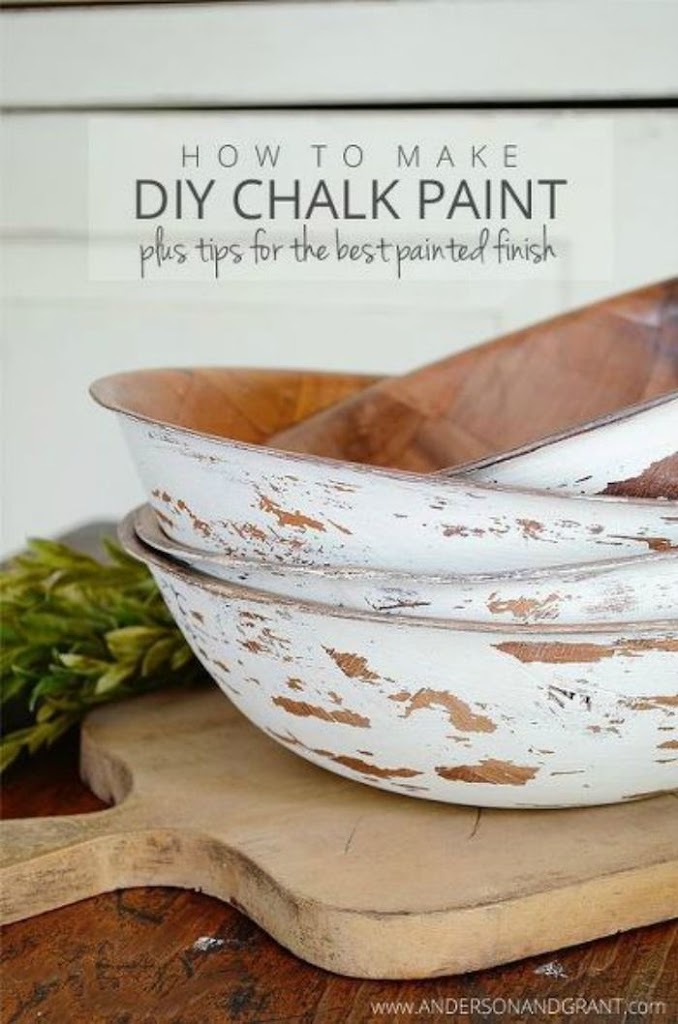
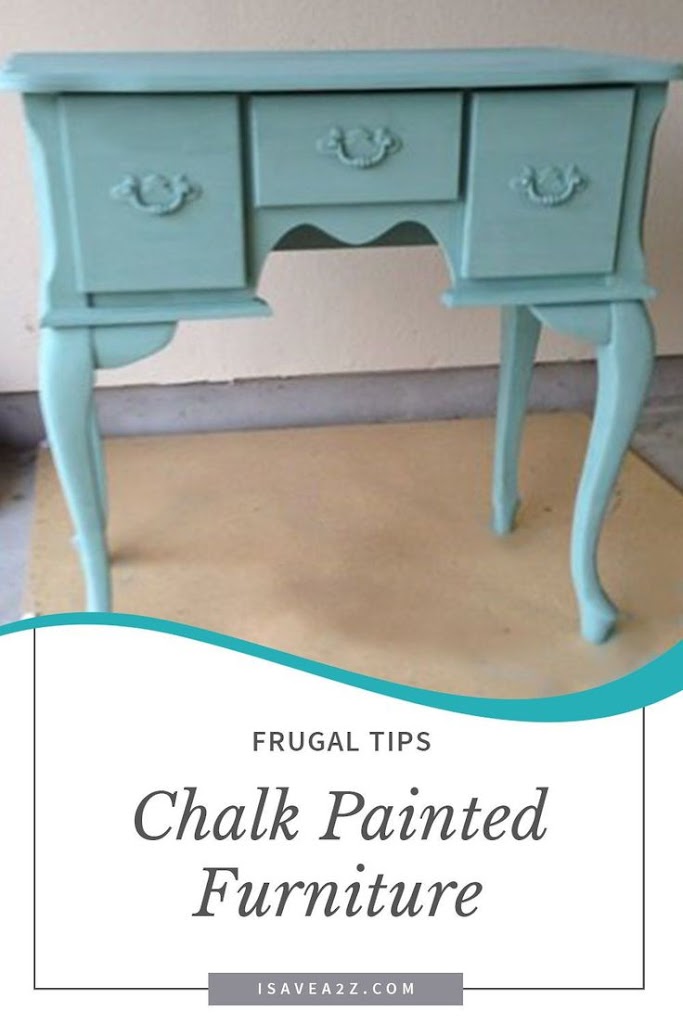
Homemade chalk paint is a fantastic and cost-effective way to give new life to furniture and decor items. Chalk paint is known for its matte finish and shabby-chic appearance. Here’s a simple recipe for making your own DIY chalk paint:
Materials:
• Latex Paint: You can use any latex paint in the color of your choice. It can be a sample-size container or leftover paint from a previous project.
• Unsanded Grout: You’ll need unsanded grout to give your paint the chalky texture. You can find it at most hardware stores.
• Water: To mix the grout into the paint, you’ll need some water.
• A Container: A plastic or glass container for mixing the paint.
• Stirring Stick: To mix the ingredients together.
Instructions:
1. Gather Your Materials: Collect all the materials mentioned above.
2. Measure Your Ingredients: For every cup of latex paint, you’ll typically need around 2 to 3 tablespoons of unsanded grout. The exact amount of grout may vary depending on the texture you desire and the brand of grout you’re using.
3. Mix Grout and Water: In your container, add a small amount of water to the unsanded grout to create a paste. Start with 2-3 tablespoons of grout and gradually add a small amount of water while stirring until you achieve a smooth, lump-free paste. Be cautious not to add too much water; you want a thick but workable consistency.
4. Combine Latex Paint and Grout Paste: Now, pour your latex paint into the container with the grout paste. Mix it thoroughly. The grout paste should be evenly distributed throughout the paint. Stir until the mixture is smooth and well combined.
5. Test the Consistency: Before painting your actual project, it’s a good idea to test the chalk paint on a small, inconspicuous surface or a piece of cardboard to make sure you’re happy with the consistency and color.
6. Paint Your Project: Once you’re satisfied with the paint mixture, you can start applying it to your furniture, decor items, or any surface you wish to transform. Chalk paint typically dries fairly quickly, but be patient and allow it to dry completely between coats.
7. Optional: Distress or Wax: Chalk paint is often used with a finishing wax for added protection and to achieve a distressed or aged look. If you’d like to distress your project, lightly sand the edges and corners after the paint has dried. Then, apply a clear or colored wax and buff it to your desired level of sheen.
Homemade chalk paint is an excellent choice for DIY projects and furniture makeovers. It allows you to customize the color to your liking and achieve that classic chalky finish. Enjoy your painting project!
6. Spice and Kitchen Item Paintings
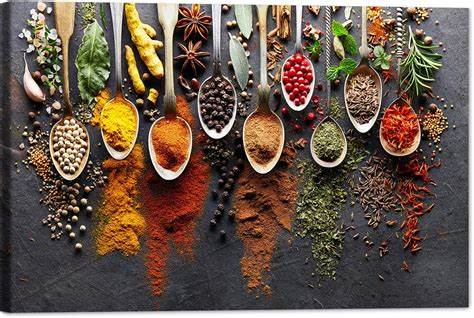
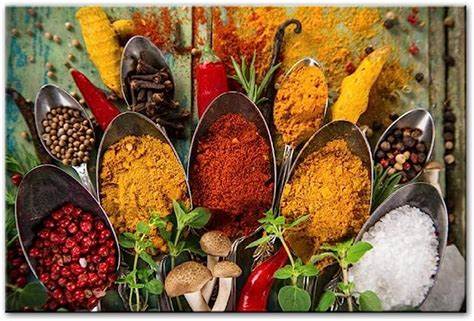
Certainly! Here’s a description of a collection of spice and kitchen item paintings:
Title: “A Culinary Palette”
Description: “A Culinary Palette” is a captivating collection of paintings that celebrate the vibrant world of spices and kitchen items. This series of artworks captures the essence of culinary artistry through intricate details and vivid colors.
1. “Spice Symphony”: This masterpiece depicts a medley of spices, from aromatic cinnamon sticks to fiery red chili peppers, creating a visual symphony of flavors. The interplay of warm and cool tones ignites the senses, and you can almost smell the fragrant spices in the air.
2. “Golden Elegance”: “Golden Elegance” showcases a meticulously detailed close-up of a shimmering saffron thread. The intricate brushwork captures the essence of this luxurious spice, exuding a sense of opulence and culinary delight.
3. “Rustic Utensils”: This painting beautifully portrays a set of aged, rustic kitchen utensils hanging on a wooden wall. The play of light and shadows on the well-worn handles and gleaming metal surfaces evokes a sense of nostalgia and time-honored culinary traditions.
4. “The Coffee Ritual”: This artwork encapsulates the coffee-making process, from the freshly ground coffee beans to the pouring of a steaming cup. The rich brown hues and the aromatic steam create a sense of comfort and morning rituals.
5. “Kitchen Conversations”: “Kitchen Conversations” brings together an array of vibrant vegetables and fruits arranged on a wooden cutting board. The colors pop, and the arrangement seems ready for a delightful meal preparation, capturing the essence of wholesome cooking.
Each painting in the “A Culinary Palette” collection is a testament to the beauty and artistry found in our everyday kitchen essentials. These pieces not only add a touch of elegance to your kitchen or dining area but also remind us of the magic that happens when ingredients and creativity come together in the heart of the home.