5 Genius Upcycling Projects for the Classroom
Upcycling projects are a fantastic way to promote creativity and environmental consciousness in the classroom. They encourage students to think outside the box and repurpose items that might otherwise be discarded. Here are some genius upcycling project ideas for the classroom:
1. Tin Can Planters: Have students bring in empty tin cans, which can be transformed into charming planters. They can paint and decorate the cans and then plant a small herb or flower in them. This project not only upcycles the cans but also teaches kids about gardening.
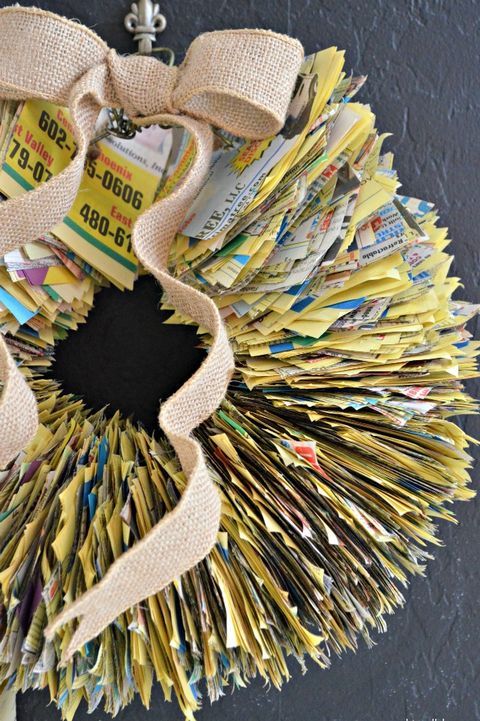
2. Magazine Collage Art: Old magazines can be repurposed for collage art. Students can cut out pictures and text to create beautiful, thought-provoking collages. This project not only inspires creativity but also explores the concept of reusing resources.
3. Plastic Bottle Terrariums: Empty plastic bottles can be transformed into mini ecosystems. Cut the top off the bottle, place small plants, soil, and decorative elements inside, and seal it. This teaches kids about biology and recycling simultaneously.
4. Cardboard City: Gather cardboard boxes, toilet paper rolls, and other cardboard scraps to build a miniature city. Students can design and construct their own buildings, roads, and vehicles. This project promotes engineering and architectural skills.
5. Upcycled T-Shirt Tote Bags: Old T-shirts can be turned into reusable tote bags with just a few simple cuts and knots. This project teaches sewing basics and encourages the use of reusable bags instead of plastic ones.
6. CD/DVD Mosaic Art: Discarded CDs and DVDs can be broken into pieces and used to create stunning mosaic art. Students can experiment with patterns and colors while learning about reusing electronic waste.
7. Pallet Furniture: Old wooden pallets can be transformed into creative furniture pieces. Students can design and assemble their own chairs, tables, or bookshelves. This project encourages problem-solving and woodworking skills.
8. Junk Robot Sculptures: Collect various odds and ends, like nuts, bolts, old electronics, and other small objects, and have students create unique junk robot sculptures. This project sparks creativity and inventiveness.
9. Bottle Cap Art: Save and collect bottle caps to create colorful and textured art pieces. Students can arrange the caps in patterns, making use of their different shapes and colors to create eye-catching designs.
10. Paper Roll Animals: Empty paper towel and toilet paper rolls can be transformed into animals and creatures with a little paint and imagination. This project teaches kids about the importance of recycling paper products.
11. Denim Pockets Organizer: Old denim jeans can be repurposed to create wall organizers by cutting out and sewing the pockets. Students can use these organizers for storing school supplies or personal items.
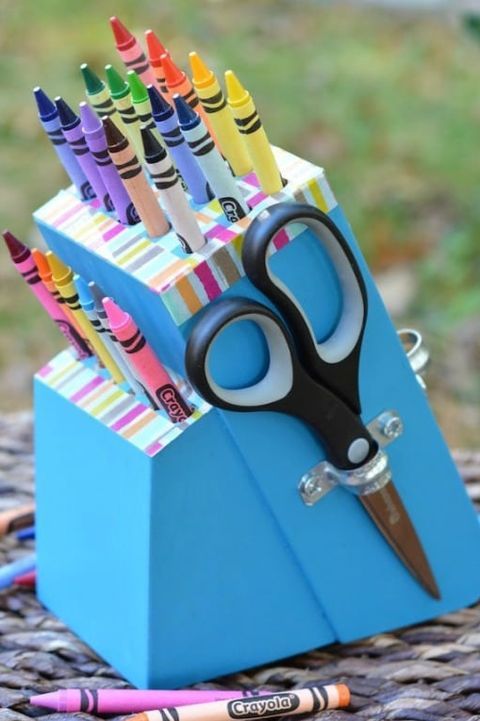
12. Crayon Art: Gather broken or small crayon pieces, arrange them on a canvas, and melt them with a hairdryer to create vibrant, abstract art. This project not only recycles crayons but also explores the science of melting.
These upcycling projects can be adapted to different age groups and educational goals, making them a valuable addition to any classroom. They foster creativity, environmental awareness, and practical skills that students can carry with them throughout their lives.
Also Like:- 6 Art Activities That Require Minimal Supplies
1. Textbook animals
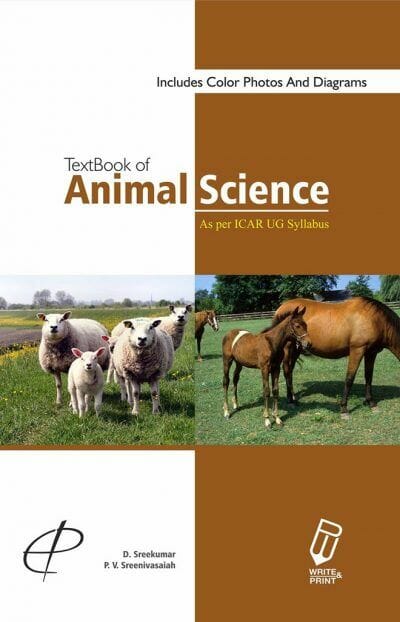
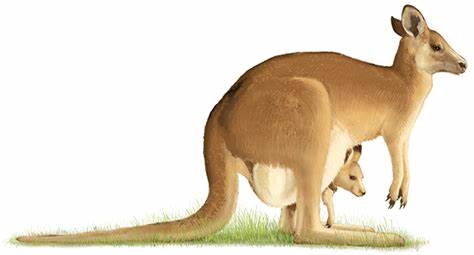
Certainly, I can provide information about “textbook animals” in the English language. The term “textbook animals” typically refers to common or widely recognized animals that are often featured in educational textbooks and materials. These animals are used to teach students about different aspects of biology, ecology, and the natural world. Here are a few examples of textbook animals:
1. Lion (Panthera leo): Lions are often featured in textbooks to teach concepts related to carnivores, food chains, and animal behavior. They are also known for their social structure and hunting strategies.
2. Honeybee (Apis mellifera): Honeybees are commonly used to illustrate the concept of social insects, pollination, and the structure of an insect colony. They are important for teaching about ecosystems and the environment.
3. Goldfish (Carassius auratus): Goldfish are often used in biology classes to study vertebrates, basic anatomy, and the respiratory and circulatory systems.
4. Monarch Butterfly (Danaus plexippus): Monarch butterflies are textbook examples of insect metamorphosis, migration, and their role in pollination.
5. Earthworm (Lumbricus terrestris): Earthworms are frequently used to teach about invertebrates, soil ecology, and the process of decomposition.
6. Great White Shark (Carcharodon carcharias): Great white sharks are featured in marine biology textbooks to discuss apex predators, ocean ecosystems, and the conservation of marine life.
7. American Bald Eagle (Haliaeetus leucocephalus): The bald eagle is a symbol of the United States and is often used to teach about raptors, wildlife conservation, and environmental protection.
8. House Cat (Felis catus): Cats are used in biology courses to explore domestication, animal behavior, and feline anatomy.
9. Gray Wolf (Canis lupus): Gray wolves are included in ecology and wildlife management textbooks to discuss predator-prey relationships and the role of keystone species in ecosystems.
10. African Elephant (Loxodonta africana): African elephants are featured in textbooks to teach about herbivores, biodiversity, and the conservation of endangered species.
These are just a few examples of animals commonly found in textbooks to help students understand various biological and ecological concepts. Textbook animals are chosen for their educational value and ability to illustrate important principles in the field of biology and natural sciences.
2. Decorative crayon ornaments
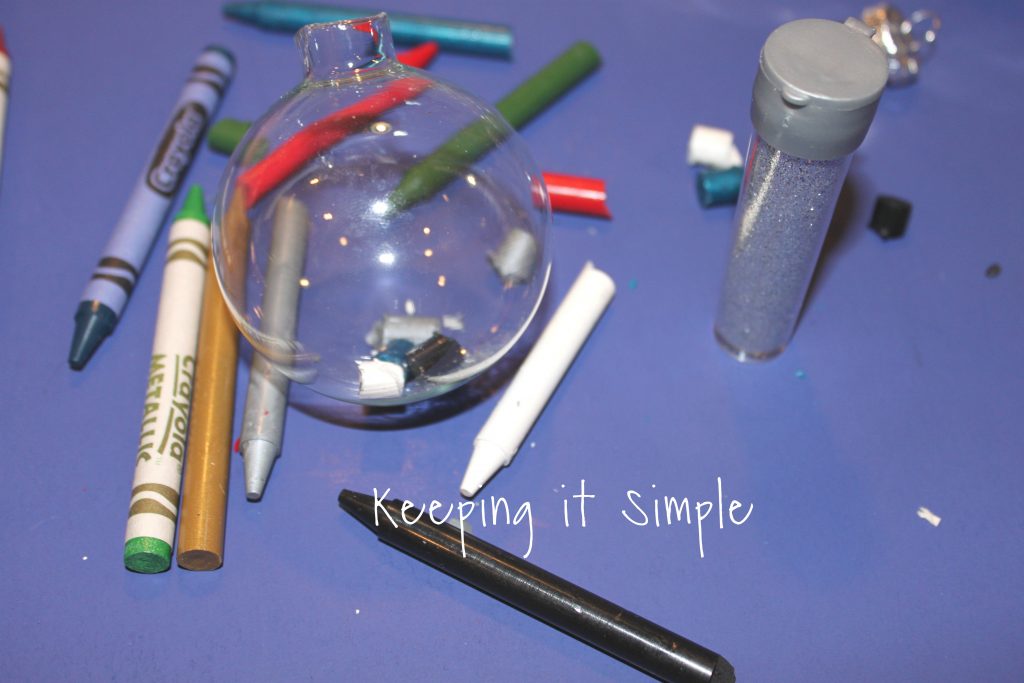
Creating decorative crayon ornaments can be a fun and creative way to add a personal touch to your holiday decorations. Here’s a simple guide on how to make them:
Materials you’ll need:
1. Crayons in various colors
2. A silicone mold with ornament shapes (you can find these in craft stores or online)
3. Baking sheet
4. Oven
5. Ribbon or string for hanging
6. Optional: glitter, crayon shavings, or other decorative elements
Instructions:
1. Gather your crayons: Start by collecting old or broken crayons. Remove any paper wrappers from the crayons. You can use a craft knife to help with this.
2. Break the crayons: Break the crayons into small pieces. The smaller the pieces, the more intricate your ornaments can be.
3. Fill the mold: Place the silicone mold on a baking sheet for stability. Fill each mold cavity with crayon pieces. You can mix and match colors to create unique patterns.
4. Add extra decoration: If you want to add some extra flair to your ornaments, sprinkle some crayon shavings or glitter into the mold as well.
5. Preheat the oven: Preheat your oven to around 250°F (120°C).
6. Bake the ornaments: Place the baking sheet with the mold in the oven and bake for about 10-15 minutes. Keep a close eye on the crayons as they melt. Once they’re completely liquefied, they’re ready to be taken out.
7. Cool and harden: Remove the baking sheet from the oven, and let the ornaments cool and harden at room temperature. This can take a couple of hours.
8. Remove from the mold: Once the crayon ornaments have completely cooled and hardened, gently pop them out of the silicone mold. Be careful not to break them during this step.
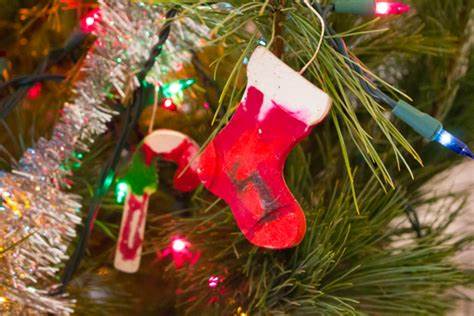
9. Add a hanging loop: Use a small piece of ribbon or string to create a hanging loop for each ornament. You can either embed the loop into the melted crayon while it’s still soft or attach it to the ornament once it’s cooled and hardened.
10. Hang and enjoy: Your decorative crayon ornaments are now ready to hang on your Christmas tree or around your home. They’ll add a colorful and playful touch to your holiday decor.
Remember that working with hot crayons and an oven can be dangerous, so take appropriate safety precautions and supervise children if they’re involved in the crafting process. Enjoy making these unique and vibrant ornaments!
3. Post it pinwheels

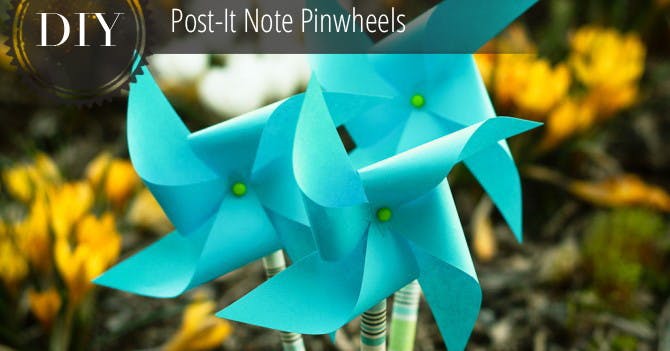
“Post-it pinwheels” typically refer to a creative and decorative craft or art project using Post-it notes to create colorful pinwheel designs. These pinwheels can be used for various purposes, such as decorations, DIY gifts, or simply as a fun and colorful activity. Here’s how you can make Post-it pinwheels:
Materials you will need:
1. Post-it notes in various colors
2. Scissors
3. Pushpin or thumbtack
4. Pencil with an eraser
5. Ruler
6. Small brad fastener (optional)
Steps:
1. Choose your Post-it notes: Select the colors you want for your pinwheels. You can use one or multiple colors for each pinwheel.
2. Create squares: Take a Post-it note and cut it into a square. You can make the square as large or as small as you like, but a 3×3 inch (7.6 x 7.6 cm) square is a good starting point.
3. Design your pinwheel: Use a pencil to lightly draw diagonal lines from each corner to the center of the square, creating an “X” shape. Then, draw a smaller square in the center. This is where you’ll attach your pinwheel to the eraser.
4. Cut along the lines: Carefully cut along the diagonal lines from the corners of the square, stopping at the smaller square in the center.
5. Fold the corners: Lift every other corner of the square and fold it towards the center. You can choose to use glue to secure the corners if you’d like, but often, they’ll stay in place without it.
6. Attach to an eraser: Stick the pointed end of a pencil eraser through the center of your pinwheel and push it down about halfway to secure the pinwheel in place. If you’re using a brad fastener, poke a small hole in the center of the pinwheel and use the brad to attach it to the eraser.
7. Attach a pushpin or thumbtack: Once your pinwheel is securely attached to the eraser, stick a pushpin or thumbtack through the eraser’s flat side. You can then stick your pinwheel into a corkboard or other suitable surface.
8. Adjust and enjoy: Spin the pinwheel, and watch it rotate as a result of the wind created when you blow on it or place it in front of a fan.
This is a fun and creative way to make colorful pinwheels using Post-it notes. You can create multiple pinwheels in different colors and sizes to decorate your space or give them as gifts.
4. Popsicle bracelets
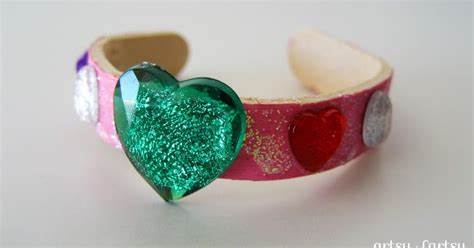
Popsicle bracelets are a fun and creative DIY project that you can make using colorful popsicle sticks. They are a great way to express your creativity and make unique accessories. Here’s how you can make your own popsicle bracelets:
Materials you’ll need:
1. Popsicle sticks (colored or plain)
2. Water
3. Small saucepan
4. Mug or glass
5. Rubber bands
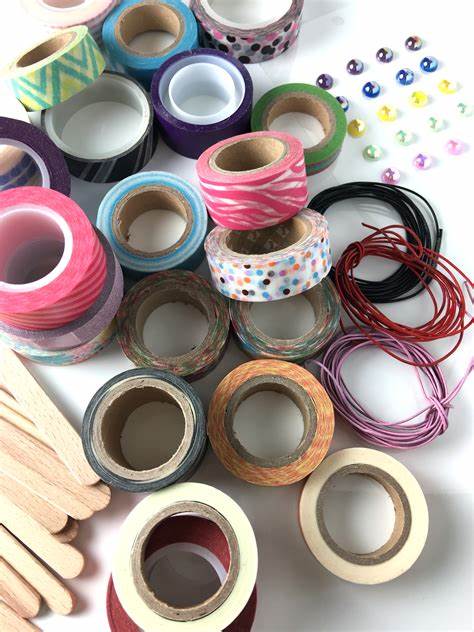
6. Decorative materials (paint, markers, stickers, beads, etc.)
7. Glue (if needed)
8. Scissors
9. Sandpaper (optional)
Instructions:
1. Gather your materials and decide how many popsicle sticks you want to use for your bracelet. You can choose to use plain popsicle sticks or ones that are already colored.
2. If you want to color your sticks, you can do this by boiling them. Fill a small saucepan with water and bring it to a boil. Place the popsicle sticks in the boiling water for about 30 minutes. This will make the sticks pliable and allow you to bend them into a bracelet shape.
3. Carefully remove the sticks from the boiling water and immediately place them into a mug or glass with cold water. This will help set the shape of the sticks. Use caution to avoid burning yourself.
4. Once the sticks have cooled and hardened, you can start bending them into a circular or oval shape to create the bracelet. Use a rubber band to hold the ends together until the shape sets. You can adjust the size and shape according to your wrist.
5. If you want to add more color or decoration, you can paint the popsicle sticks or use markers to create designs. You can also add stickers or glue on beads, sequins, or other decorative elements.
6. Once you are satisfied with the design, allow the bracelet to dry completely if you’ve used paint or glue.
7. If the ends of the sticks are rough or uneven, you can sand them down with sandpaper to make the bracelet more comfortable to wear.
8. Once your popsicle bracelet is complete and fully dried, it’s ready to wear!
Popsicle bracelets are a simple and fun craft that can be customized to match your style and taste. Get creative and enjoy making your unique accessory!
5. Model ecosystem in a bottle
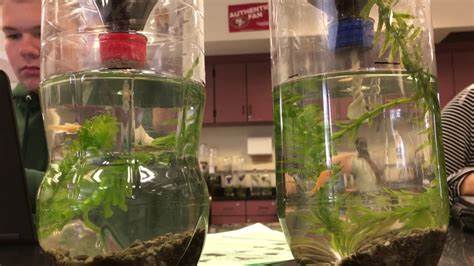
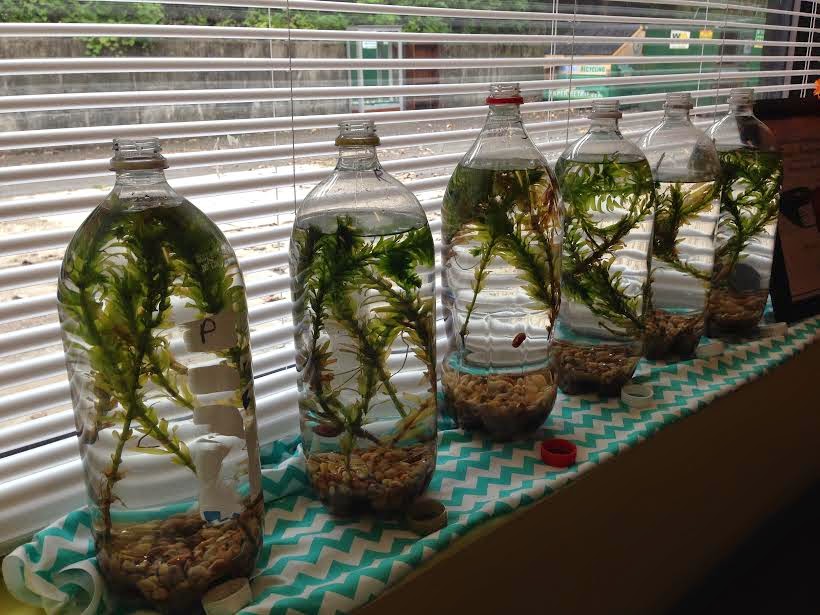
Creating a model ecosystem in a bottle, also known as a closed terrarium, can be a fascinating and educational project. It’s a self-contained ecosystem that mimics the natural processes of plant growth, water cycle, and nutrient cycling within a sealed container. Here’s how you can make one:
Materials you’ll need:
1. A clear glass or plastic container with a lid or cork (like a mason jar or a glass vase).
2. Small pebbles or gravel for drainage.
3. Activated charcoal or charcoal chips (available at gardening stores) for filtration.
4. Potting soil (preferably a mix suitable for your chosen plants).
5. Small plants (like moss, ferns, or succulents).
6. Decorative elements (optional).
7. A spray bottle for watering.
Steps:
1. Prepare the Container:
• Ensure the container is clean and dry.
• Add a layer of small pebbles or gravel at the bottom. This will help with drainage and prevent water from accumulating at the roots of the plants.
2. Add Activated Charcoal:
• Sprinkle a thin layer of activated charcoal over the pebbles. The charcoal helps filter the air and water, keeping it fresh within the closed environment.
3. Layer of Potting Soil:
• Add a layer of potting soil on top of the charcoal. The depth of the soil layer will depend on the size of your container and the plants you choose.
4. Plant Your Miniature Ecosystem:
• Carefully plant your chosen small plants in the soil. You can use moss, ferns, succulents, or a combination of these. Use a small spoon or your fingers to create holes for the plants.
• Be mindful of the space and ensure that the plants have enough room to grow without overcrowding.
5. Add Decorative Elements (Optional):
• You can include small decorative elements like small stones, miniature figurines, or tiny pieces of driftwood to enhance the visual appeal of your terrarium.
6. Watering:
• Lightly water the terrarium using a spray bottle to avoid overwatering. You want the environment to be slightly moist but not waterlogged.
7. Seal the Container:
• Close the container with its lid or cork. This sealed environment will create a miniature water cycle. Water will evaporate from the soil, collect on the walls of the container, and then drip back into the soil, simulating a self-sustaining ecosystem.
8. Placement and Care:
• Place your terrarium in a location with indirect sunlight. Avoid direct sunlight, as it can cause excessive heat and humidity, potentially harming the plants.
• Monitor your closed ecosystem regularly. If condensation on the container walls becomes excessive, open the lid briefly to let some moisture escape, then reseal it.
Remember that your model ecosystem will require minimal maintenance due to its closed nature. Over time, you should observe the water cycle, plant growth, and the development of a self-contained, miniature world. It’s a fantastic way to learn about ecology and biology while enjoying a little piece of nature on your desk or shelf.