7 Clever Ways to Repurpose Your Old Calendars
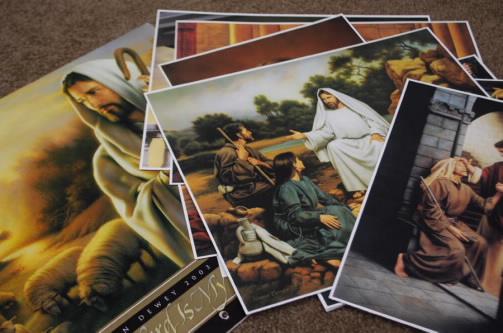
Repurposing old calendars is a creative and sustainable way to give them a second life. Here are some clever ideas to get you started:
Decoupage Coasters: Cut out the most appealing or sentimental images from your old calendar and adhere them to ceramic tiles using decoupage glue. Seal with a waterproof sealant to create custom coasters.
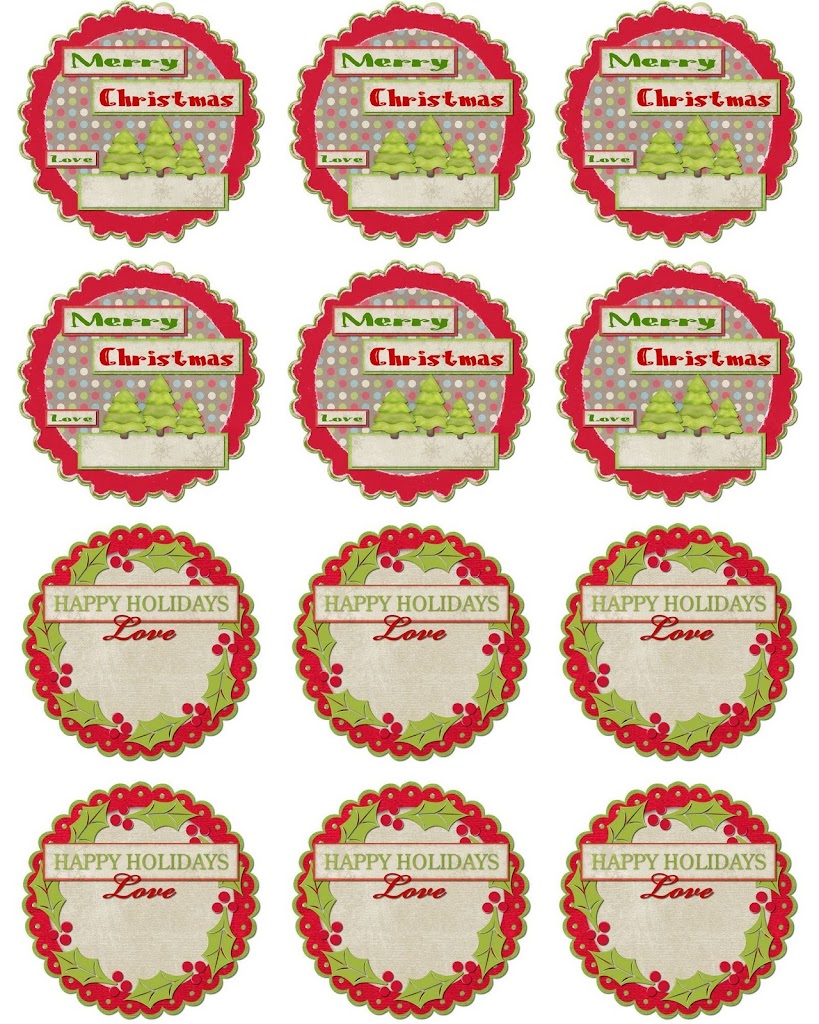
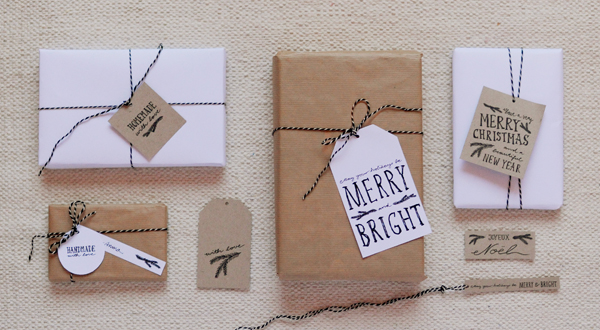
Gift Tags: Trim the calendar pages into smaller sections and use them as unique and colorful gift tags. Add a hole punch and some string to complete the look.
Collage Art: Use the calendar images to create a collage. You can frame it for a custom piece of wall art or use it to decorate notebooks, boxes, or other items.
Bookmarks: Cut out long, narrow strips of the calendar and laminate them to make durable bookmarks. You can also add tassels or ribbons for a decorative touch.
Origami Paper: Calendar pages can be folded into origami shapes. Try making paper cranes, flowers, or other origami creations.
Drawer Liners: Line the insides of drawers or shelves with calendar pages. This not only adds a pop of color but also protects your items from scratching or sticking to the surface.
Postcards: Trim the calendar pages to a standard postcard size, add a message on the back, and send them to friends and family.
Mod Podge Furniture: If you have a piece of furniture with a smooth surface, like a tabletop or dresser, you can use calendar pages and Mod Podge to create a unique, decoupaged design.
Placemats: Laminate calendar pages or cover them with clear adhesive paper to make reusable placemats for your dining table.
Lanterns: Create decorative lanterns by cutting out calendar images and adhering them to glass jars or paper lanterns. When lit, they’ll cast colorful patterns around the room.
Greeting Cards: Cut out pictures or patterns from the calendar to create your own custom greeting cards for various occasions.
Wrapping Paper: Use the large, colorful images from the calendar as wrapping paper for small gifts. It’s a unique and eco-friendly way to present presents.
Puzzles: Turn your calendar into a jigsaw puzzle by cutting out a large image and then carefully slicing it into pieces. Store the pieces in an envelope or box.
Education Aids: Calendar pages with interesting facts or pictures can be used for educational purposes. Help your kids learn about history, geography, or wildlife with these visuals.
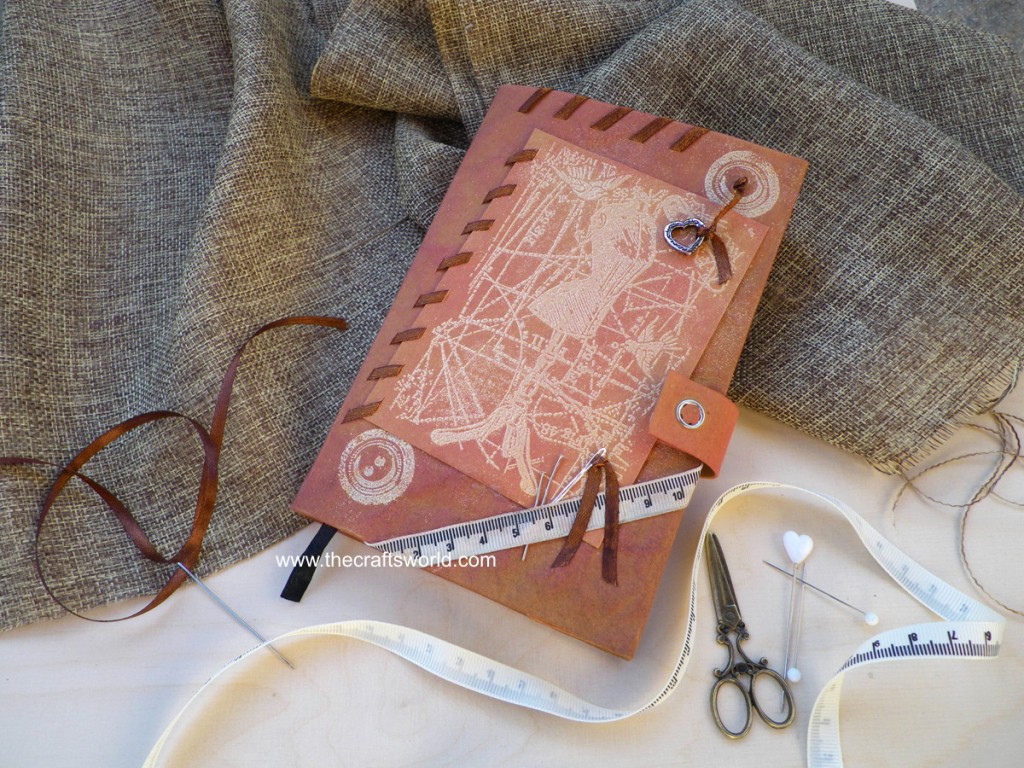
Collage Notebook Covers: Decorate plain notebooks or journals by covering them with cut-outs from your old calendar. It’s a fun way to personalize your stationery.
Scrapbooking: Incorporate calendar images and pages into your scrapbooking projects to add a unique touch and reminisce about special events.
Home Décor: Frame your favorite calendar images and display them as wall art. You can also create a gallery wall with a series of framed calendar pages.
Paper Beads: Roll strips of calendar pages into tight beads and coat them with clear glue. Once they dry, you can string them into necklaces or bracelets.
Repurposing old calendars not only reduces waste but also allows you to express your creativity and give a personal touch to various items in your home.
Also Like ;- 7 Environment-Friendly Craft
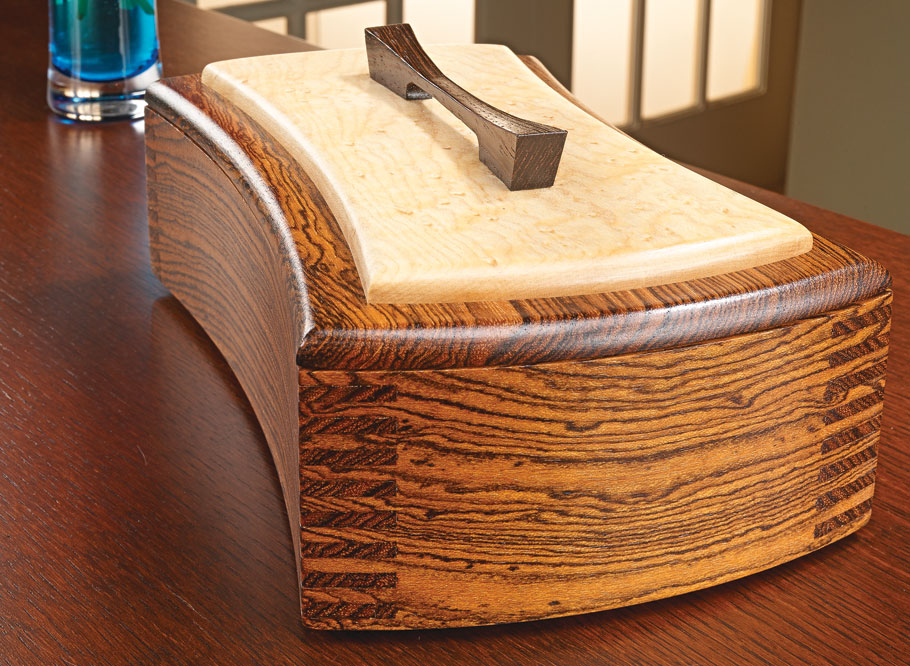
1. Decorative Boxes
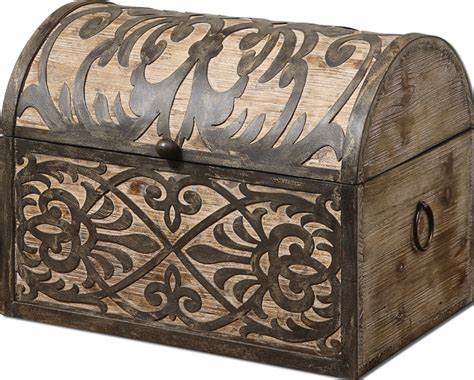
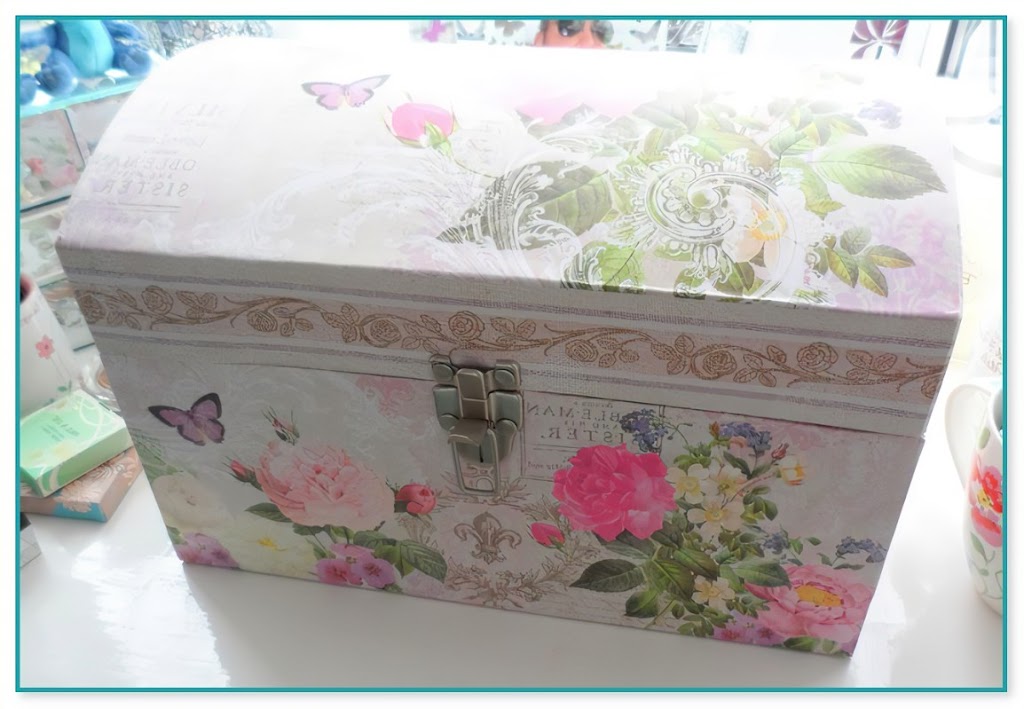
Decorative boxes are not only practical for storage but also add a touch of style and organization to your space. You can make your own decorative boxes with various materials and designs to suit your decor. Here are some creative ideas to make decorative boxes:
Fabric-Covered Boxes:
Choose a plain cardboard or wooden box as your base.
Cut a piece of fabric to fit around the box, leaving some excess for folding over the edges.
Use adhesive or craft glue to attach the fabric to the box.
Fold and secure the excess fabric on the inside of the box for a neat finish.
You can add decorative ribbons, buttons, or other embellishments for extra flair.
Decoupage Boxes:
Select a box with a smooth surface.
Collect decorative paper, such as patterned napkins, magazine clippings, or old calendar pages.
Apply a layer of decoupage glue to the box.
Carefully place the paper on the glued surface, smoothing out any wrinkles or bubbles.
Apply another layer of decoupage glue on top of the paper to seal it and protect the design.
Painted Boxes:
Choose a wooden box for this project.
Sand the surface to ensure a smooth finish.
Paint the box in your desired color. You can use one solid color or create intricate designs.
After the paint has dried, consider adding stenciled patterns or hand-painted details.
Finish with a clear varnish to protect the paint and add a polished look.
Embellished Boxes:
Start with a plain box.
Decorate it with various embellishments like rhinestones, decorative buttons, beads, or small tiles.
Use strong adhesive, such as E6000, to attach the embellishments securely.
You can create patterns or designs that match your room’s aesthetic.
Fabric-Covered Shoeboxes:
Reuse shoeboxes by covering them with colorful fabric.
Measure and cut the fabric to fit the box and its lid.
Secure the fabric with adhesive or double-sided tape.
These fabric-covered shoeboxes are great for organizing smaller items.
Vintage Map Boxes:
Use old maps, atlases, or travel magazines to decorate your boxes.
Cut the map or travel-themed pages to fit and adhere them to the box with decoupage glue.
You can also add map-related embellishments, such as small paper airplanes or compasses.
Washi Tape Boxes:
Cover a plain box with colorful washi tape in various patterns.
Mix and match different tapes to create a vibrant and unique design.
Overlap the tape slightly to ensure complete coverage.
Stamped or Stenciled Boxes:
Decorate your boxes with rubber stamps or stencils.
Choose a theme or pattern, and use acrylic paint to create your design.
Stamps and stencils provide a precise and professional look.
Faux Leather Boxes:
Create the look of leather by using textured wallpaper or contact paper.
Wrap the box and lid with the faux leather material, ensuring a tight fit.
Use adhesive to secure it in place and trim any excess.
Paper Mosaic Boxes:
Tear or cut colored or patterned paper into small pieces.
Apply a layer of glue to the box and start arranging the paper pieces in a mosaic pattern.
Overlap the pieces to create a textured effect.
These decorative box ideas allow you to customize your storage solutions while adding a personal and stylish touch to your home. Use your imagination and creativity to make boxes that match your decor and serve as functional works of art.
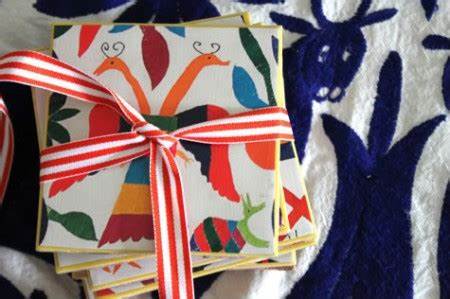
2. Coasters
Coasters are not only functional but can also be decorative, protecting your surfaces and adding style to your home decor. Here are various ideas for making your own unique coasters:
Tile Coasters:
Purchase square or round tiles from a hardware store.
Decorate the tiles with images, patterns, or designs using waterproof markers or acrylic paint.
Seal the coasters with a clear waterproof sealant to protect the artwork.
Photo Coasters:
Select your favorite photos and print them to fit the size of your coasters.
Adhere the photos to ceramic or wooden coasters using decoupage glue.
Apply several layers of decoupage glue on top of the photos to make them waterproof and durable.
Cork Coasters:
Buy cork sheets or cork coasters.
Decorate the cork with paint, markers, or stamps.
Seal the coasters with a waterproof sealant to protect the design and make them easy to clean.
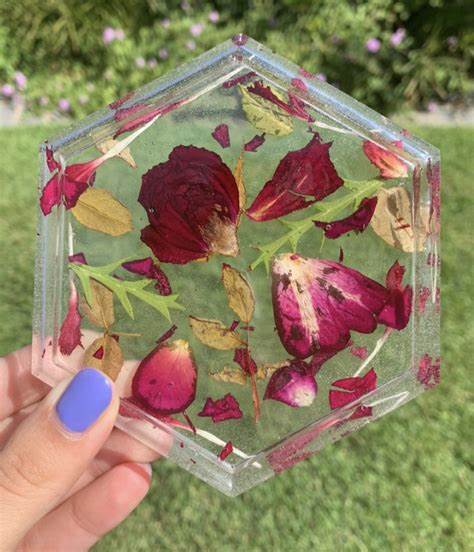
Resin Coasters:
Use a coaster mold or silicone mold to create the coaster’s shape.
Place small items, such as dried flowers, glitter, or colored pigments, in the mold.
Mix epoxy resin according to the instructions and pour it into the mold.
Allow it to cure, and you’ll have unique, clear resin coasters with embedded designs.
Fabric-Wrapped Coasters:
Cut fabric squares to the size of your coasters.
Apply adhesive to the coaster and press the fabric onto it.
Trim any excess fabric and use a waterproof sealant to protect the fabric and make it easy to clean.
Mosaic Coasters:
Break colorful glass, ceramic tiles, or small stones into small pieces.
Apply adhesive to the coaster and arrange the broken pieces in a mosaic pattern.
Grout the mosaic and seal the coaster with a waterproof sealant once it’s dry.
Wood-Burned Coasters:
Purchase wooden coasters or cut your own from wood.
Use a wood-burning tool to create intricate designs or patterns on the wooden surface.
Finish with a clear sealant to protect the wood.
Pressed Flower Coasters:
Place small, dried flowers and leaves on a coaster.
Cover the coaster with clear adhesive paper or resin to preserve the pressed flowers.
The result is a beautiful and natural-looking coaster.
Tin Foil Coasters:
Create a design on a cardboard base with tin foil.
Press the foil design with a rounded object, like a ballpoint pen, to emboss it.
Paint the raised design with acrylic paint to highlight it.
Stenciled Coasters:
Use stencils to create patterns or designs on plain coasters.
Apply paint over the stencil, and then carefully remove the stencil to reveal the design.
Nautical Rope Coasters:
Coil natural or colored nautical rope into a coaster shape and glue the coils together.
These rustic coasters add a coastal or beachy vibe to your decor.
Map Coasters:
Cut small squares from maps, atlases, or travel magazines.
Adhere the map squares to ceramic or wooden coasters using decoupage glue.
Seal the coasters with a waterproof sealant to protect the maps.
When making coasters, you can get as creative as you like, matching them to your home’s decor or creating thematic sets. Handmade coasters also make wonderful gifts for friends and family.
3. Candle Holders
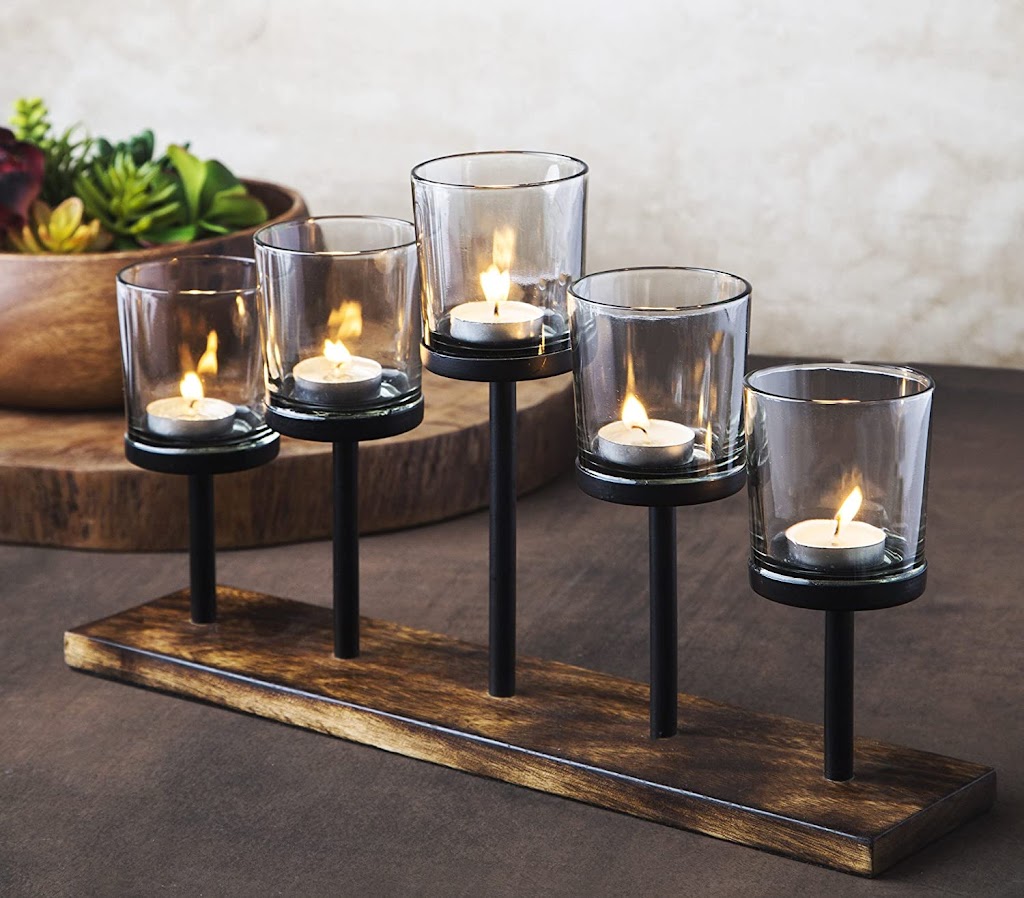
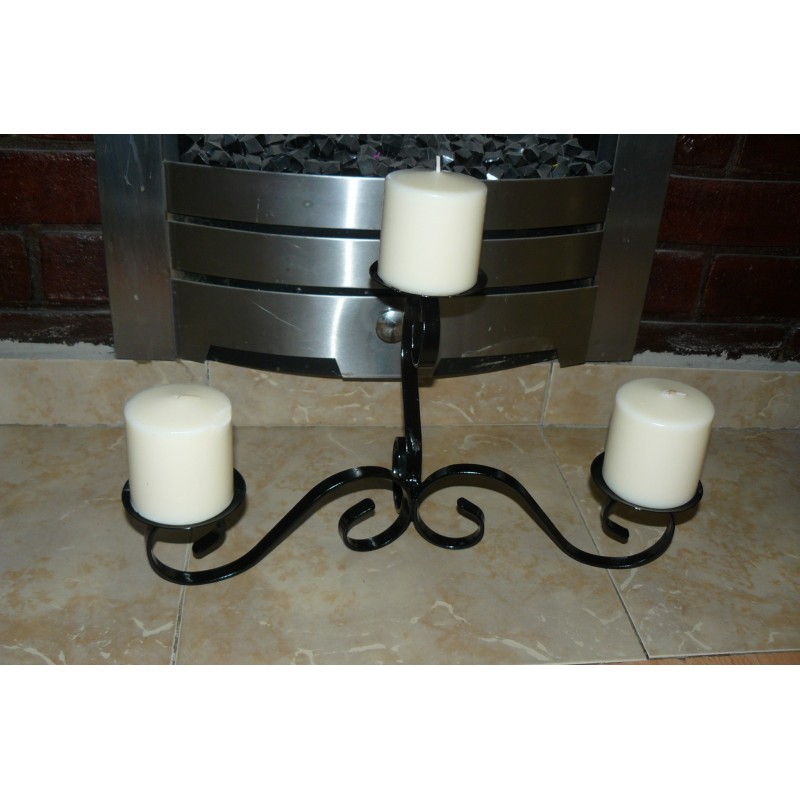
Creating your own candle holders is a fun and creative way to add a personal touch to your home decor. Here are some ideas for making unique candle holders:
Mason Jar Candle Holders:
Decorate mason jars with paint, fabric, or colored tissue paper.
Add a tea light or votive candle inside for a cozy, rustic look.
Wine Cork Candle Holders:
Glue together wine corks in a circular or square shape to create a base.
Place a candle in the center to create a wine-inspired candle holder.
Terracotta Pot Candle Holders:
Paint or decorate small terracotta pots.
Invert them and place tea lights or small pillar candles on the saucers.
Wooden Block Candle Holders:
Cut a wooden block into your desired shape and size.
Create a hole in the center to hold a taper or pillar candle securely.
Seashell Candle Holders:
Collect various seashells and arrange them in a circular or square shape.
Use hot glue to secure the shells together and place a tea light in the center.
Birch Log Candle Holders:
Cut a birch log into small sections and hollow out a space for a tea light or votive candle.
These rustic candle holders add a natural, outdoorsy feel to your decor.
Concrete Candle Holders:
Pour concrete into molds of your choice (e.g., silicone molds or plastic containers).
Insert a candleholder insert or a tapered candle while the concrete is still wet.
Once the concrete has cured, remove the mold and enjoy your modern, industrial-style candle holder.
Glass Bead Candle Holders:
Glue glass beads or marbles to the outside of a clear glass holder, covering it entirely.
The light from the candle will reflect off the beads, creating a beautiful, shimmering effect.
Twig Candle Holders:
Bundle twigs together with twine or hot glue to create a rustic, natural candle holder.
Insert a taper candle or a glass votive holder.
Tin Can Lanterns:
Clean and remove labels from tin cans of various sizes.
Use a hammer and nail to create a pattern of holes on the can’s surface.
Paint the cans and place candles inside to make charming lanterns.
Vintage Teacup Candle Holders:
Use vintage teacups and saucers.
Fill the teacups with melted wax and insert a wick.
Once the wax hardens, you have charming teacup candles.
Copper Pipe Candle Holders:
Cut copper pipes into sections of your desired height.
Use fittings to create a base and attach a flange to secure the candle.
Copper adds an elegant, industrial look to your decor.
Cement Candle Holders with Imprints:
Create a cement candle holder using a silicone mold.
Press leaves, flowers, or other objects into the wet cement to create beautiful imprints.
Paper Bag Luminaries:
Decorate paper bags with cut-out designs or patterns.
Place tea lights inside the bags and arrange them to create a warm and inviting atmosphere.
When making candle holders, consider the type of candles you want to use (votive, tea light, taper, or pillar) and choose materials and designs that complement your decor and style. Handmade candle holders can be used to create cozy atmospheres or set the mood for special occasions.
4. Notebook Covers
Creating your own custom notebook covers is a great way to personalize your notebooks and add a touch of creativity to your everyday life. Here are some ideas for making unique notebook covers:
Decorative Paper Covers:
Choose your favorite decorative paper, such as scrapbook paper, wrapping paper, or hand-painted paper.
Cut the paper to the size of your notebook cover.
Use adhesive or double-sided tape to attach the paper to the cover, ensuring it’s smooth and free of air bubbles.
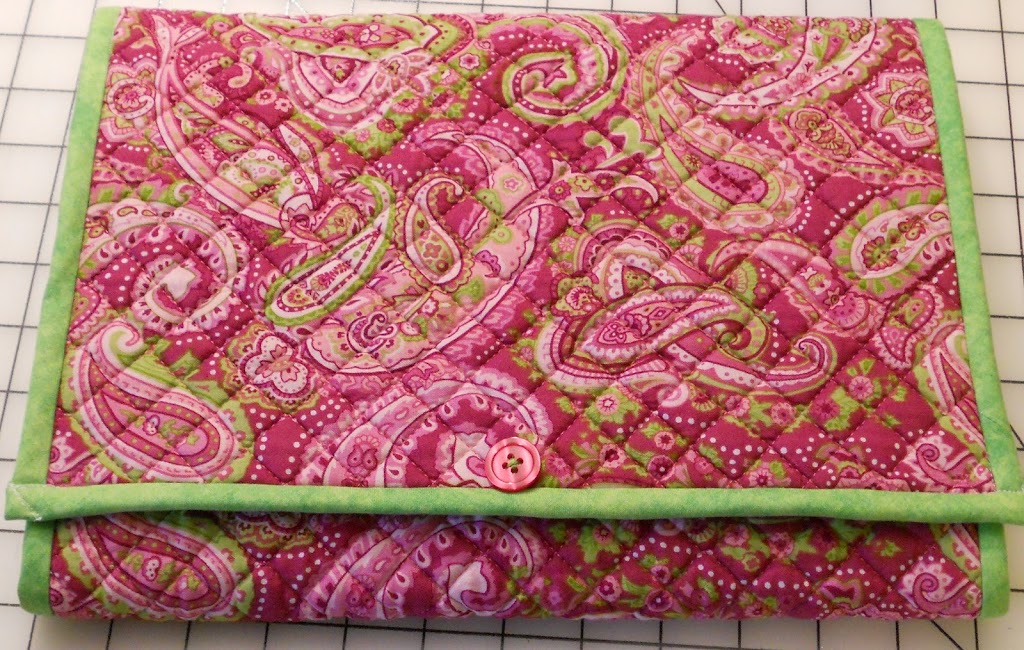
Fabric-Covered Notebooks:
Select a piece of fabric that you love.
Cut the fabric to fit the dimensions of your notebook cover.
Use fabric glue or adhesive to attach the fabric to the cover, making sure it’s smooth and secure.
Fold the excess fabric over the edges or trim it neatly.
Hand-Painted Covers:
Create a unique design or artwork on your notebook cover using acrylic paints or watercolors.
Once the paint is dry, apply a clear varnish to protect the design and give it a glossy finish.
Embellished Covers:
Decorate your notebook cover with various embellishments like rhinestones, buttons, beads, or ribbons.
Use strong adhesive to attach the embellishments securely.
You can create patterns or designs that match your personal style.
Decoupage Covers:
Choose images, photos, or magazine cutouts that you like.
Use decoupage glue to adhere them to the notebook cover.
Add multiple layers of decoupage glue to seal and protect the images.
Stamped or Stenciled Covers:
Use rubber stamps or stencils to create patterns or designs on your notebook cover.
Apply ink or paint over the stamps or stencils to transfer the design.
Leather or Faux Leather Covers:
If you have leather or faux leather material, cut it to the size of your notebook.
Create holes for binding if necessary.
Wrap the leather around the notebook and secure it using leather glue or stitching.
Upcycled Book Covers:
Find old hardcover books or vintage books with attractive covers.
Remove the pages and use the book cover as a notebook cover.
Customize the inside with your own choice of paper.
Washi Tape Covers:
Cover your notebook with strips of colorful washi tape.
Overlap the tape slightly to ensure complete coverage.
Washi tape offers a variety of colors and patterns for a unique design.
Embroidered Covers:
Embroider your own design or pattern on a fabric cover.
Use embroidery floss and a needle to create your custom embroidery art.
Pressed Flower Covers:
Press small, dried flowers and leaves between the pages of a heavy book.
Create a design on your notebook cover with the pressed flowers.
Seal the design with clear adhesive paper or mod podge.
Digital Photo Covers:
Design a custom cover using your favorite photos or digital artwork.
Print the design on adhesive paper or have it professionally printed and adhere it to the notebook.
Customized Leather Engraving:
If you have access to a laser engraver or a leather embossing tool, you can customize leather notebook covers with text, patterns, or designs.
Custom notebook covers are not only a great way to express your personality but also make thoughtful gifts for friends and family. Consider the type of notebook you’re covering, whether it’s a plain notebook, sketchbook, or journal, and choose materials and designs that match its purpose and your own unique style.
5. Gift Tags
6. Gallery Wall
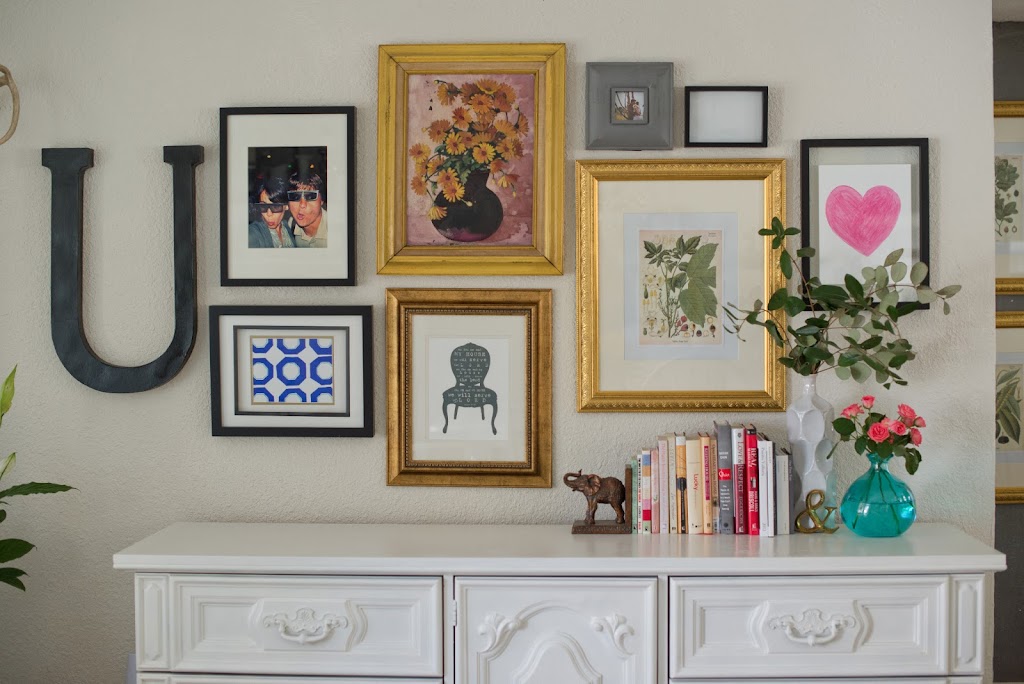
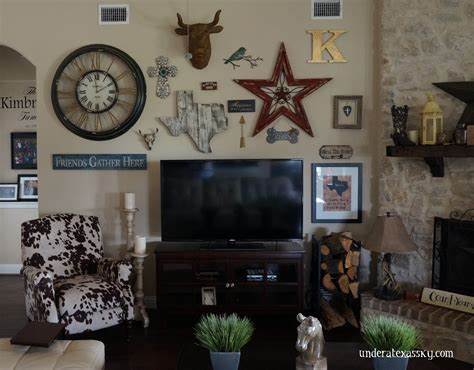
Creating a gallery wall is an excellent way to display your art, photographs, and other cherished items while adding a stylish and personalized touch to your home decor. Here’s how to create a stunning gallery wall:
Materials and Preparation:
Collect Your Art and Frames:
Gather the art, photos, and items you want to display. These can include framed artwork, photographs, mirrors, posters, or other decorative pieces.
Frames and Layout:
Choose frames that complement your decor. They can be matching for a cohesive look or mix-and-match for an eclectic feel.
Lay your art pieces on the floor to experiment with different arrangements. You can create a balanced grid, a symmetrical layout, or an asymmetrical design based on your personal style.
Tools and Supplies:
You’ll need a hammer, nails or wall anchors, a level, measuring tape, and pencil.
Command strips or picture-hanging strips are also an option, especially if you want to avoid making holes in the wall.
Creating the Gallery Wall:
Select a Focal Point:
Choose a central piece or a larger artwork to serve as the focal point of your gallery wall. This piece should be eye-catching and anchor the arrangement.
Plan the Layout:
Use the arrangement you created on the floor as a reference.
Measure the total height and width of your planned gallery wall. This will help you determine where to place it on the wall.
Mark the Wall:
Use a pencil to mark where the top center of your gallery wall will be.
Mark the center point of your focal piece.
Create additional reference points on the wall according to your layout.
Hang the Focal Piece:
Hang the focal piece at your center reference point using the level to ensure it’s straight.
Work Outward:
Begin adding the surrounding pieces. Start with the pieces that are positioned closest to the focal point.
Use your layout plan as a guide, and use the measuring tape to maintain the desired spacing between frames.
Level and Align:
Use the level to ensure each piece is straight.
Adjust the placement and spacing as needed.
Fill Gaps and Gaps:
Continue working outward from the center, filling in gaps and spaces as you go.
Pay attention to the overall balance and visual flow of the gallery wall.
Finishing Touches:
Once all pieces are hung, double-check that everything is level and well-aligned.
Consider adding small decorative items, such as wall sconces, plants, or decorative shelves, between the frames to enhance the overall look.
Additional Tips:
Consider using templates made of paper or cardboard to plan your arrangement on the wall before committing to nails or adhesive.
Mix different types of art and materials to add depth and interest to your gallery wall.
Use proper hanging hardware based on the weight and size of your frames.
Experiment with different frame styles, sizes, and matting options to create a dynamic and visually engaging display.
A well-designed gallery wall can become a focal point in your home and showcase your personality and creativity. Whether it’s a collection of family photos, your favorite artwork, or a combination of both, your gallery wall is an expression of your unique style.