7 Environment-Friendly Craft Activities For Kids
Promoting eco-friendly craft activities for kids is a wonderful way to instill a sense of environmental responsibility and creativity. Here are some environmentally friendly craft ideas for children:
Recycled Paper Crafts:
Gather old newspapers, magazines, or scrap paper.
Create colorful collages, paper mache, or even homemade paper.
Discuss the importance of recycling and reusing materials.
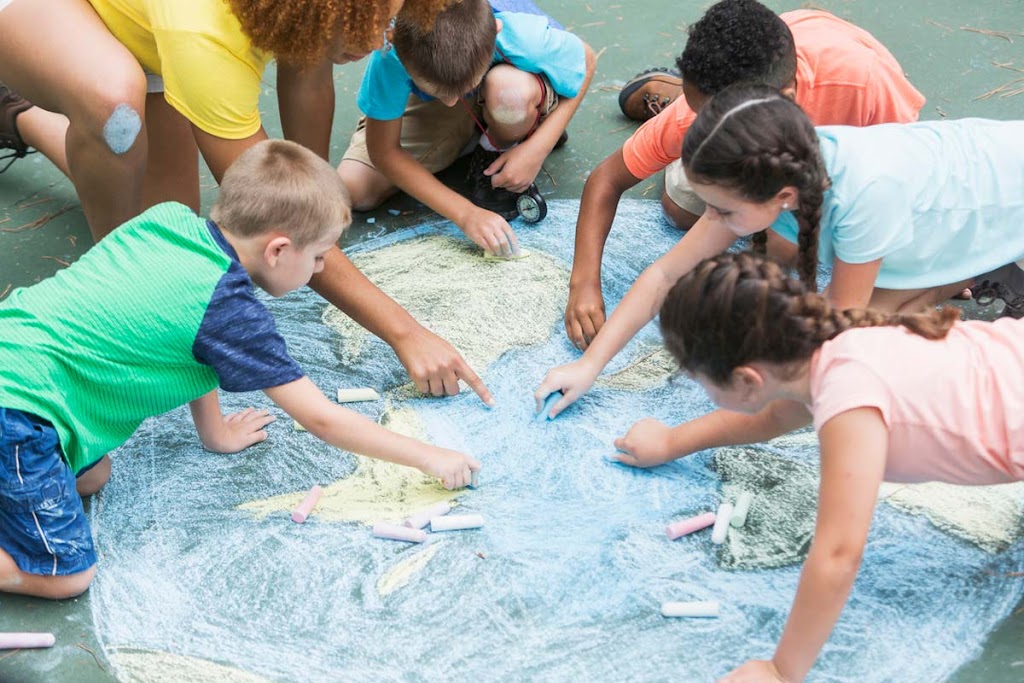
Nature Collage:
Take a nature walk and collect leaves, twigs, and flowers.
Use these items to make beautiful collages.
Talk about the importance of preserving nature.
Egg Carton Art:
Reuse empty egg cartons to create various crafts.
Make caterpillars, flowers, or even a mini garden using the carton cups.
Upcycled Crafts:
Collect old clothes or fabric scraps.
Transform them into patchwork quilts, fabric bracelets, or tote bags.
Recycled Bottle Planters:
Use empty plastic bottles to make mini planters.
Paint and decorate them, then plant seeds or small plants in them.
Homemade Bird Feeders:
Create bird feeders using pinecones, peanut butter, and birdseed.
Hang them outside and observe the visiting birds.
Tin Can Wind Chimes:
Decorate empty tin cans with paint or colorful paper.
Attach them to strings or wires to make wind chimes.
Beeswax Candle Making:
Make candles using beeswax sheets.
Teach kids about the importance of bees and pollination.
Recycled Art Sculptures:
Collect various recyclables like cardboard, plastic bottles, and old toys.
Encourage kids to create sculptures and art pieces from these materials.
Nature Paintbrushes:
Collect natural materials like leaves, sticks, and feathers.
Attach them to sticks with rubber bands and use them as paintbrushes.
Seed Bombs:
Mix clay, compost, and wildflower seeds.
Form small balls and let them dry.
Toss these seed bombs into a garden or an open space to promote wildflower growth.
Rock Painting:
Collect smooth rocks and paint them with environmentally friendly paints.
You can create animals, inspirational messages, or decorative pieces.
Recycled Jewelry:
Use old buttons, beads, or bottle caps to make jewelry.
Discuss the concept of reusing materials to reduce waste.
Nature Weaving:
Create looms from sticks and twine.
Weave in leaves, grass, and small branches to make natural fiber art.
Recycled Puzzles:
Use old cardboard boxes to create puzzles.
Kids can draw or paint their own designs.
Encourage discussions about the importance of recycling, conserving resources, and protecting the environment while engaging in these craft activities. This not only fosters creativity but also raises eco-consciousness among children.
Also Like:- What are the benefits of recycling
1. Pressed Flowers and Leaves Bookmark
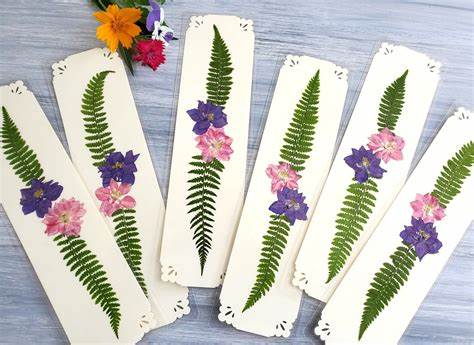
Title: Pressed Flowers and Leaves Bookmark
Introduction:
Creating a pressed flowers and leaves bookmark is a delightful and simple craft that allows you to preserve the beauty of nature within the pages of your favorite books. This DIY project not only adds a touch of nature to your reading experience but also makes for a wonderful personalized gift. Whether you’re an avid reader or searching for a creative, eco-friendly hobby, this step-by-step guide will help you make a stunning pressed flowers and leaves bookmark.
Materials You’ll Need:
Fresh flowers and leaves
A heavy book or a flower press
Parchment or wax paper
White glue
A paintbrush
Cardstock or heavy paper
Scissors
A hole punch
Ribbon or twine (optional)
Instructions:
Gather Fresh Flowers and Leaves:
Start by collecting a variety of fresh flowers and leaves. Choose those that are not too thick or bulky, as they press better. Wildflowers, thin leaves, and delicate blossoms work exceptionally well.
Prepare the Press:
If you have a flower press, great! If not, you can use a heavy book. To use a book, place a sheet of parchment or wax paper between the pages to protect them from moisture and staining. Leave several blank pages at the beginning and end of the book for added weight.
Press the Flowers and Leaves:
Arrange the flowers and leaves between the parchment paper in the book or flower press. Make sure they are evenly spaced and not touching each other. Close the book or flower press and add more weight on top, if needed. Let them press for about 1-2 weeks.
Check the Drying Progress:
After the allotted time, carefully open the book or flower press to check if the flowers and leaves are completely dry and flat. If not, continue pressing for another few days.
Create the Bookmark:
Once your pressed flowers and leaves are ready, it’s time to make the bookmark. Cut a piece of cardstock or heavy paper to your desired bookmark size. A typical bookmark size is around 2 inches by 6 inches, but you can customize it to your preference.
Arrange the Pressed Flowers and Leaves:
Use white glue to gently attach the pressed flowers and leaves to the cardstock. A small amount of glue applied with a paintbrush works well. Be creative with your arrangement and design, but avoid overloading the bookmark with too many elements.
Allow the Glue to Dry:
Let the glue dry completely to ensure that the pressed flowers and leaves are securely attached to the bookmark.
Add a Hole for the Ribbon or Twine:
To make the bookmark even more special, you can punch a hole at the top of the bookmark and thread a ribbon or twine through it. This not only adds a decorative touch but also serves as a practical way to mark your page.
Enjoy Your Handmade Bookmark:
Your pressed flowers and leaves bookmark is now complete. Use it to mark your place in your current book or give it as a thoughtful, nature-inspired gift to a friend or family member. Every time you open your book, you’ll be reminded of the beauty of the great outdoors.
Conclusion:
Creating a pressed flowers and leaves bookmark is a charming and eco-friendly craft that brings the beauty of nature into your reading routine. It’s a simple and enjoyable project that can be personalized to your liking, making it an ideal gift or a special addition to your own reading collection. Happy crafting and happy reading!
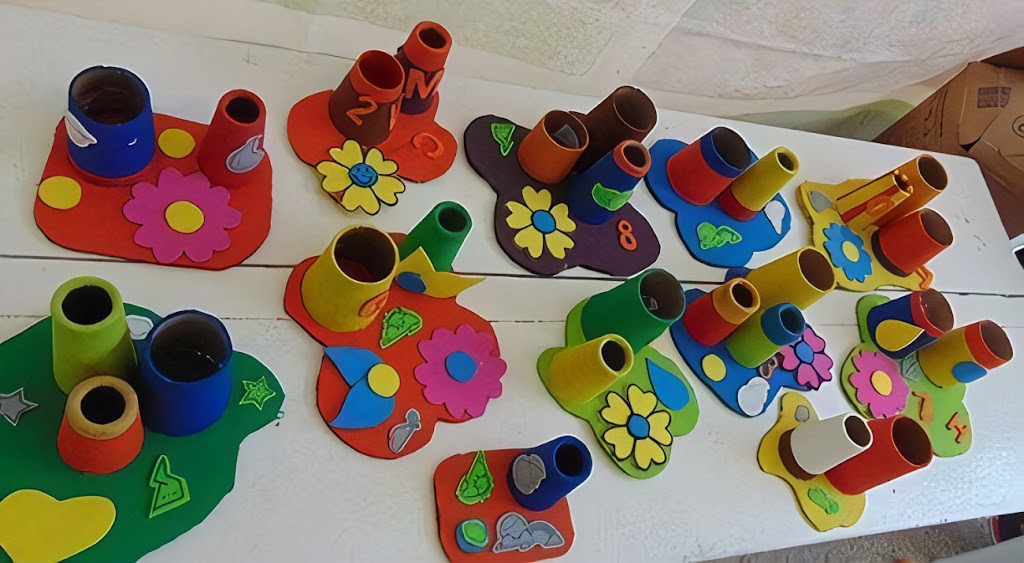
2. Bird Feeder With Toilet Paper Roll
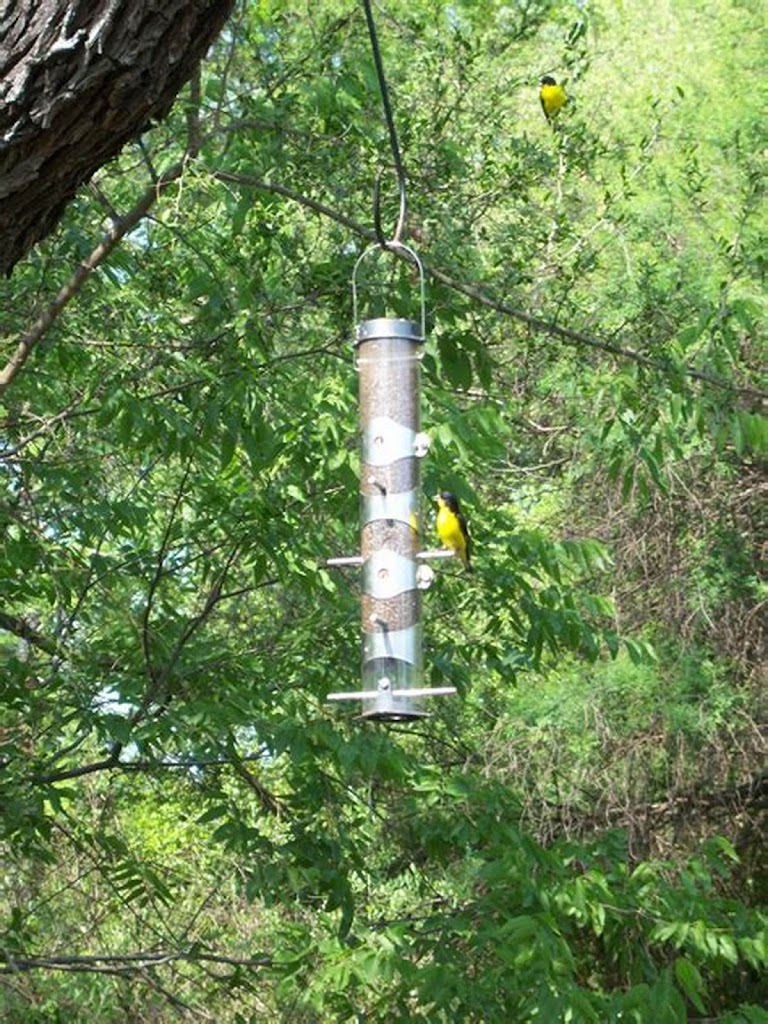
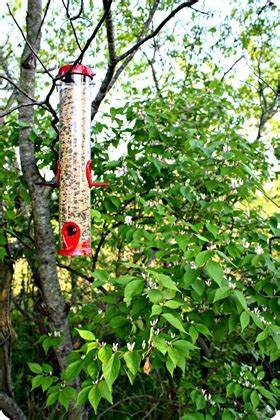
Creating a bird feeder with a toilet paper roll is a simple and eco-friendly DIY project. This can be a fun and creative way to attract birds to your garden or outdoor space. Here’s a step-by-step guide on how to make one:
Materials you’ll need:
Empty toilet paper roll
Peanut butter or vegetable shortening
Birdseed
String or twine
Butter knife or spatula
Scissors
Hole punch (optional)
Steps:
Gather your materials: Collect all the necessary materials to make the bird feeder.
Spread the peanut butter: Take the empty toilet paper roll and use a butter knife or spatula to spread a layer of peanut butter or vegetable shortening all over the outside of the roll. This will serve as the “glue” to hold the birdseed.
Roll it in birdseed: Roll the peanut butter-covered toilet paper roll in a plate or tray filled with birdseed. Make sure to press the birdseed onto the roll, so it sticks well.
Create a hanger: Using a hole punch (or simply poking a hole with scissors), make two holes at the top of the roll, about 1 inch from the edge. Thread a piece of string or twine through these holes, creating a loop for hanging.
Let it set: If the weather is warm, you might want to put the bird feeder in the refrigerator for a short time to let the peanut butter or shortening firm up. This will prevent it from getting too messy when you hang it outside.
Hang it up: Find a suitable place to hang your bird feeder, such as on a tree branch or a hook in your garden. Make sure it’s at a height where you can easily observe the birds.
Enjoy the birds: Birds will be attracted to the birdseed on your feeder, providing you with a delightful view of local wildlife.
Maintain and refill: Keep an eye on your bird feeder and refill it as needed to ensure the birds have a constant supply of food.
This simple project is a great way to recycle a used toilet paper roll while also providing a food source for your local feathered friends. Enjoy the beauty of nature right in your own backyard!
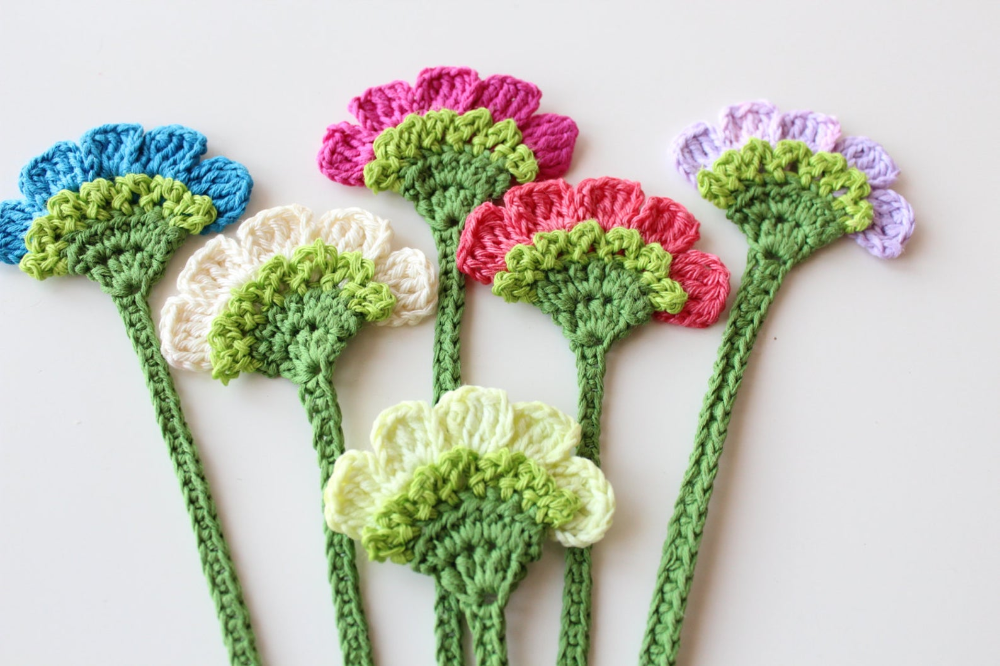
3. Crepe Paper Flowers
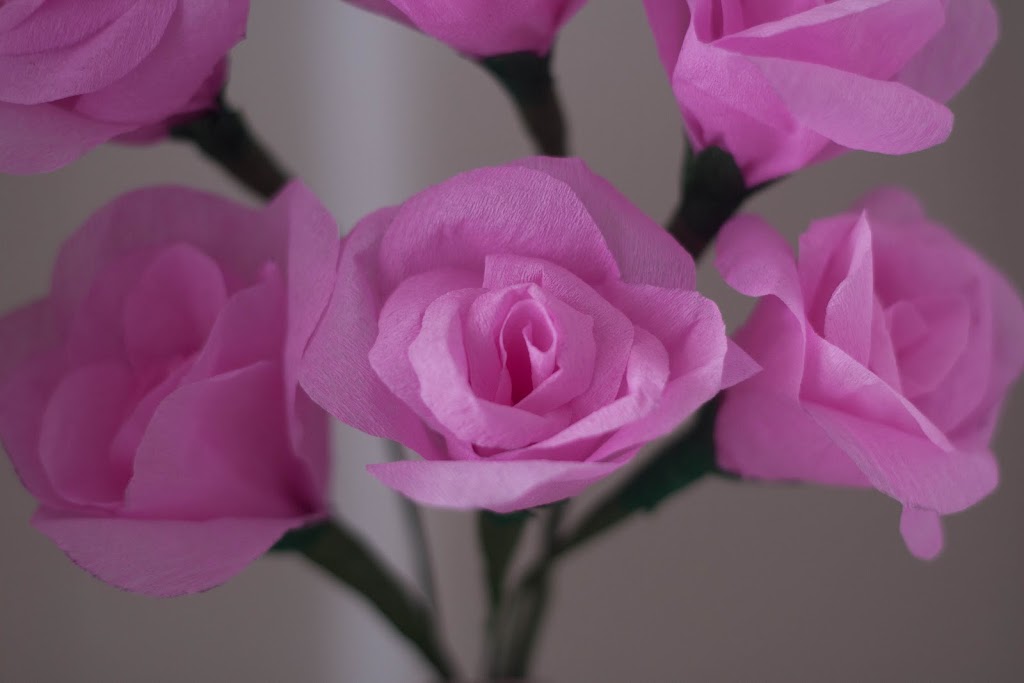
Creating crepe paper flowers is a fun and creative craft that allows you to make beautiful, long-lasting blooms for various occasions. Here’s a step-by-step guide on how to make simple crepe paper flowers:
Materials you’ll need:
Crepe paper in your desired flower colors
Green floral tape or regular tape
Floral wire or bendable wire (for stems)
Scissors
Pencil or dowel (for shaping petals)
Craft glue
Steps:
Prepare your materials: Gather all the necessary materials to make crepe paper flowers.
Cut the crepe paper: Cut the crepe paper into strips of your desired petal color(s). These strips should be about 2-3 inches wide and 6-8 inches long. You can cut different sizes for different layers of petals if you’re making a multi-layered flower.
Shape the petals: Take one of the crepe paper strips and gently stretch it lengthwise. This will give the paper a more natural and wrinkled appearance, which mimics the texture of real flower petals.
Create the petals: Fold the crepe paper strip in half and then fold it in half again. This will give you a folded strip with the open edges at one end and a pointy end at the other.
Cut the petal shape: Use scissors to cut a petal shape along the rounded end of the folded strip. The shape should resemble a teardrop or a rounded triangle, but you can experiment with different shapes for various flowers.
Unfold and separate the petals: Gently unfold the strip to reveal multiple petals. If you have different colors or sizes of strips, you can layer them to create a more realistic-looking flower.
Form the flower: Take a floral wire or bendable wire and attach it to the base of the petals using floral tape or regular tape. Start with a small piece of tape at the base of the petals and then wrap it tightly around the wire to secure the petals.
Shape the petals: Use a pencil or a dowel to curl the edges of the petals, giving them a more lifelike appearance. You can also crinkle the edges to add texture.
Create the center: To make the center of your flower, cut a small strip of crepe paper in a contrasting color, roll it into a tight coil, and secure it with a dab of craft glue. Attach this center to the wire stem.
Wrap the stem: Use green floral tape to wrap the wire stem, starting at the base of the petals and working your way down. This will give your flower a realistic stem appearance.
Adjust and fluff: After completing your flower, adjust the petals and bend the stem to your liking. Fluff and shape the petals until you’re satisfied with the appearance.
Create more flowers: Repeat the process to make as many crepe paper flowers as you like.
Crepe paper flowers can be used for various purposes, such as bouquets, decorations, or even as gift toppers. Experiment with different colors and shapes to create a variety of beautiful blooms.
4. Milk Carton Vase
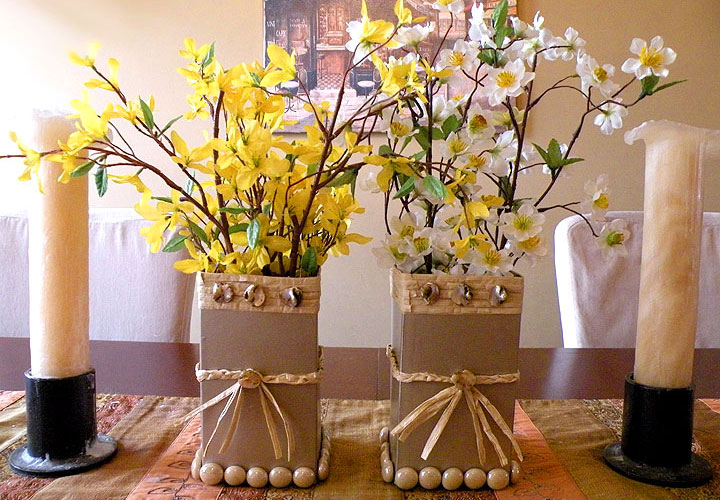
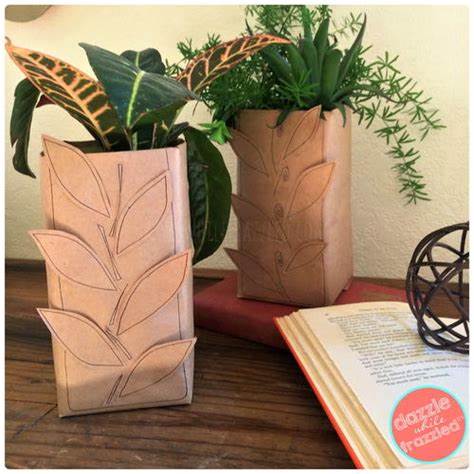
A milk carton vase is a creative and eco-friendly DIY project that repurposes an old milk carton into a decorative vase for flowers. Here’s a step-by-step guide on how to make one:
Materials you’ll need:
Empty milk carton (cleaned and dried)
Scissors or a craft knife
Acrylic paint (optional)
Paintbrushes (if painting)
Decorative materials (e.g., stickers, markers, ribbon)
Flowers or artificial flowers
Water and a small plastic cup (if using fresh flowers)
Steps:
Prepare the milk carton: Make sure the milk carton is clean and dry. Remove any labels or residue.
Cut the top: Using scissors or a craft knife, carefully cut off the top portion of the milk carton. This will serve as the opening for your vase. You can decide how tall or short you want the vase to be by adjusting the height you cut.
Optional: Paint the carton: If you want to add a personal touch, you can paint the outside of the milk carton. Acrylic paint works well for this purpose. Allow the paint to dry completely before moving on.
Decorate the vase: You can get creative here by adding stickers, drawing designs, or tying a ribbon around the vase to give it a unique look.
Add water (for fresh flowers): If you plan to use fresh flowers, insert a small plastic cup or container inside the milk carton to hold water. Fill the cup with water and arrange your fresh flowers in it.
Arrange the flowers: Whether using fresh or artificial flowers, carefully arrange them in the vase. Be sure to trim the stems to the desired length.
Display your milk carton vase: Find a suitable spot to display your milk carton vase. It can be a charming addition to your home decor, and it’s an eco-friendly way to recycle and repurpose.
Remember to change the water for fresh flowers regularly to keep them looking fresh. The milk carton vase is a simple and cost-effective way to add a touch of creativity to your space while also reducing waste through recycling.
5. Bubbles
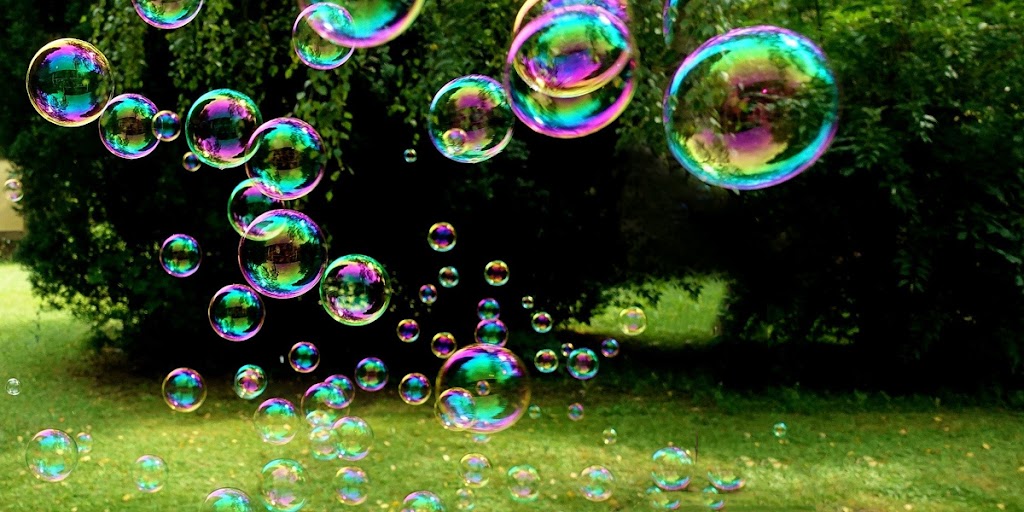
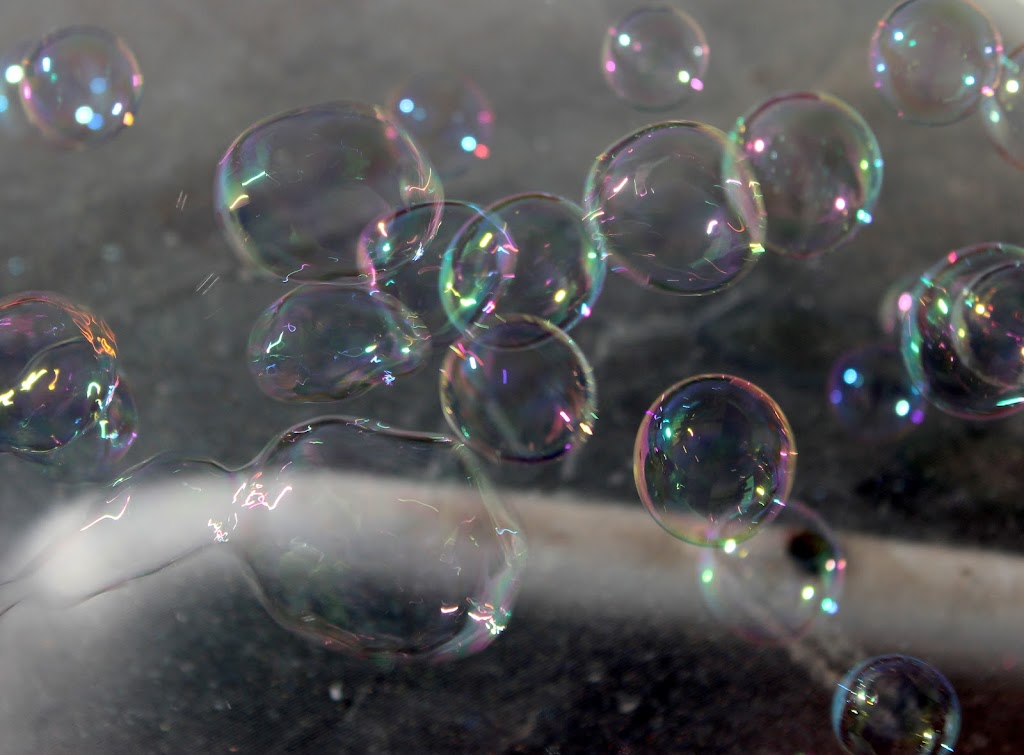
The development of your children will benefit greatly from this beloved hobby. It will focus on their gross and fine motor skills as well as help them become better at visual tracking.
6. Potpourri Pinecones
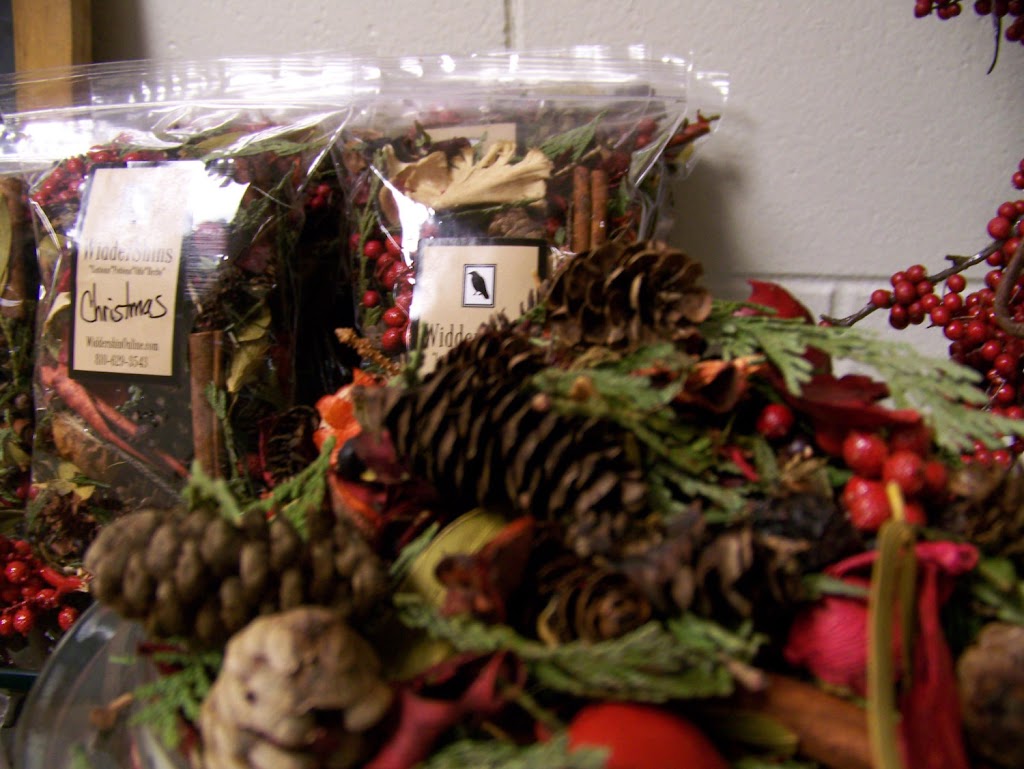
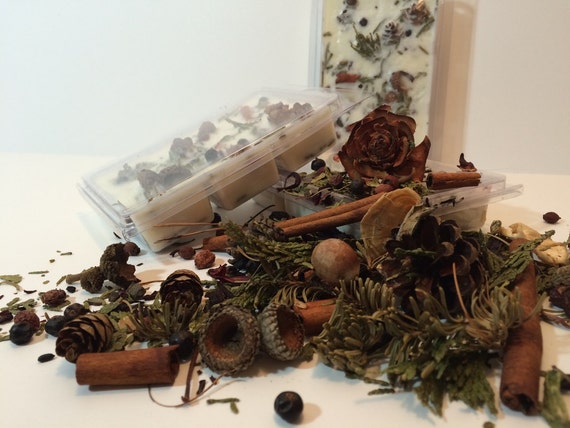
Certainly, I’ll write in English. “Potpourri Pinecones” could refer to a creative and aromatic craft project. To make potpourri pinecones, you can follow these steps:
Gather Pinecones: Collect pinecones from the outdoors or purchase them from a craft store. Make sure they are clean and dry.
Prepare Potpourri: You can either buy pre-made potpourri or create your own. Popular potpourri ingredients include dried flowers, herbs, spices, and essential oils. Mix these elements together in a bowl.
Scent the Pinecones: To add a delightful fragrance to the pinecones, you can sprinkle or spray them with your chosen essential oils or scented oil. Allow them to dry for a while.
Decorate the Pinecones: You can enhance the visual appeal of the pinecones by painting their tips or adding glitter for a touch of sparkle.
Place in a Bowl or Sachet: Once the pinecones are fully dried and scented, you can arrange them in a decorative bowl or put them in sachets to place in your drawers or closets. The scent will slowly release over time, freshening up your living spaces.
Potpourri pinecones make for a lovely and fragrant decoration that’s perfect for the holiday season or as a natural air freshener year-round.
7. Eggshell Mosaic
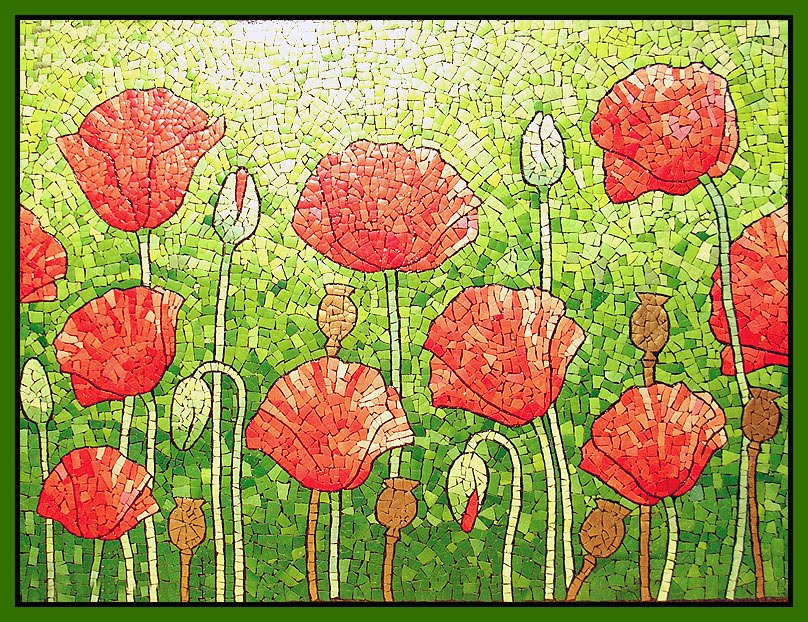
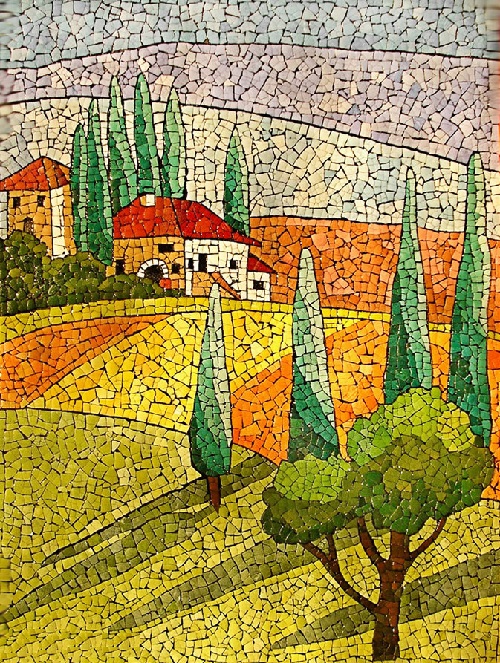
Creating an eggshell mosaic is a creative and decorative craft project that can yield beautiful results. Here’s how to make an eggshell mosaic:
Materials You’ll Need:
Eggshells: Gather eggshells and carefully crack them, trying to keep the pieces as large as possible. Rinse them thoroughly to remove any residual egg whites or yolks.
Surface: You’ll need a surface to create your mosaic on. This can be a wooden board, a picture frame, a vase, or any other item you want to decorate.
Adhesive: Use a strong adhesive like white glue or a clear-drying craft adhesive.
Paints (optional): Acrylic paints and brushes if you want to paint your eggshells for added color.
Steps to Create an Eggshell Mosaic:
Prepare the Surface: If you’re using a wooden board or any other surface that you want to paint, start by applying a base coat of paint and allowing it to dry. This will serve as the background for your mosaic.
Design Your Pattern: Plan the design you want to create with the eggshells. You can sketch it lightly on the surface to guide you.
Apply Adhesive: Apply a thin layer of adhesive to a small area of your surface. You can work in sections to prevent the adhesive from drying too quickly.
Place Eggshell Pieces: Carefully place the eggshell pieces onto the adhesive, following your design. You can break the eggshells into smaller fragments to fit the pattern. Press them down gently to ensure they adhere securely.
Continue Adding Shells: Work your way through the entire design, applying adhesive and adding eggshell pieces until your pattern is complete.
Let It Dry: Allow the adhesive to dry completely. This may take several hours or even overnight.
Seal the Mosaic (optional): To protect your mosaic and give it a smooth finish, you can apply a layer of clear varnish or sealant over the eggshell surface. This step is optional but can enhance the appearance of your mosaic.
Once your eggshell mosaic is complete and dry, it can be a unique and eye-catching piece of art or decoration. You can display it on a wall, as a tabletop, or in any other way that suits your creative vision.