8 DIY Projects for Your Garden and Yard Using Upcycled and Recycled Materials

Certainly! Upcycling and recycling materials for DIY garden and yard projects is a great way to reduce waste and create unique, eco-friendly outdoor décor. Here are some creative ideas:
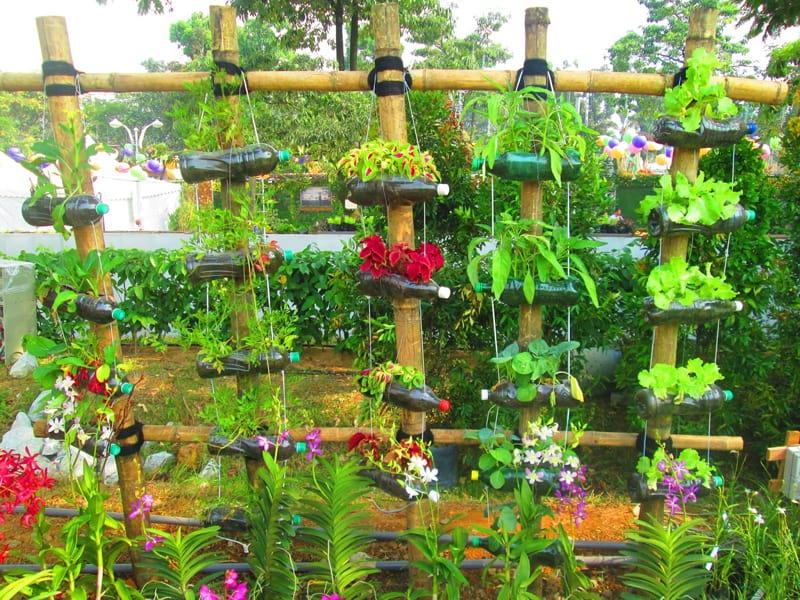
Pallet Garden: Convert old pallets into vertical gardens. Attach planter boxes or pots to the pallet’s slats and hang it on your fence or wall. This is perfect for growing herbs and small vegetables.
Tire Planters: Paint and stack old tires to create colorful planters. You can even mosaic them for a unique look.
Bottle Edging: Collect empty wine or beer bottles to create a colorful border for your garden. Dig a trench and bury the bottles neck-down, leaving the base exposed for a beautiful effect.
Broken Pot Fairy Garden: If you have chipped or broken clay pots, turn them into whimsical fairy gardens. Arrange the pieces to create miniature landscapes for fairies and gnomes.
Garden Bench: Repurpose an old wooden door or headboard to create a rustic garden bench. Add a coat of weather-resistant paint for durability.
Tin Can Lanterns: Save tin cans and punch holes in various patterns to make lanterns. Place candles inside and hang them from trees or fence posts to create a magical ambiance in your garden.
Bike Planter: Old, rusted bicycles can be transformed into charming plant holders. Simply remove the wheels and place potted plants or baskets where the wheels used to be.
Shutter Trellis: Attach old wooden shutters together vertically and use them as a trellis for climbing plants like ivy or clematis.
Mason Jar Solar Lights: Fill mason jars with fairy lights or solar-powered LED lights and hang them around your garden for a warm and enchanting glow at night.
Tin Roof Birdhouse: Repurpose a small piece of old tin roofing material to create a rustic birdhouse. Paint it in vibrant colors to attract birds to your yard.
Gutter Garden: Use old gutters to create a hanging garden. Attach them to a wall or fence and plant small herbs, succulents, or strawberries in the individual sections.
Wheelbarrow Planter: If you have an old, non-functional wheelbarrow, fill it with soil and plant flowers or herbs for a mobile garden. You can move it around to catch the sun.
Broken China Mosaic Stepping Stones: Break old china or ceramic dishes and use the pieces to decorate homemade stepping stones. These will add a unique and colorful touch to your garden path.
Rain Boot Planters: Old rain boots can be filled with soil and used as quirky planters. They’re perfect for adding a playful touch to your garden.
Wooden Crate Herb Garden: Stack wooden crates to create a vertical herb garden. Fill each crate with potting soil and your favorite herbs.
PVC Pipe Garden: Repurpose PVC pipes into a hydroponic or vertical vegetable garden. This is a space-saving and efficient way to grow plants.
CD Wind Chimes: Old CDs can be turned into shiny, reflective wind chimes. Attach them to strings and hang them from trees to catch the sunlight.
When working on these projects, make sure to use safety precautions, especially when handling potentially sharp or hazardous materials. With a bit of creativity and effort, you can turn your garden and yard into a sustainable and visually stunning oasis.
Also Like:- 7 Easy, Fun and Useful Crafts
1. Birdseed Ornaments
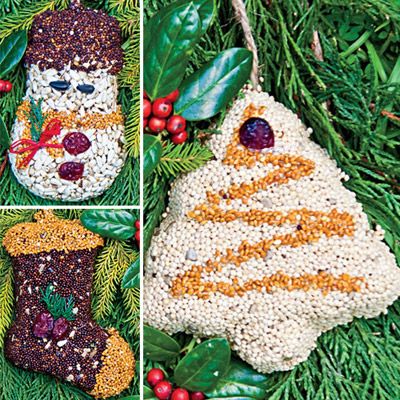

Birdseed ornaments are a fun and easy DIY project that allows you to create decorative treats for the birds in your garden. These ornaments can provide food for feathered friends while also adding a charming touch to your outdoor space. Here’s how to make birdseed ornaments:
Materials You’ll Need:
Birdseed (mix of seeds such as sunflower, millet, and peanuts)
Gelatin or unflavored agar-agar (vegetarian alternative)
Water
Cookie cutters or molds
Non-stick cooking spray
Drinking straws or skewers (for making holes)
Twine or string
Wax paper
Mixing bowl
Saucepan
Cooking spray or vegetable oil
Instructions:
Prepare Your Molds: Start by laying out your cookie cutters or molds on a flat surface. If you’re using cookie cutters, place them on a wax paper-lined baking sheet. Spray the inside of your molds with non-stick cooking spray.
Create a Hole for Hanging: To hang your birdseed ornaments, insert a drinking straw or skewer near the top of each mold. Make sure it goes through the mixture. This hole will serve as the place where you’ll thread twine or string to hang the ornaments later.
Mix Gelatin or Agar-Agar: In a saucepan, mix the gelatin (or agar-agar for a vegetarian option) with water according to the package instructions. Heat and stir until the mixture becomes clear and has a smooth consistency.
Add Birdseed: In a mixing bowl, combine the birdseed with the gelatin or agar-agar mixture. Stir well to ensure all the seeds are evenly coated. The mixture should be thick enough to hold its shape but still be sticky.
Fill Molds: Spoon the birdseed mixture into your prepared molds. Press it down firmly to ensure it takes the shape of the mold and is compacted. Smooth the surface.
Let it Set: Allow the ornaments to set for several hours or overnight. The gelatin or agar-agar will harden as it cools and dries. Make sure they are completely dry and solid before proceeding.
Remove from Molds: Carefully pop the birdseed ornaments out of the molds. If you used cookie cutters, gently press on the back of the cutter to release the ornament.
Thread with Twine: Remove the drinking straws or skewers used for making holes, and thread a piece of twine or string through the hole you created. Tie a knot at the top to create a loop for hanging.
Hang and Enjoy: Hang your birdseed ornaments on tree branches, hooks, or anywhere in your garden where birds frequently visit. Be sure to place them away from predators and sheltered from rain to prolong their life.
Birds will be attracted to the ornaments, and you can enjoy watching them feast on the treats you’ve made. Remember to replace the ornaments as needed, especially after they’ve been picked clean by the birds.
2. Birdseed Ornaments
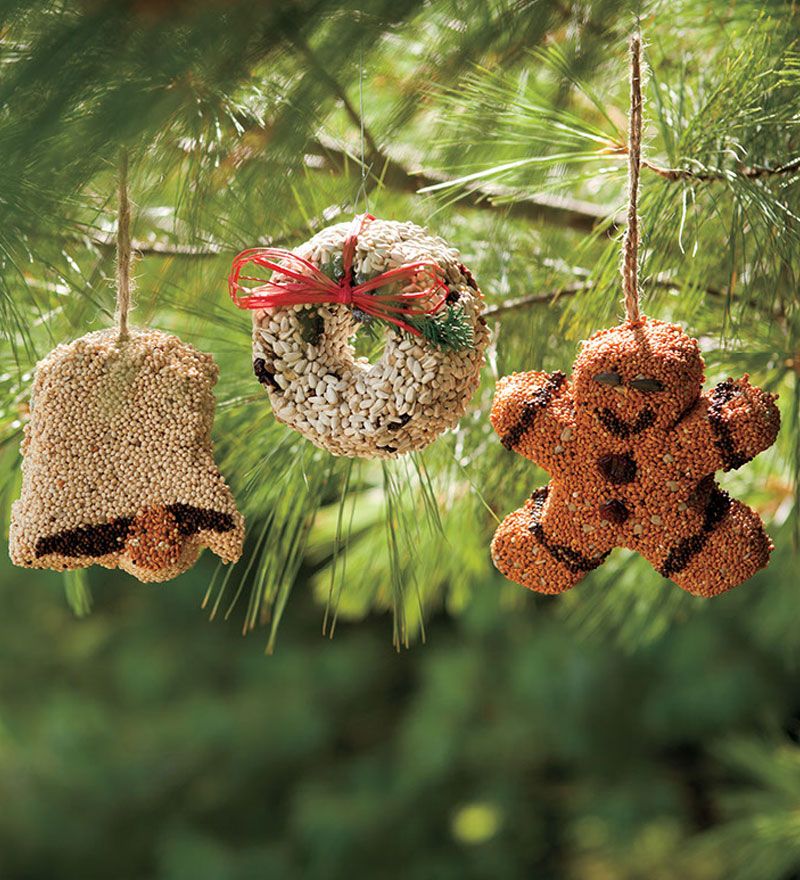
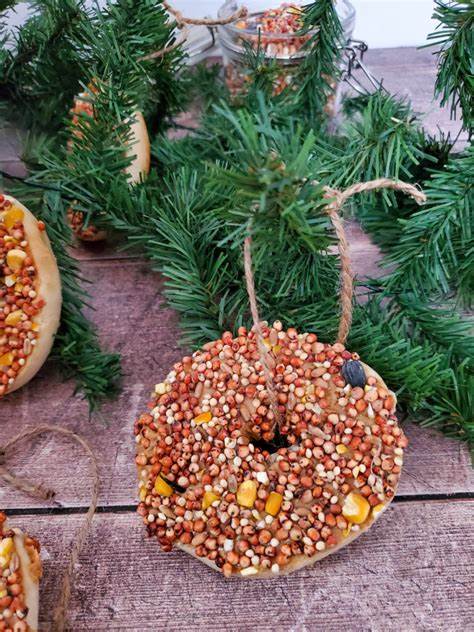
Birdseed ornaments are a fun and creative way to feed the birds while also adding a touch of natural decor to your outdoor space. These ornaments are simple to make and can be a great project for kids and adults alike. Here’s a basic recipe and instructions for creating birdseed ornaments:
Materials Needed:
Birdseed (a mix of seeds that birds in your area prefer)
Gelatin (unflavored) or corn syrup
Water
Cookie cutters or silicone molds
Twine or string
Non-stick cooking spray
Mixing bowl
Mixing spoon
Instructions:
Prepare Your Molds:
Spray your cookie cutters or silicone molds with non-stick cooking spray to prevent the birdseed mixture from sticking.
Make the Birdseed Mixture:
In a mixing bowl, combine one packet of unflavored gelatin with 1/4 cup of water. Let it sit for a few minutes to soften.
Gently heat the gelatin mixture in a microwave or on the stovetop until it becomes a liquid.
Gradually stir in 2 cups of birdseed, mixing thoroughly until all the seeds are coated.
Fill Your Molds:
Press the birdseed mixture into your molds, making sure to pack it down firmly to ensure the ornaments hold their shape.
Insert Hanging Loops:
Before the mixture sets, insert a piece of twine or string into each ornament, making a loop at the top to hang it.
Let Them Dry:
Place your filled molds on a tray or parchment paper and let them dry for several hours or overnight until they are completely firm.
Remove from Molds:
Once the ornaments are dry and firm, carefully remove them from the molds. If using cookie cutters, gently push the ornament out.
Hang Your Ornaments:
Find a suitable outdoor location to hang your birdseed ornaments, such as on tree branches, a garden hook, or a bird feeder pole.
Enjoy Bird Watching:
Sit back, relax, and enjoy watching the birds come to feed on your homemade ornaments.
Remember that the time it takes for the ornaments to dry may vary depending on the thickness of the mixture and the humidity in your area. These birdseed ornaments can be a delightful addition to your garden and a source of nourishment for local birds, especially during the colder months when food can be scarce.
3. Whimsy and Art

Whimsy and art are two concepts that often intersect, creating a delightful and imaginative fusion. Whimsy, with its light-hearted and playful nature, can infuse a sense of wonder and spontaneity into artistic expression. Art, on the other hand, is a medium through which individuals channel their creativity, emotions, and ideas. When these two elements come together, they can produce captivating and thought-provoking works that captivate the viewer’s imagination.
Whimsy in art can take many forms. It might manifest in the use of vibrant and unexpected colors, creating a visual feast for the eyes. Artists can incorporate playful and surreal elements into their compositions, blurring the lines between reality and fantasy. Whimsical art often invites viewers to question their perceptions, providing a break from the mundane and a window into a more imaginative world.
Moreover, humor and wit are frequently intertwined with whimsy in art. Artists may incorporate clever wordplay, visual puns, or absurd juxtapositions to entertain and amuse their audience. These elements can add depth and complexity to a piece, making it not only visually stimulating but also intellectually engaging.
Whimsy can also serve as a powerful commentary on the human experience. By employing humor and whimsical imagery, artists can explore complex themes, challenge social norms, and offer insightful critiques of society. This blend of artistic expression and whimsy can provide a unique lens through which to view the world, prompting viewers to reconsider their perspectives.
In conclusion, the infusion of whimsy into art can be a source of joy, wonder, and intellectual exploration. It offers a refreshing departure from the ordinary and invites us to embrace the unexpected and the fantastical. Whether through playful colors, clever humor, or surreal compositions, whimsical art provides a space for both artists and viewers to let their imaginations run wild and see the world in a new, enchanting light.
4. Bird Feeders
Of course, I can provide information about bird feeders in English. Bird feeders are a popular way to attract and nourish birds in your backyard or garden. Here’s some information on bird feeders:
Types of Bird Feeders:
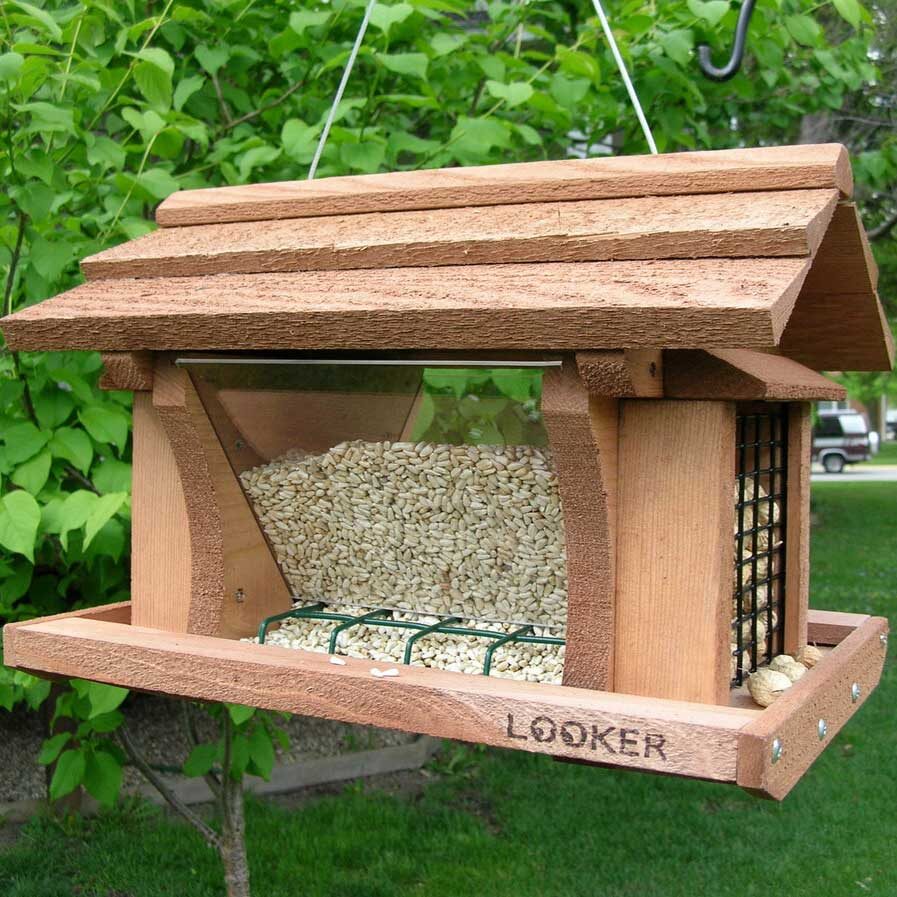
Hopper Feeders: These have a container to hold birdseed and dispense it gradually as birds feed. They are suitable for a variety of bird species.
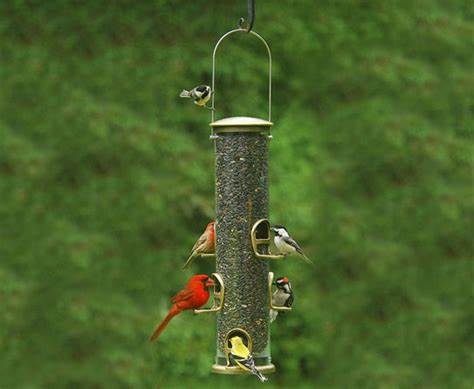
Tube Feeders: Tube-shaped feeders with multiple feeding ports. They work well for small birds like finches.
Platform Feeders: Open platforms where birds can easily access the seed. They’re great for ground-feeding birds like sparrows and doves.
Suet Feeders: These hold suet cakes, which are especially attractive to woodpeckers and other suet-loving birds.
Nyjer Feeders: Designed for tiny seeds like Nyjer (thistle), which are favored by finches.
Placement:
Hang or mount feeders in a location where they are visible from your home but also provide some shelter for birds from predators and weather.
Ensure they are not too close to windows to prevent bird collisions.
Seed Selection:
Choose appropriate seeds for the birds you want to attract. For example, black oil sunflower seeds are generally popular with a wide range of species.
Maintenance:
Regularly clean and refill feeders to prevent the spread of diseases.
Keep the area around the feeder clean to minimize debris and waste.
Water Source:
Birds need a source of water as well. Consider adding a birdbath or water feature near your feeders.
Attracting Birds:
Be patient; it may take some time for birds to discover your feeders.
You can use bird calls or recordings to attract specific species.
Planting native plants in your garden can also attract birds by providing natural food sources.
Winter Feeding:
Bird feeders are particularly important in the winter when natural food sources are scarce.
Bird Identification:
Keep a field guide or bird identification book nearby to help you identify the different species that visit your feeders.
Remember that feeding birds can be a rewarding and educational hobby. It not only helps birds but also allows you to observe their behavior and appreciate the beauty of nature right in your own backyard.
5. Backyard Fire Pit
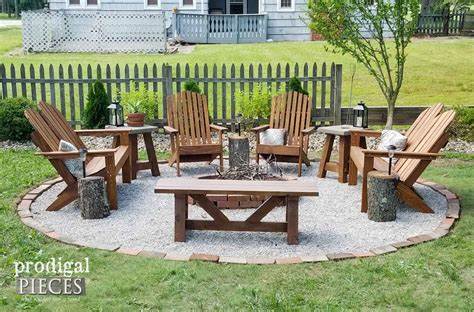
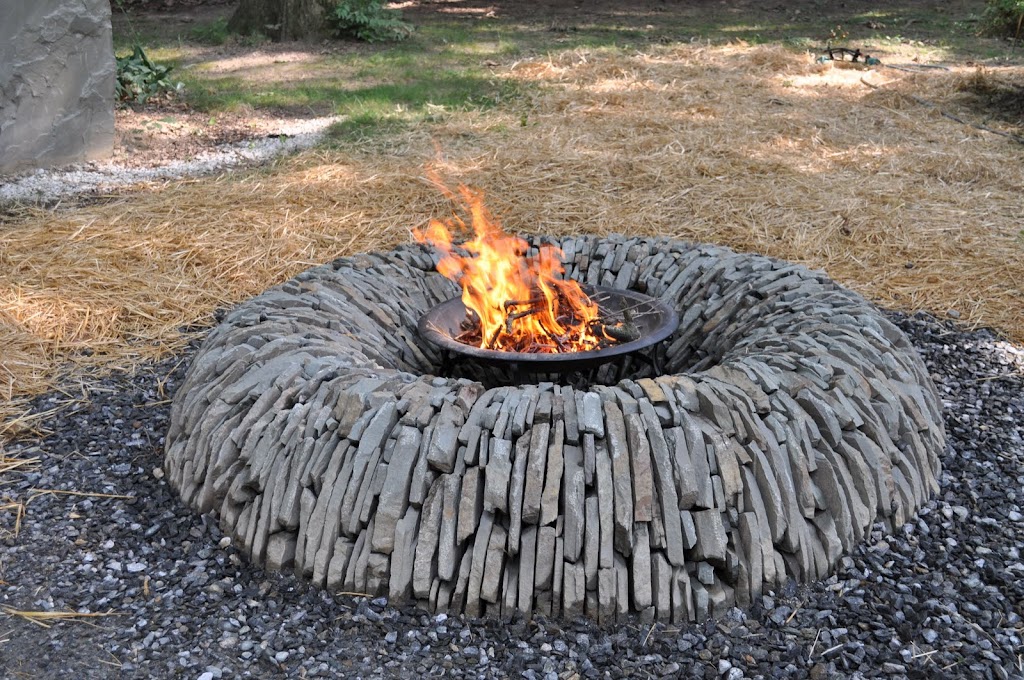
Of course! I’d be happy to provide information and tips on setting up a backyard fire pit in English.
A backyard fire pit can be a wonderful addition to your outdoor space, providing a cozy and inviting atmosphere for relaxation, socializing, and even cooking. Here are some steps to consider when setting up a backyard fire pit:
Check Local Regulations: Before you begin, check with your local authorities and homeowners’ association, if applicable, to ensure you comply with any regulations or restrictions on open fires or fire pits in your area. Some places may have specific rules regarding the size, location, and types of fires allowed.
Choose a Location: Select a suitable location for your fire pit. It should be away from overhanging trees, structures, and flammable materials. A safe distance is typically 10-20 feet. Ensure the ground is level and fire-resistant. You may need to create a fire-resistant base using gravel or pavers.
Select a Fire Pit Type: There are different types of fire pits to choose from, such as wood-burning, gas, or propane fire pits. Wood-burning fire pits offer a traditional and rustic experience, while gas or propane fire pits are more convenient and require less maintenance.
Safety Features: Safety should be a top priority. Consider adding a spark screen or a protective barrier around the fire pit to prevent embers from escaping. Keep a fire extinguisher, hose, or a bucket of water nearby for emergencies.
Seating and Comfort: Arrange comfortable seating around the fire pit. This could be chairs, benches, or even built-in seating if you’re doing a more permanent installation. Cozy cushions and blankets can enhance the experience.
Firewood and Accessories: If you’re using a wood-burning fire pit, store firewood in a dry, well-ventilated area. Make sure you have a poker, tongs, and a grate for safely managing the fire.
Lighting and Ambiance: Consider adding lighting around your fire pit area. String lights, lanterns, or even LED under-lighting can create a magical ambiance.
Cooking Options: If you enjoy outdoor cooking, you might want to look into fire pits with grill grates or accessories for roasting marshmallows, cooking hot dogs, or even preparing full meals.
Maintenance: Regularly clean your fire pit to remove ashes and debris. Depending on the type of fire pit, you may need to check gas lines, replace propane tanks, or maintain other components.
Fire Safety: Educate yourself and your guests about fire safety. Keep a safe distance from the fire, don’t leave it unattended, and always fully extinguish the fire before leaving.
Enjoy: Once everything is set up, enjoy your backyard fire pit for gatherings, storytelling, or simply relaxing by the warmth of the fire.
Remember that safety is paramount when dealing with fire, so always exercise caution and follow local regulations to ensure a pleasant and secure fire pit experience in your backyard.
6. Birdbaths
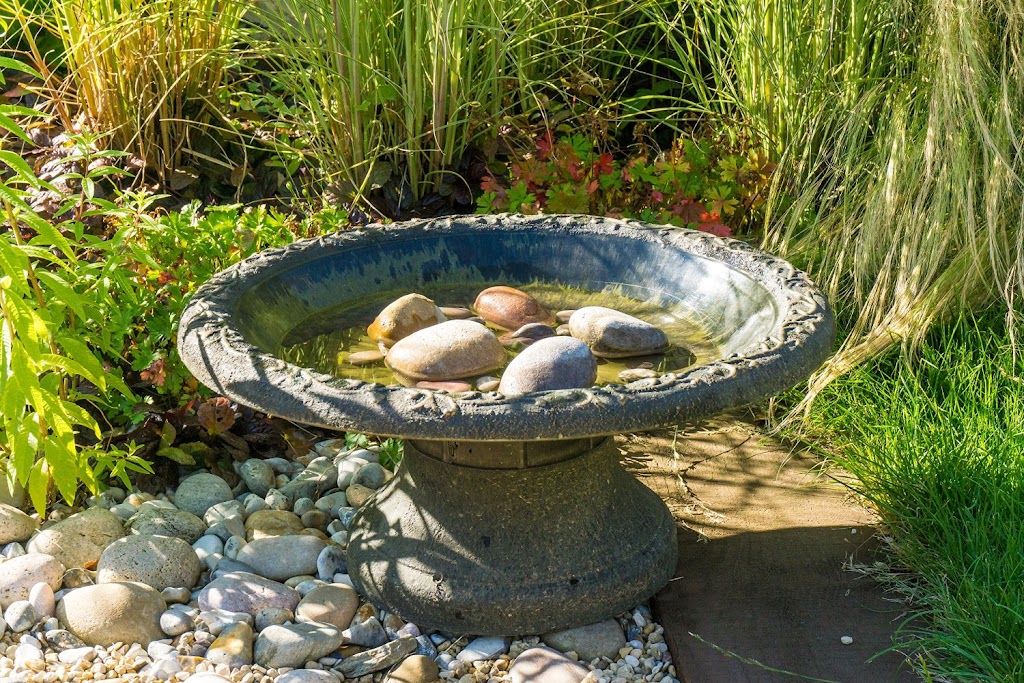

Of course! I’d be happy to provide information or answer any questions you have about birdbaths in English. Birdbaths are a popular garden feature used to provide water for birds, allowing them to drink and bathe. They come in various designs and materials, such as concrete, ceramic, plastic, or metal. Birdbaths are a great addition to a garden to attract and support local bird populations while adding a decorative element to the landscape. If you have specific questions or need more information about birdbaths, feel free to ask!
7. Bat Houses
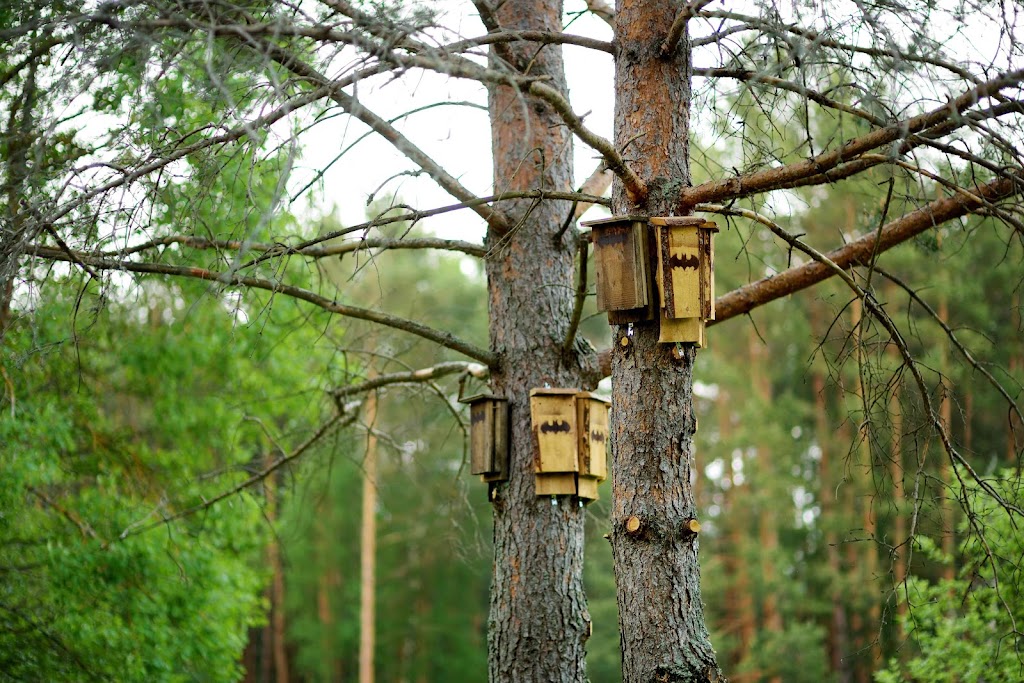
Certainly! Bat houses are structures designed to provide shelter for bats. They are an essential part of conservation efforts because they help provide a safe habitat for these important and often misunderstood creatures. Here are some key points about bat houses:
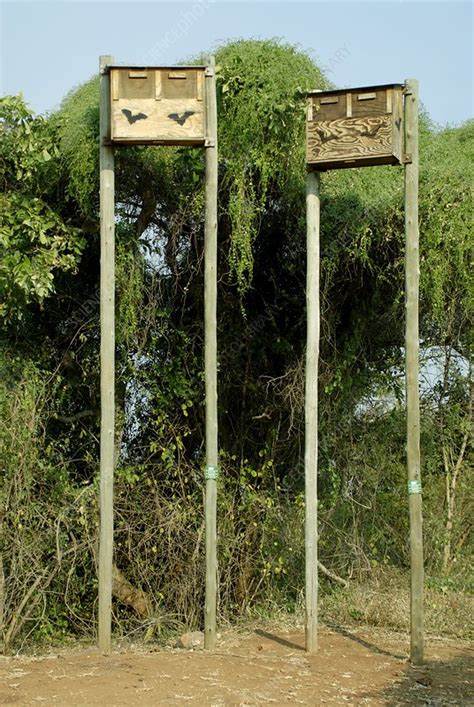
Design and Placement: Bat houses are typically made from wood, with narrow crevices that mimic the natural roosting sites of bats, such as tree cavities. They are usually mounted on poles, trees, or buildings, preferably in sunny locations to provide warmth for the bats.
Benefits: Bat houses serve several important purposes. They offer bats a safe place to roost during the day, which is especially crucial for species that have lost their natural roosting sites due to habitat destruction. Additionally, they can help control insect populations, as bats are voracious insect eaters.
Conservation: Bats face numerous threats, including habitat loss and disease. Providing bat houses can contribute to the conservation of these beneficial animals by giving them a safe place to live.
Maintenance: Bat houses need to be maintained to remain effective. This includes periodic cleaning and repairs, as well as ensuring they receive adequate sunlight and remain free of obstructions.
Species-specific Designs: Different species of bats have varying preferences for roosting sites. Therefore, it’s important to consider the specific types of bats in your area when designing or purchasing a bat house.
Local Regulations: Depending on your location, there may be regulations or guidelines governing the installation of bat houses. It’s a good idea to check with local wildlife authorities or conservation organizations for guidance.
Educational Value: Bat houses can also be a great educational tool. They offer an opportunity to learn about and observe bats, dispelling myths and increasing awareness of their importance in ecosystems.
By installing bat houses, you can contribute to bat conservation efforts and enjoy the benefits of having these natural insect controllers in your area.
8. DIY Tiki Torch Fuel
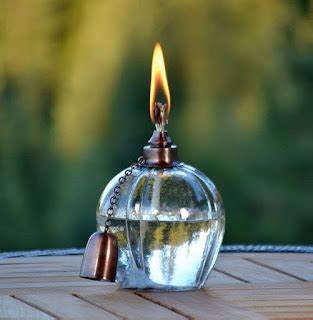
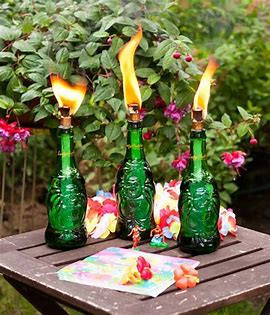
Making your own tiki torch fuel is a cost-effective and environmentally friendly way to light up your outdoor gatherings. The primary ingredients are readily available, and the process is simple. Here’s a basic recipe to make DIY tiki torch fuel using commonly found ingredients:
Materials:
Lamp Oil: You can find lamp oil at most hardware stores or online. It’s the base for your tiki torch fuel.
Citronella Oil (Optional): This essential oil can help repel insects and add a pleasant scent to your torch fuel.
Empty Container: You’ll need a container to hold the fuel, such as an empty glass bottle or a designated tiki torch canister.
Wick: Use tiki torch wicks, cotton wicks, or fiberglass wicks, depending on your preference.
Funnel (Optional): To make pouring the fuel easier.
Instructions:
Prepare the Container: Make sure your container is clean and dry. If you’re using a bottle, remove any labels.
Mix the Fuel:
If you want to make citronella tiki torch fuel, mix 85-90% lamp oil with 10-15% citronella oil. This ratio can vary based on your preference for the citronella scent.
If you don’t want a citronella scent, simply use 100% lamp oil.
Pour the Fuel: Use a funnel if necessary to pour the mixed fuel into your container. Be careful not to spill.
Insert the Wick: Place the wick into the container, ensuring it’s long enough to reach the desired height.
Let the Wick Soak: Allow the wick to soak in the fuel for at least 20-30 minutes. This helps the wick absorb the fuel properly.
Light the Torch: Carefully light the wick. If you’re using a glass bottle, be cautious when lighting it, as the flame can travel down the neck of the bottle.
Enjoy: Your DIY tiki torch is ready to use! Place it around your outdoor area to create a warm, ambient light source while helping to repel insects.
Safety Tips:
Keep tiki torches away from flammable materials and structures.
Never leave burning tiki torches unattended.
Extinguish the torches when you’re done using them.
Ensure children and pets are kept a safe distance from the flames.
By following these steps, you can create your own tiki torch fuel to enhance your outdoor ambiance and keep those pesky insects at bay.