Environmental Science Experiments and Activities for Kids

Certainly! Here are some fun and educational environmental science experiments and activities for kids:
Bird Feeder Construction:
Materials: empty plastic bottles, string, birdseed, and scissors.
Instructions: Cut a hole near the bottom of the plastic bottle, fill it with birdseed, and hang it from a tree branch with string. Observe and document the different bird species that visit your feeder.
Recycled Art:
Materials: old magazines, newspapers, cardboard, and glue.
Instructions: Encourage kids to create art using recycled materials. Discuss the importance of recycling and reusing to reduce waste.
Plant Growth Experiments:
Materials: small pots, potting soil, seeds (e.g., bean seeds), water, and sunlight.
Instructions: Plant seeds in different pots and experiment with variables like water, sunlight, and soil types. Record observations and discuss what plants need to grow.
Composting at Home:
Materials: a small container, food scraps, and yard waste.
Instructions: Start a mini compost bin at home. Kids can learn about decomposition and how organic waste turns into nutrient-rich soil.
Nature Scavenger Hunt:
Instructions: Create a list of items to find in a nearby park or natural area, such as specific leaves, rocks, or wildlife. Go on a scavenger hunt and learn about the local environment.
Weather Tracking:
Materials: a thermometer, a rain gauge, and a notebook.
Instructions: Kids can record their daily temperature and rainfall and make weather predictions. This helps them understand climate and weather patterns.
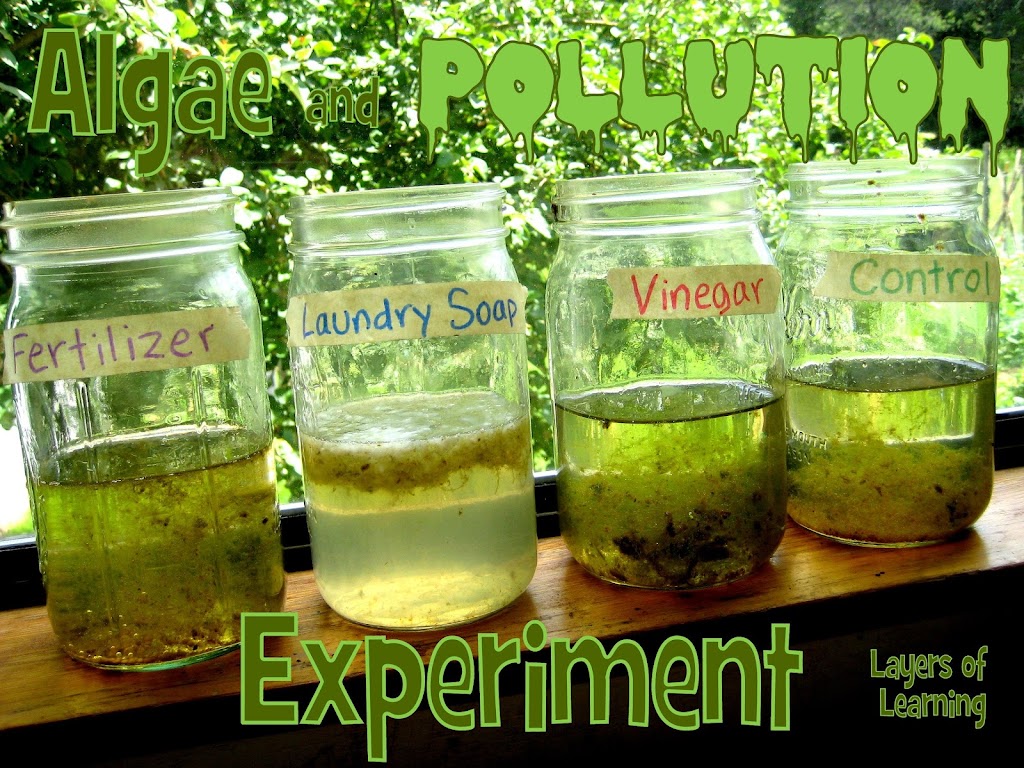
Water Quality Testing:
Materials: water testing kits (or simple tools like pH strips and a thermometer).
Instructions: Test the quality of local water sources, such as a pond or stream, and discuss the importance of clean water for ecosystems and human health.
Energy Conservation Challenge:
Instructions: Encourage kids to find ways to reduce energy consumption in your home, like turning off lights when not in use or using natural lighting. Discuss the environmental benefits of energy conservation.
Worm Composting (Vermicomposting):
Materials: a worm bin, kitchen scraps, and red wiggler worms.
Instructions: Learn about how worms can turn food waste into nutrient-rich compost. Kids can take care of the worms and observe the composting process.
Nature Journaling:
Materials: sketchbook, colored pencils, and binoculars (optional).
Instructions: Encourage kids to keep a nature journal to document their observations of plants, animals, and the environment. This helps develop their observation skills and appreciation for nature.
These activities can help children gain a deeper understanding of the environment and the importance of taking care of it. Plus, they are a lot of fun!
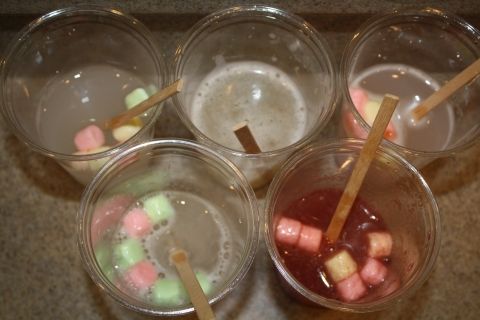
Halloween Marshmallow Science Supplies
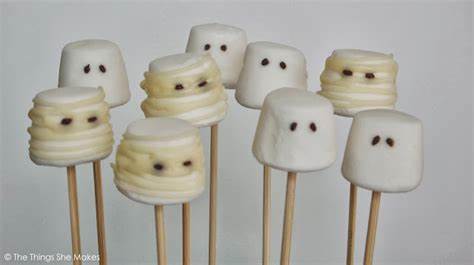
Certainly! Here’s a list of supplies for a Halloween marshmallow science experiment or activity:
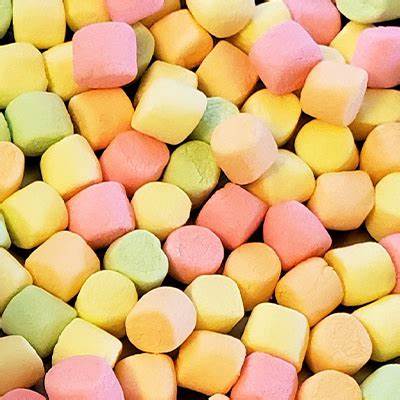
Marshmallows: You’ll need a bunch of marshmallows for various parts of the experiment.
Toothpicks or wooden skewers: These will be used to create structures and hold marshmallows together.
Food coloring: You can use food coloring to dye the marshmallows for a spooky effect.
Liquid dish soap: It can be used for some fun experiments with bubbles and marshmallows.
Vinegar: Vinegar can be used for a chemical reaction experiment involving baking soda and marshmallows.
Baking soda: This is needed for the baking soda and vinegar reaction.
Plastic or glass containers: You’ll need containers to hold various liquids and for certain experiments.
Halloween-themed decorations: Get some plastic spiders, bats, or other spooky decorations to add a Halloween twist to your marshmallow science.
Safety goggles: for the safety of participants, especially if you’re conducting experiments that involve chemical reactions.
Measuring cups and spoons: These are necessary for precise measurements in certain experiments.
Plastic or disposable tablecloths: To protect your work surface from potential messes.
Paper towels or cleaning supplies: In case things get messy during the experiments.
Printed instructions or experiment worksheets: Prepare clear instructions for each experiment or activity you plan to do.
Camera or smartphone: To capture fun and memorable moments during the Halloween marshmallow science experiments.
Optional: flashlights or glow sticks to add a spooky atmosphere to your experiments.
These supplies should help you conduct a variety of Halloween-themed science experiments using marshmallows. Have fun and enjoy the spooky science!
Directions

Certainly, I’ll continue to respond in English. If you have any questions or need assistance with anything, please feel free to ask.
Marshmallow Science Experiment: The Science

Certainly! Here’s an outline of a marshmallow science experiment and the scientific principles involved:
Title: Marshmallow Science Experiment
Objective:
To investigate how different conditions affect the physical properties of marshmallows.
Materials:
Marshmallows (of the same brand and size)
Water
Microwave
Refrigerator
Freezer
Measuring tools (ruler, kitchen scale)
Notebook and pen
Experimental Procedure:
Marshmallow Size Experiment:
a. Start by measuring and recording the initial dimensions (length, width, and height) and weight of a marshmallow.
b. Microwave one marshmallow for 10 seconds on high heat, and then measure and record any changes in size and texture.
c. Place another marshmallow in the refrigerator for 1 hour, then measure and record any changes.
d. Place a third marshmallow in the freezer for 1 hour, then measure and record any changes.
Marshmallow Dissolving Experiment:
a. Take a fresh marshmallow and place it in a container of room-temperature water.
b. Record observations of the marshmallow’s behavior as it interacts with water. Does it dissolve or change in any way?
c. Note the time it takes for any changes to occur.
Marshmallow Expansion Experiment:
a. Microwave a marshmallow until it starts to expand (puff up).
b. Observe and record the expansion process, and measure the final dimensions.
c. Note the time it takes for the marshmallow to reach its maximum size.
Data Analysis:
a. Compare the initial and final measurements of marshmallows in different conditions.
b. Determine which condition (microwave, refrigerator, or freezer) had the most significant effect on the marshmallow’s size and texture.
c. Analyze the time it took for changes to occur in each experiment.
Scientific Principles:
Heat Transfer: The microwave experiment demonstrates the effects of thermal energy on the marshmallow, causing it to expand and change texture due to the heating process.
Temperature and State Changes: The refrigerator and freezer experiments illustrate how temperature affects the state of matter (from solid to liquid in the case of freezing). Marshmallows are primarily made of sugar and gelatin, which behave differently at various temperatures.
Solubility: The marshmallow dissolving experiment investigates the solubility of the marshmallow in water. It helps understand how the marshmallow’s ingredients dissolve and interact with the surrounding liquid.
Observations and Measurements: Accurate data collection and detailed observations are essential for drawing scientific conclusions and comparisons.
By conducting this marshmallow science experiment, you can gain insights into the physical properties and behaviors of marshmallows under different conditions and apply fundamental scientific principles to explain the observed changes.
MORE FUN HANDS ON LEARNING
Of course! Hands-on learning can be a fun and effective way to acquire new knowledge and skills. Here are some hands-on learning ideas across different subjects:
Science Experiments: Conduct simple science experiments at home or in a classroom. Explore topics like chemistry, physics, and biology by mixing chemicals, building simple circuits, or observing plant growth.
Cooking and Nutrition: Learn about math and chemistry while cooking. Measure ingredients, follow recipes, and discuss the nutritional value of different foods. You can also explore the science of fermentation or baking.
Art and Crafts: Experiment with various art and craft projects. Try painting, sculpting, or creating DIY decorations. This is a great way to express creativity and develop fine motor skills.
Gardening: Teach botany and ecology by starting a garden. Learn about plant growth, soil, and the ecosystem in your backyard or a community garden.
Coding and Robotics: Use programming languages and robotics kits to build and code your own robots or computer programs. This hands-on approach to technology fosters problem-solving skills.
History and Archaeology: Visit historical sites, museums, or participate in archaeological digs. Handle historical artifacts, learn about different time periods, and immerse yourself in the past.
Outdoor Adventures: Go on nature hikes, camping trips, or geocaching expeditions. Learn about the environment, navigation, and survival skills while having fun in the great outdoors.
Music and Instruments: Play musical instruments, join a band, or participate in a choir. Music is a fantastic way to develop creativity, math skills, and an appreciation for the arts.
DIY Engineering Projects: Build bridges, towers, or simple machines using household materials. This teaches kids about engineering principles and problem-solving.
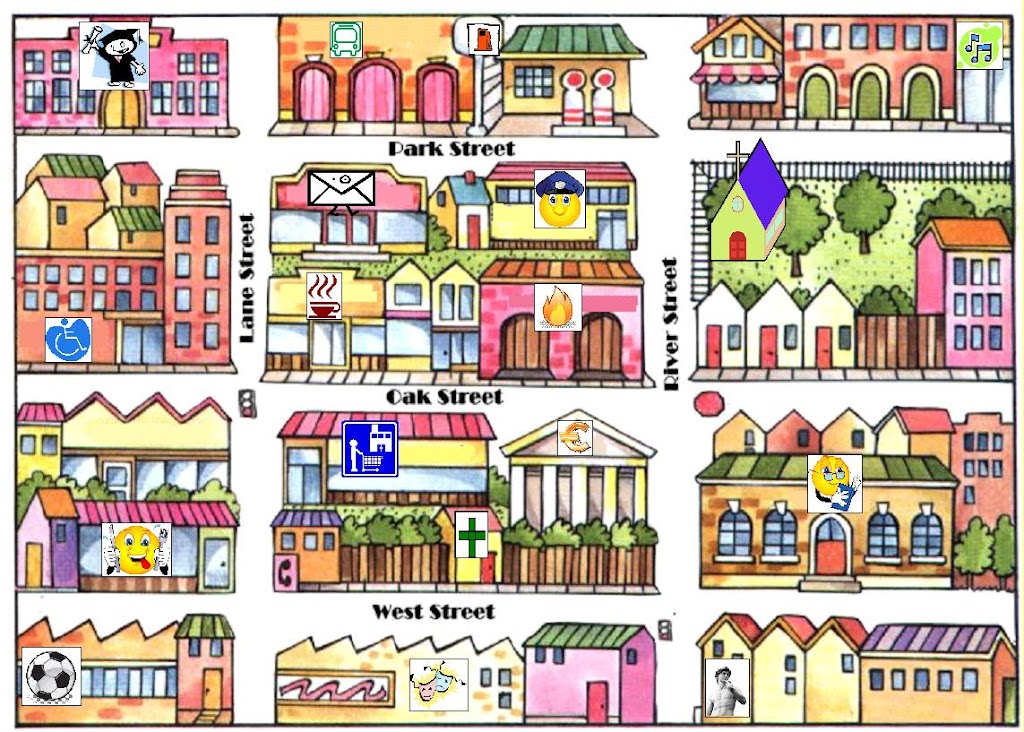
Geography and Map Skills: Plan a road trip, use maps, and explore different geographic regions. Learn about cultures, landmarks, and the world’s geography through hands-on exploration.
Astronomy: Stargazing and identifying constellations with a telescope or binoculars can be an exciting way to learn about the universe.
Physical Education and Sports: Engage in various sports and physical activities to understand the importance of fitness and teamwork.
Puzzle Solving: Solve puzzles like crosswords, Sudoku, or jigsaw puzzles to enhance critical thinking and pattern recognition skills.
Environmental Conservation: Participate in local cleanup efforts, tree planting, or wildlife habitat restoration projects to learn about environmental responsibility.
Hands-On Math: Use manipulatives like building blocks or games to make math concepts more tangible and engaging.
Remember, hands-on learning is not limited to any specific age group; it can be adapted for children and adults alike. It’s an excellent way to make learning more interactive and enjoyable across a wide range of subjects and skills.