10 Clever Craft Projects to Try With Your Kids

Certainly! Here are some clever craft projects you can try with your kids:
Homemade Playdough: Make your own playdough using flour, salt, water, and food coloring. Let your kids get creative with shaping and sculpting.
Nature Collage: Take a nature walk and collect leaves, flowers, and sticks. Create a beautiful collage with your findings.
Paper Plate Masks: Cut eye holes and let your kids decorate paper plates with paint, markers, and other craft supplies to make fun masks.
Tie-Dye T-Shirts: Create unique and colorful t-shirts by tie-dyeing them with various patterns and colors.
Sock Puppets: Old socks can be turned into adorable puppets with buttons, felt, and yarn. Your kids can put on their puppet shows.
Recycled Art: Collect recyclable materials like cardboard, plastic bottles, and egg cartons to transform them into art. Build robots, castles, or animals.
Rock Painting: Paint rocks with vibrant colors and designs. You can use these as decorations or even hide them in your community for others to find.
Friendship Bracelets: Teach your kids how to make friendship bracelets using colorful embroidery floss. They can exchange them with friends.
Origami: Learn the art of paper folding and create animals, flowers, and more with origami paper.
Homemade Greeting Cards: Encourage your kids to make their own greeting cards for birthdays, holidays, or special occasions.
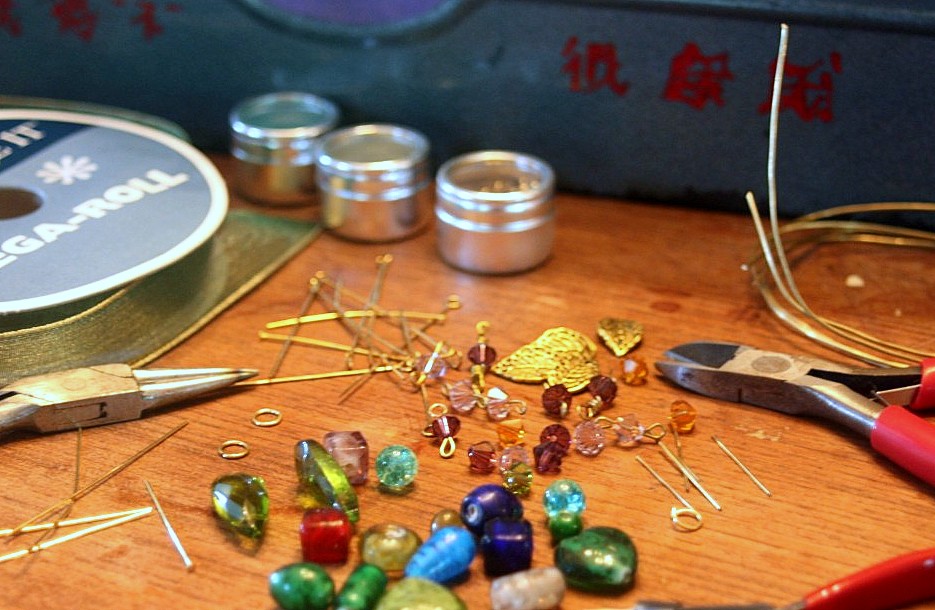
Beaded Jewelry: Craft necklaces, bracelets, and earrings using colorful beads and string.
Pasta Art: Dye pasta in various colors and use them to create unique jewelry, ornaments, or even pasta art pictures.
Papier-Mâché: Create 3D sculptures using papier-mâché. It’s messy but loads of fun!
Homemade Bird Feeders: Craft bird feeders using pinecones, peanut butter, and birdseed. Hang them outside to attract feathered friends.
Crayon Art: Make colorful crayon art by melting crayons onto canvas or other surfaces.
Suncatchers: Create beautiful suncatchers by arranging and melting colored beads in oven-safe molds.
Painted Flower Pots: Let your kids decorate plain flower pots with acrylic paint. Then, plant flowers or herbs in them.
Finger Painting: Finger painting is a classic and messy but enjoyable activity for kids of all ages.
Sock Softies: Transform old socks into stuffed animals or soft toys with some sewing and creativity.
Lego Challenges: Have a Lego-building challenge where your kids can build specific objects or structures with their Lego sets.
Remember to provide adult supervision when using potentially dangerous materials or tools. These craft projects are not only fun but also great for nurturing your child’s creativity and imagination. Enjoy your creative time together!
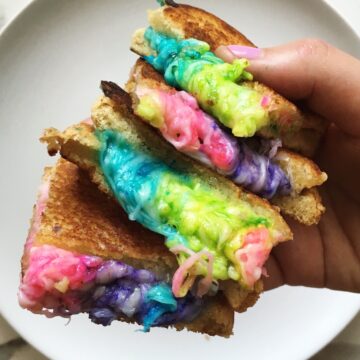
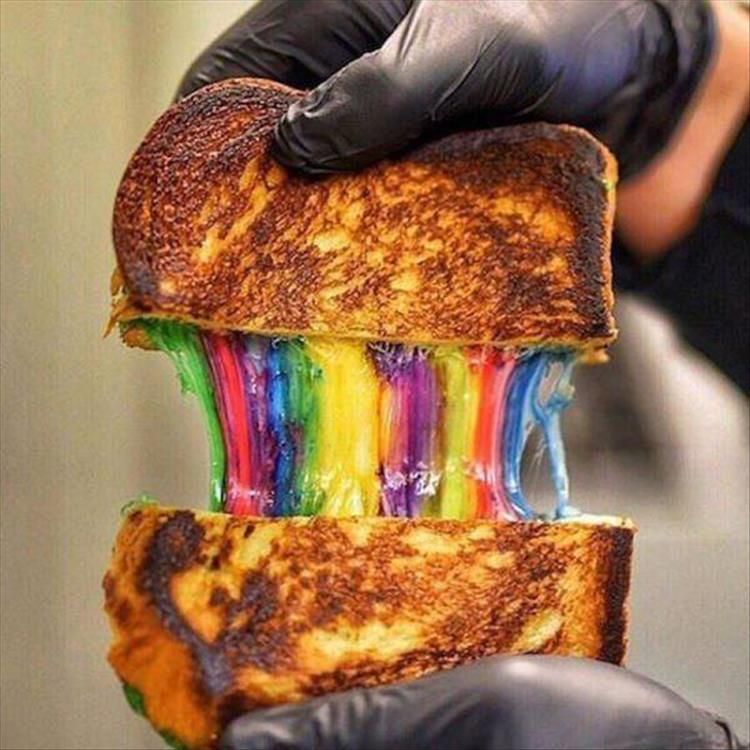
1. Melt the rainbow
“Melt the rainbow” is a phrase that doesn’t have a standard or literal meaning in the English language. It could be interpreted in various ways, depending on the context. If you have a specific question or request related to this phrase, please provide more information, and I’ll do my best to assist you.
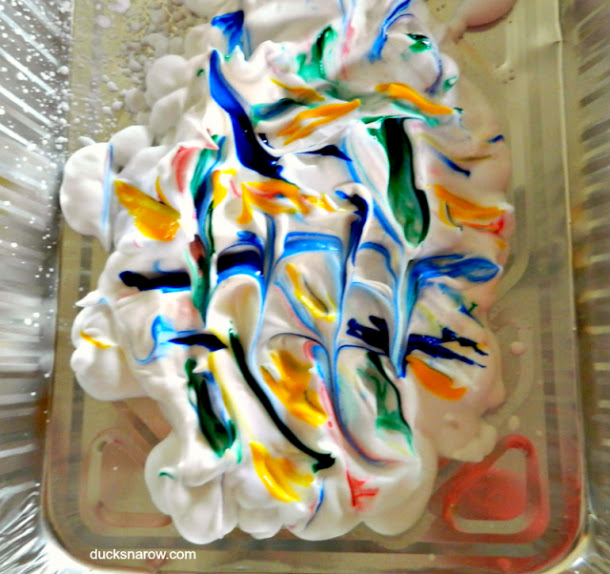
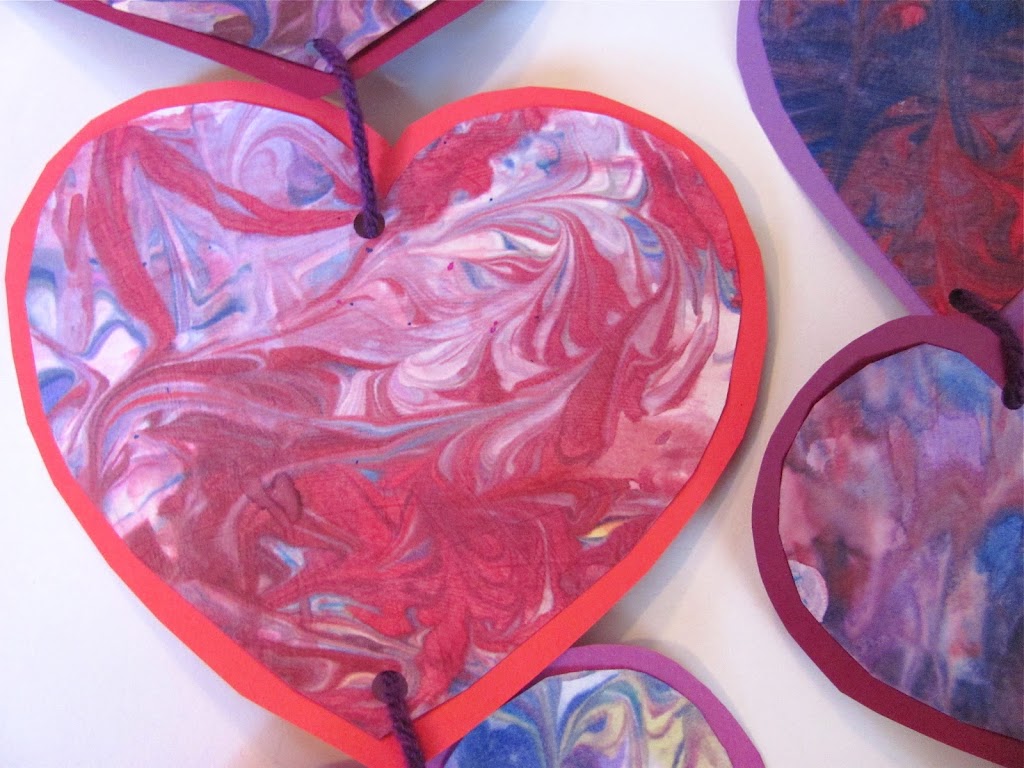
2. Make marbled masterpieces with shaving cream
Creating marbled masterpieces with shaving cream is a fun and creative art project. Here’s a basic guide on how to do it:
Materials you’ll need:
Shaving cream (foam, not gel)
Food coloring or liquid watercolors
A shallow container (e.g., a baking dish)
A wooden stick or skewer
White paper (thicker paper or cardstock works best)
Scraper tool (e.g., a ruler or spatula)
Paper towels or a cloth for clean-up
Steps:
Start by spraying a layer of shaving cream evenly into your shallow container.
Add drops of food coloring or liquid watercolors onto the shaving cream. You can use different colors and create various patterns.
Use a wooden stick or skewer to swirl and mix the colors in the shaving cream. Create interesting patterns and designs by dragging the stick through the shaving cream.
Place your white paper on top of the colored shaving cream. Gently press the paper down so it makes contact with the shaving cream.
Carefully lift the paper from the shaving cream and set it aside. You’ll notice the colors have transferred onto the paper.
Using a scraper tool (e.g., a ruler or spatula), scrape off the shaving cream from the paper’s surface. This reveals your marbled masterpiece beneath.
Let the paper dry completely. The colors will become more vibrant as they dry.
Your marbled masterpiece is now complete and ready to be displayed or used for various art projects.
This shaving cream marbling technique can be used for creating colorful backgrounds for greeting cards, art journals, or simply as standalone art pieces. It’s a great way to explore creativity and experiment with different color combinations.
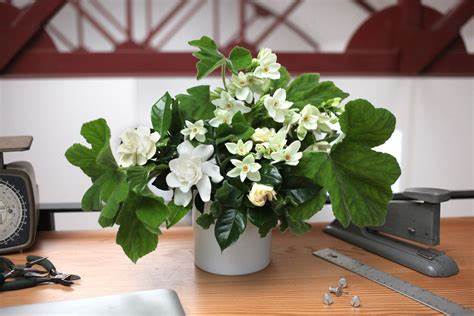
3. Grow flowers using office supplies
You can grow flowers using office supplies in a fun and creative way. Here’s a simple method using a paper towel, a plastic cup, and some flower seeds:
Materials you’ll need:
Flower seeds (choose a variety that’s suitable for indoor growing)
A plastic or paper cup
Paper towels or coffee filters
Water
Clear plastic wrap
A sunny window sill
Steps to grow flowers in your office using office supplies:
Prepare the cup:
Take the plastic or paper cup and poke a small hole in the bottom for drainage. If using a plastic cup, you can use a sharp object like a nail or a small drill. If using a paper cup, you may need to reinforce it with a layer of plastic wrap to prevent it from getting soggy.
Prepare the paper towel or coffee filter:
Moisten a paper towel or coffee filter with water until it’s damp but not soaking. Place it inside the cup, covering the bottom. The excess water should drain through the hole in the cup.
Plant the seeds:
Sprinkle a few flower seeds onto the damp paper towel or coffee filter. Be sure to space them out evenly.
Cover with plastic wrap:
Gently cover the cup with clear plastic wrap, creating a mini greenhouse effect. This helps maintain humidity and warmth for seed germination.
Place in a sunny location:
Put the cup on a sunny window sill where it will receive indirect sunlight. Make sure it’s not in direct, scorching sun, as that can overheat and damage the seedlings.
Keep it moist:
Check the paper towel or coffee filter regularly to ensure it remains damp but not waterlogged. Add a few drops of water when needed to maintain the right moisture level.
Transplant when ready:
Once the seedlings have grown a couple of true leaves and are large enough to handle, you can transplant them into a larger pot with potting soil or into an outdoor garden if the season is suitable.
Care for your growing flowers:
Continue to provide the necessary care for your flowers, including regular watering, fertilization, and appropriate sunlight.
This method can be a fun and educational way to grow flowers in your office space using readily available office supplies. Just be sure to choose flower varieties that are suitable for indoor growing, and keep an eye on their progress as they sprout and grow.
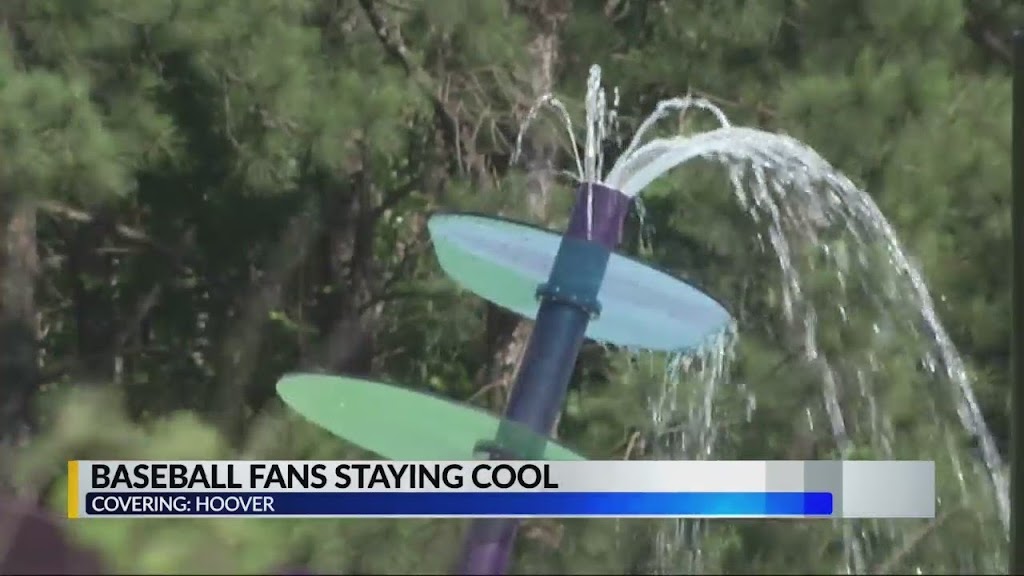
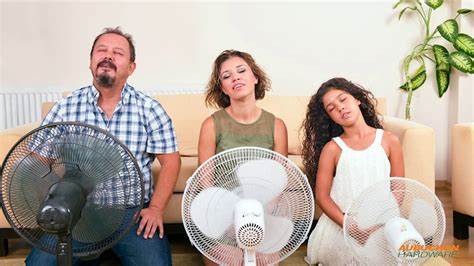
4. Cool off with funny fans
Do something goofy to relieve some of the heat! After determining who can draw the silliest character, fold your paper fans. If your children like to dress up their fans, they can make a stylish handle by wrapping twine around a clothespin that is attached to the bottom.
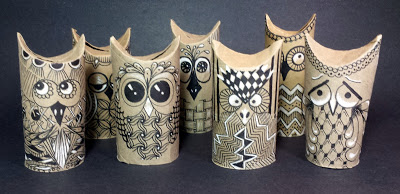
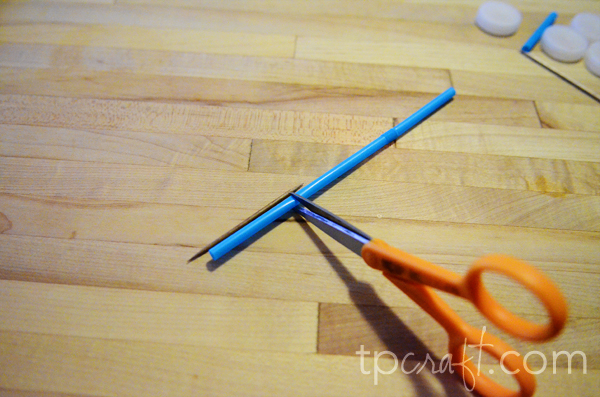
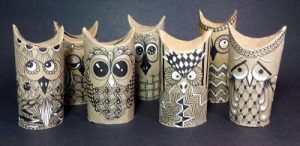
5. Race toilet paper rolls
“Race toilet paper rolls” could be interpreted in a couple of ways. If you mean to have a friendly competition or race involving toilet paper rolls, here’s how you can organize it:
Materials needed:
Toilet paper rolls
A flat surface (e.g., a table or countertop)
Stopwatch or timer
Instructions:
Gather participants who are interested in racing toilet paper rolls.
Set up a flat surface as the race track.
Determine the starting and finishing lines on the track.
Each participant places a toilet paper roll at the starting line.
When you say, “Go,” the participants use their breath or a designated blowing device to move the toilet paper roll across the race track to the finishing line.
Use a stopwatch or timer to record the time it takes for each participant to complete the race.
The participant with the fastest time wins the race.
Alternatively, if you meant something different by “race toilet paper rolls,” please provide more context or clarify your request, and I’ll be happy to assist you further.
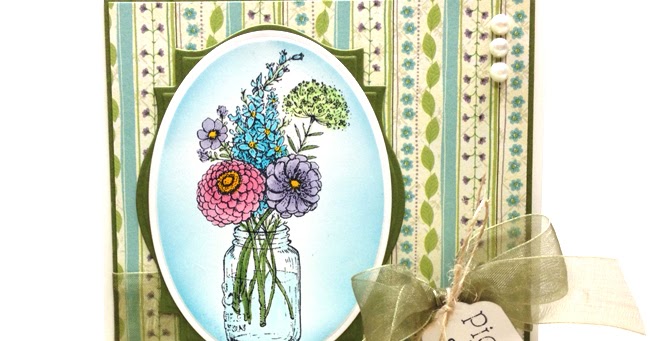
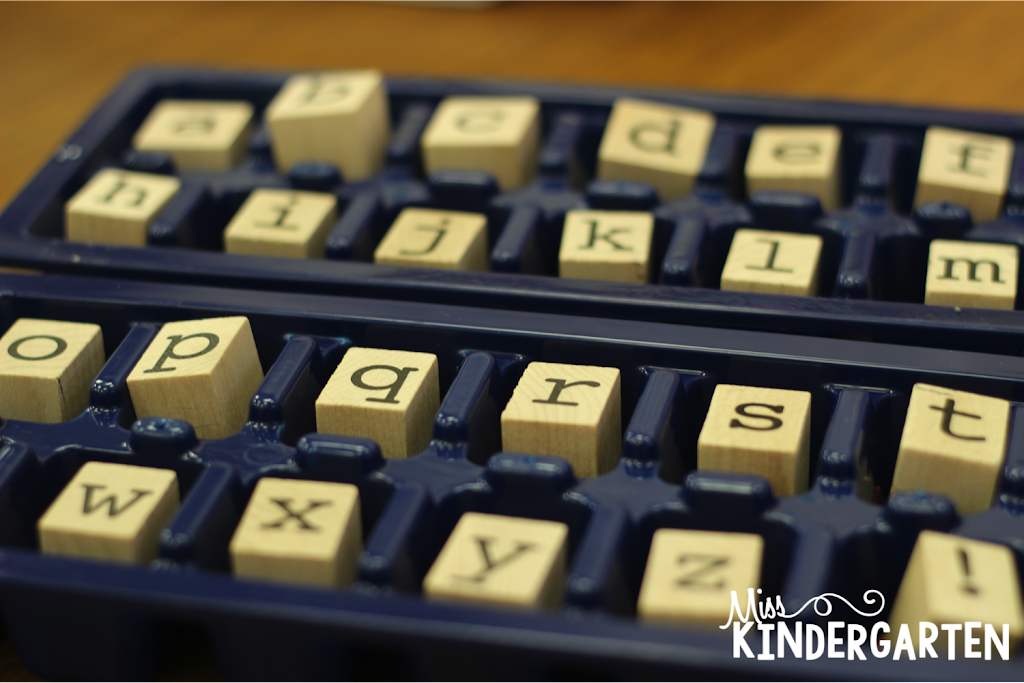
6. Stamp it up
Certainly! “Stamp it up” typically refers to using rubber stamps or other types of stamps to create decorative designs or marks on various surfaces, such as paper, fabric, or other materials. Stamping is a popular craft and creative technique that allows people to personalize and embellish their projects. If you have any specific questions or need information about stamping or related topics, please feel free to ask, and I’ll be happy to help!
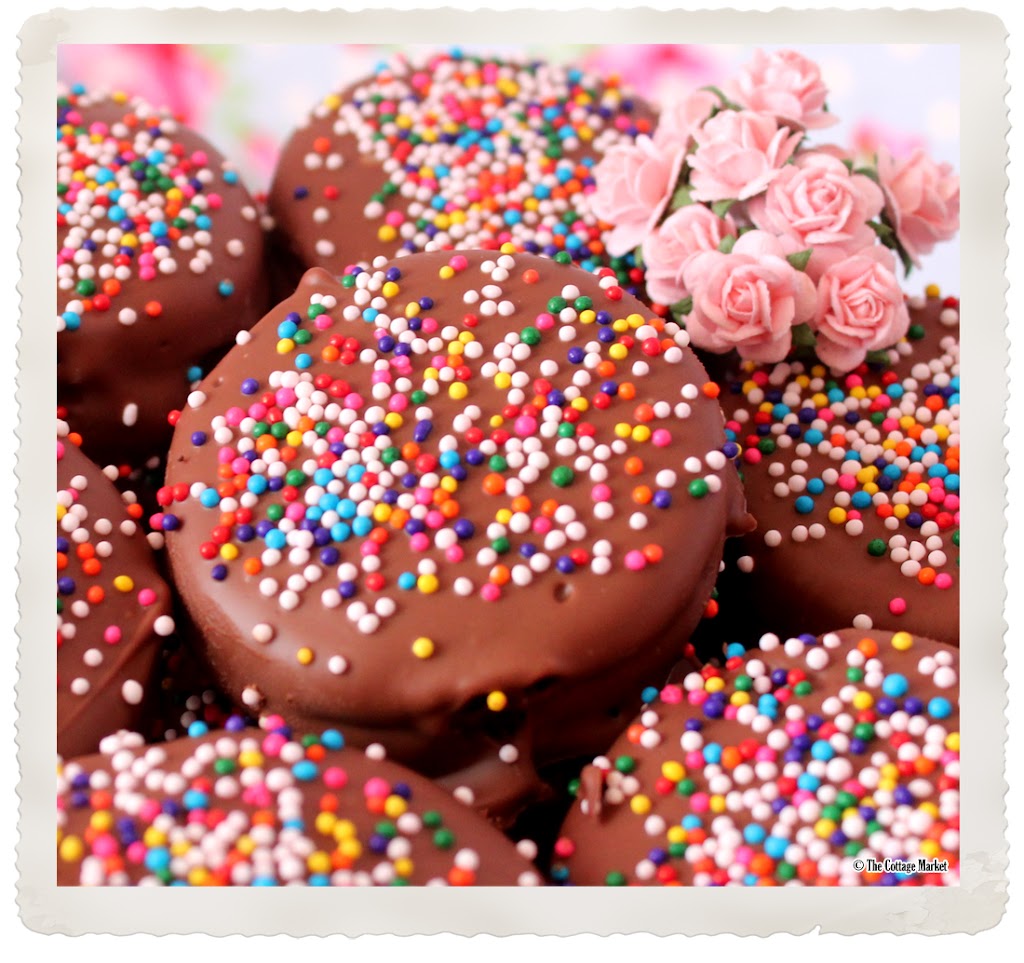
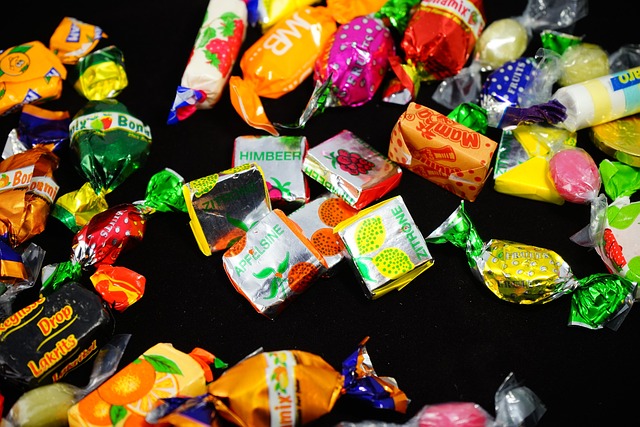
7. String a sweet treat
Certainly! Here’s a description of a sweet treat:
Imagine a delectable, mouthwatering slice of chocolate cake. The cake is rich and moist, with layers of dark chocolate sponge cake that practically melt in your mouth. Between each layer, there’s a luscious, velvety chocolate ganache that oozes out with each forkful. The top of the cake is adorned with a glossy chocolate glaze, adding a delightful sheen to this already decadent dessert. A dusting of cocoa powder and a few delicate curls of chocolate shavings garnish the cake, making it as beautiful as it is delicious. With each bite, you experience a symphony of flavors, a perfect balance of sweetness and deep, intense chocolate. It’s a sweet treat that’s sure to satisfy your sweet tooth and leave you craving for more.
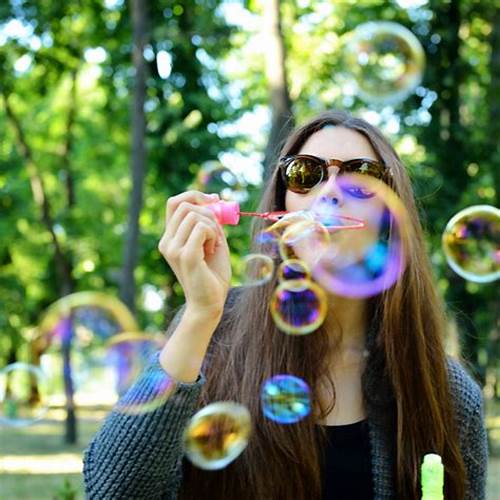
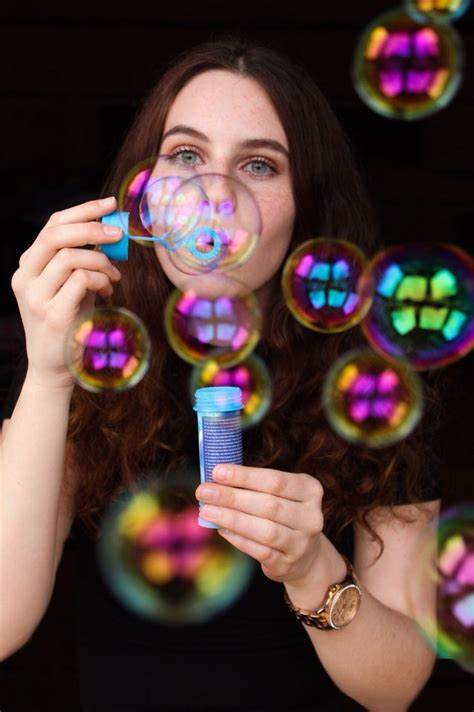
8. Bend beautiful bubble wands


“Bend beautiful bubble wands” is a request to create or describe the process of bending attractive bubble wands. Bubble wands are typically used to create soap bubbles, and bending them could be a creative and artistic activity. You can use various materials like wire, plastic, or metal to make unique and beautiful bubble wands. Here’s a simple description of how you might create them:
Gather materials: You’ll need wire or a similarly flexible material that can be bent into various shapes, as well as any decorative elements you want to add to your bubble wands, like beads or ribbons.
Shape the wand: Bend the wire into the desired shape for your bubble wand. You can create loops, spirals, hearts, stars, or any other design that you find beautiful. Make sure to leave a handle for easy gripping.
Add embellishments: If you want to make your bubble wands even more beautiful, you can thread beads onto the wire or attach ribbons to the wand. These decorative elements can catch the light and make the bubbles look even more enchanting.
Secure the ends: Ensure that the ends of the wire are safely folded or twisted to prevent any sharp edges that could be harmful.
Test your creation: Dip the bubble wand into a soapy solution and blow gently to create beautiful bubbles. You can experiment with different shapes and designs to see which ones produce the most appealing bubbles.
Creating unique and attractive bubble wands can be a fun and creative DIY project that allows you to enjoy the beauty of soap bubbles in your own unique way.
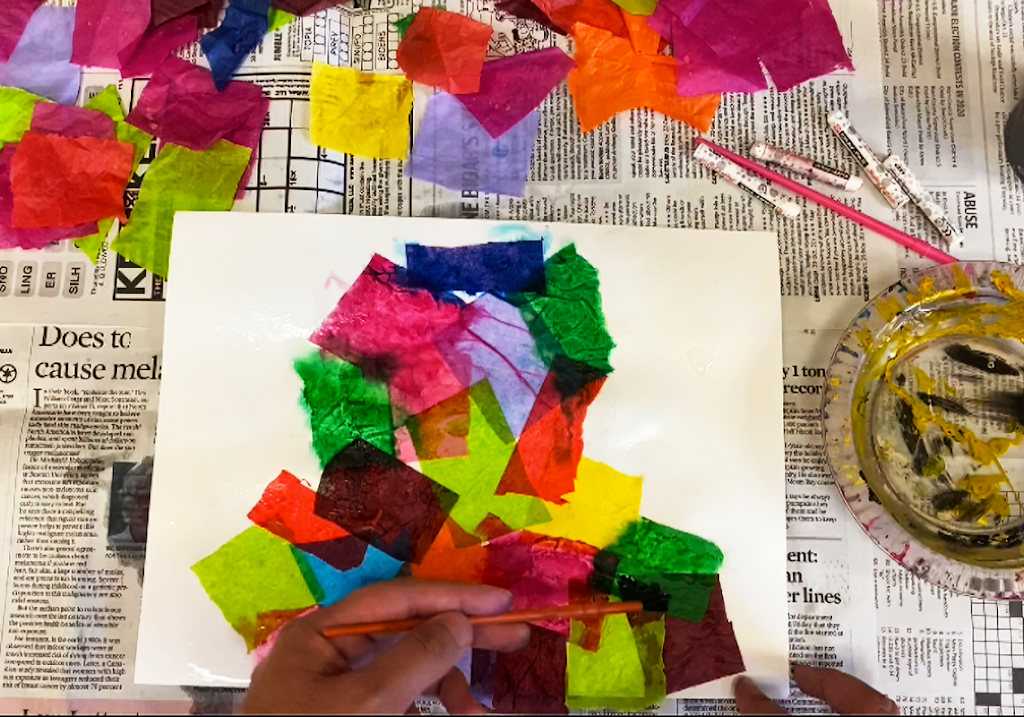
9. Paint with tissue paper
Painting with tissue paper is a fun and creative art technique that can yield beautiful and unique results. Here’s a simple guide on how to create a tissue paper painting:
Materials you’ll need:
Tissue paper in various colors
Watercolor paper or heavy-duty paper
White school glue or a glue stick
Paintbrushes
Water
A palette or plastic tray for mixing colors
Watercolor paints or acrylic paints
Pencil
Scissors
Optional: a hairdryer for quicker drying
Steps:
Sketch your design: Start by sketching the outline of your design on the watercolor paper using a pencil. You can create anything you like, from simple shapes to intricate patterns.
Prepare your tissue paper: Tear or cut the tissue paper into small pieces or shapes. These will be used to create the color and texture for your painting.
Apply glue: Apply white school glue or a glue stick to the area of your sketch where you want to add the tissue paper. Work in small sections to prevent the glue from drying too quickly.
Place tissue paper: Press the pieces of tissue paper onto the glued area. Overlap them to create interesting color combinations and textures. You can use different colors to create a layered effect.
Painting: Once you’ve covered a section with tissue paper, let it dry for a few minutes or use a hairdryer to speed up the drying process. Once the glue is dry and the tissue paper is securely in place, it’s time to paint.
Mix your colors: Prepare your watercolors or acrylic paints on a palette or plastic tray. Use a wet paintbrush to pick up the colors you want to use.
Paint over the tissue paper: Gently paint over the tissue paper using the colors you’ve chosen. The tissue paper will absorb the paint differently than the paper itself, creating a unique, textured look. Experiment with blending and layering colors to achieve your desired effect.
Allow to dry: Let your painting dry completely. The tissue paper will become translucent as it dries, revealing the colors underneath.
Add details: Once your painting is dry, you can add additional details or accents using paint, markers, or other art supplies.
Protect your artwork: To preserve your tissue paper painting, consider applying a thin layer of clear varnish or Mod Podge once the paint is completely dry. This will protect the tissue paper and give your artwork a finished look.
Tissue paper painting is a versatile and enjoyable technique that allows for a lot of creativity. Experiment with different colors, shapes, and designs to create your own unique pieces of art. Have fun and let your imagination run wild!
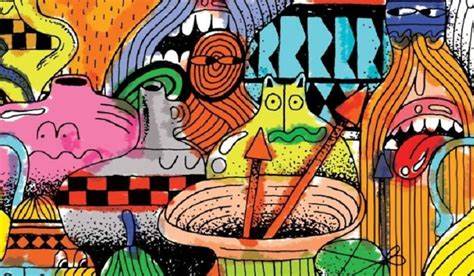
10. Ink outside the lines
Assist your children in making a basic stencil by having them sketch and cut out a unique, fantastic design. After that, attach it to a sheet of paper and let the youngsters decorate it with an abundance of amazing fingerprints. It’s finger painting pleasure done with a refined touch, all carefree!