Crafty Tips for Upcycling Materials – Maureen Tatum
Certainly! Here are some crafty tips for upcycling materials:
Repurpose Old Furniture: Instead of throwing away old furniture, consider giving it a new life. Sand it down, repaint it, or add new hardware to create a completely different look.
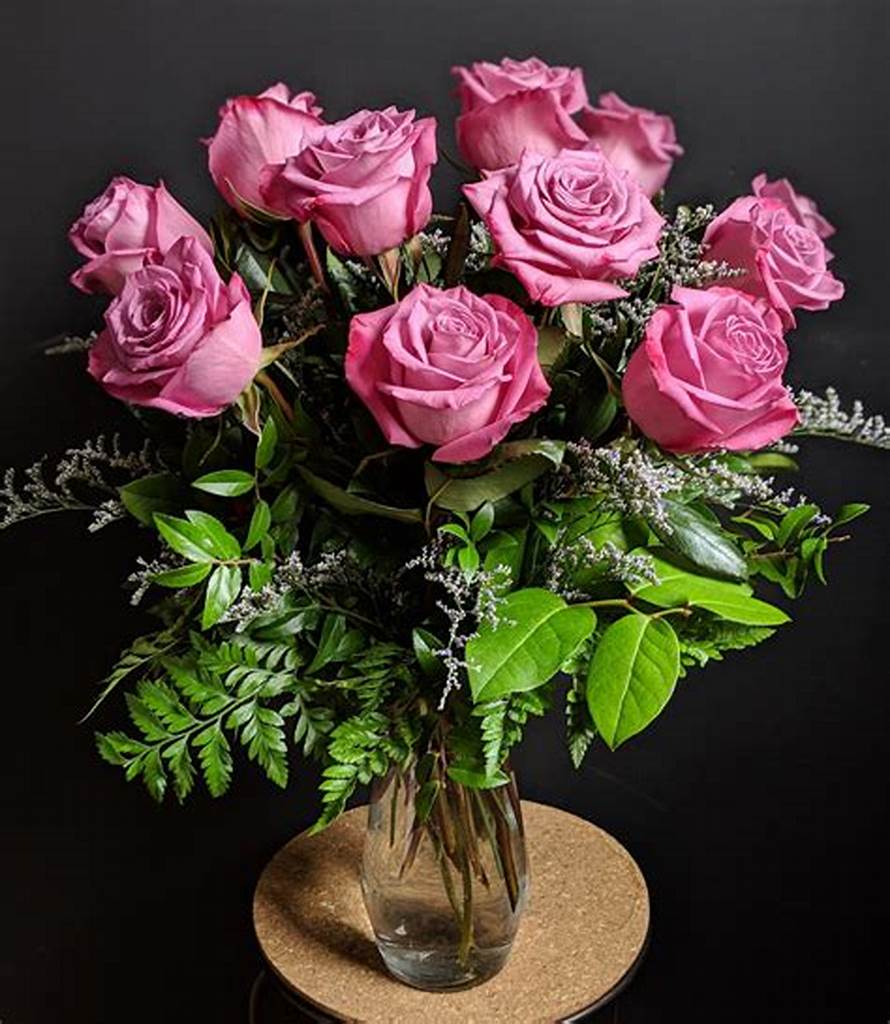
Turn Glass Jars into Decor: Empty glass jars can be transformed into decorative pieces. Paint them, add candles or fairy lights inside, and you have unique lanterns or vases.
Create T-Shirt Tote Bags: Old t-shirts can be turned into reusable tote bags with some simple sewing. They make great eco-friendly shopping bags.
Upcycle Denim: Old jeans can be repurposed into various items, such as denim coasters, patchwork quilts, or even stylish handbags.
Use Wine Corks: Save wine corks to make corkboards, trivets, or even stamps. Gluing them together in a pattern can create beautiful, rustic decor.
Paper Crafts: Old magazines, newspapers, and cardboard can be used for paper mache, origami, or decoupage. Create unique artwork, gift boxes, or home decorations.
Repurpose Pallets: Wooden pallets can be transformed into rustic furniture like tables, shelves, or even outdoor garden furniture.
Jewelry from Broken Jewelry: Old or broken jewelry pieces can be disassembled, and their parts can be used to create new jewelry designs.
Bottle Cap Art: Collect bottle caps and use them to make colorful mosaics, coasters, or unique wall art.
Tin Can Planters: Empty tin cans can be painted and turned into planters for small indoor plants or herbs.
Frame Scraps into Mirrors: Old picture frames can be used to frame mirrors. Paint them to match your decor for a customized look.
Fabric Scraps: Leftover fabric scraps can be sewn together to create patchwork quilts, throw pillows, or even fabric bookmarks.
CD/DVD Art: Old CDs and DVDs can be used to create eye-catching art pieces by gluing them onto a canvas or other surfaces.
Transform Old Books: Instead of discarding old books, turn them into unique bookshelves or cut out shapes to create hidden compartments.
Drawer Shelves: Repurpose old drawers as shelves. You can paint them, add brackets, and mount them on your wall for stylish storage.
Bicycle Wheel Clock: An old bicycle wheel can be cleaned up and turned into a quirky wall clock.
Key Jewelry: Old keys can be cleaned and transformed into pendants or charms for necklaces and bracelets.
Crate Coffee Table: Wooden crates can be stacked and turned into a coffee table or side table with storage space.
Broken China Mosaics: Broken or chipped china can be used to create beautiful mosaic patterns on various surfaces.
Pillowcase Dresses: Old pillowcases can be sewn into simple, comfortable dresses for kids.
Upcycling is not only environmentally friendly but also allows you to unleash your creativity and make unique, personalized items. So, before you toss something out, think about how you can upcycle it into something new and useful.
Also Like:- 10 Clever Craft Projects to Try With Your Kids
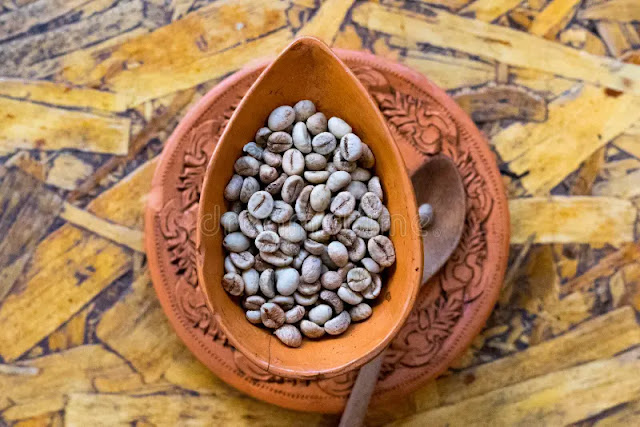
Coffee Bean Holder

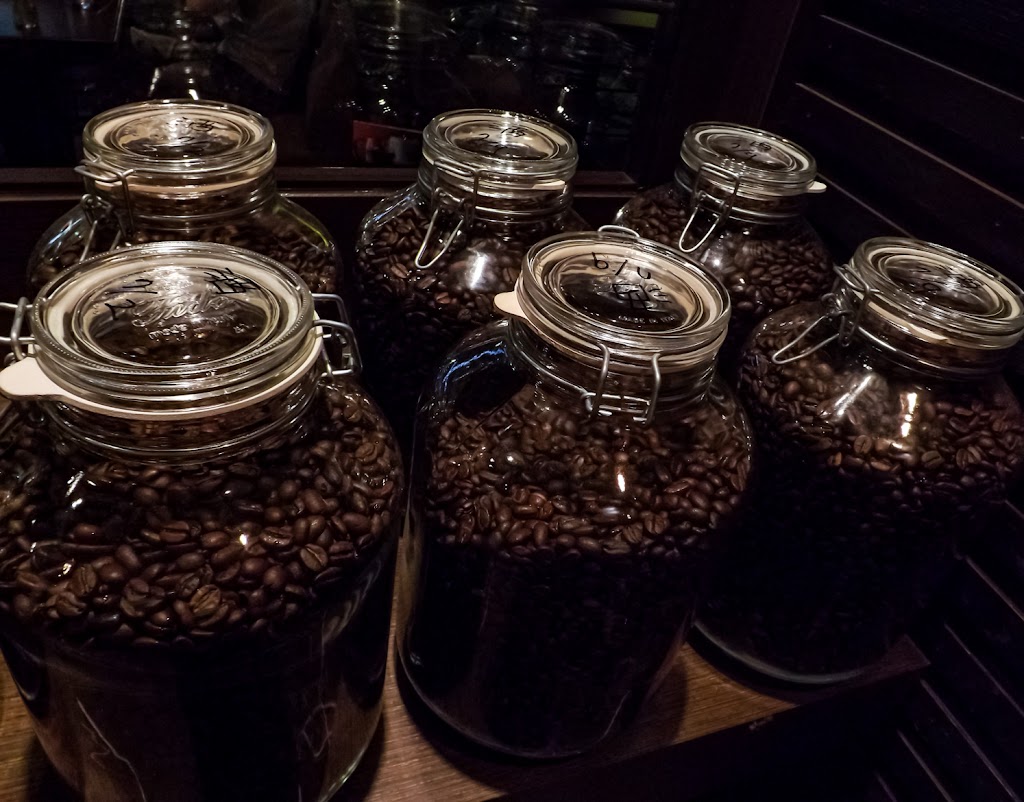
Certainly! If you’re looking for a creative way to upcycle materials to create a coffee bean holder, you can consider making a coffee bean storage container using a repurposed item like a glass jar. Here’s a simple DIY project to get you started:
Materials You’ll Need:
Empty Glass Jar: Choose a glass jar with an airtight lid to keep your coffee beans fresh.
Coffee Bean Labels or Stickers: You can print or purchase coffee-themed labels or stickers to decorate your jar.
Paint (optional): Acrylic paint or chalkboard paint if you want to customize the lid or jar’s appearance.
Paintbrush (if painting).
Chalk (if using chalkboard paint).
Steps to Create a Coffee Bean Holder:
Clean the Glass Jar: Make sure the glass jar is thoroughly cleaned and dried. Remove any labels or sticky residue from the jar.
Decorate the Jar (Optional): If you want to personalize your coffee bean holder, you can paint the jar or the lid. Chalkboard paint is great for creating a reusable label area on the jar. Apply the paint and let it dry according to the manufacturer’s instructions. If you’re using regular paint, consider adding coffee-related artwork or designs.
Label Your Jar: Apply coffee bean labels or stickers to the jar. You can find these online or at craft stores. Alternatively, you can create your own labels by printing coffee-related images or text.
Fill the Jar: Fill your decorated jar with your favorite coffee beans. Make sure the beans are freshly roasted and ground to preserve their flavor.
Seal the Jar: Ensure the lid is airtight to keep your coffee beans fresh for a longer period. If you’re using a chalkboard-painted lid, you can also write the coffee bean type or roast date on the lid using chalk.
Display and Enjoy: Place your newly upcycled coffee bean holder on your kitchen counter or in a visible spot. Not only will it keep your coffee beans fresh, but it can also be a decorative addition to your kitchen.
This DIY project allows you to repurpose an empty glass jar, making it a stylish and functional coffee bean storage solution. It’s a great way to reduce waste and add a personal touch to your coffee routine.
Wine Cork Garden Markers
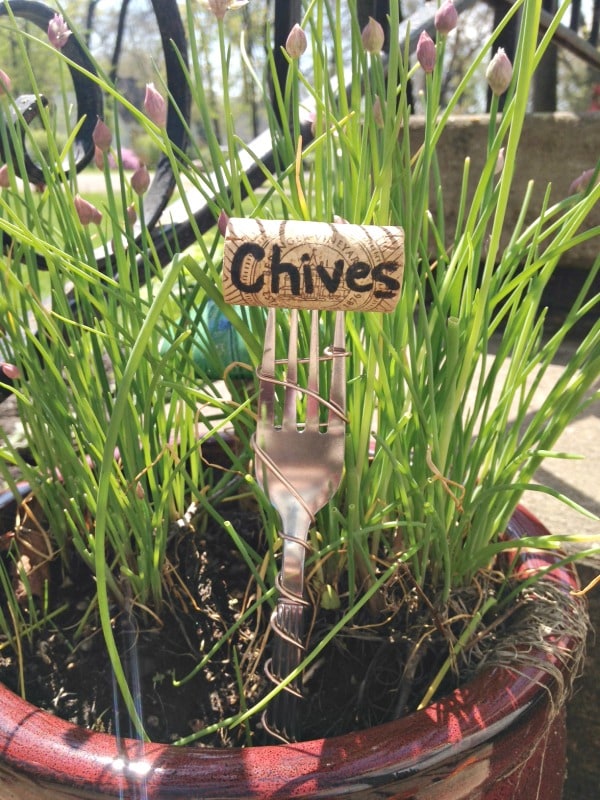
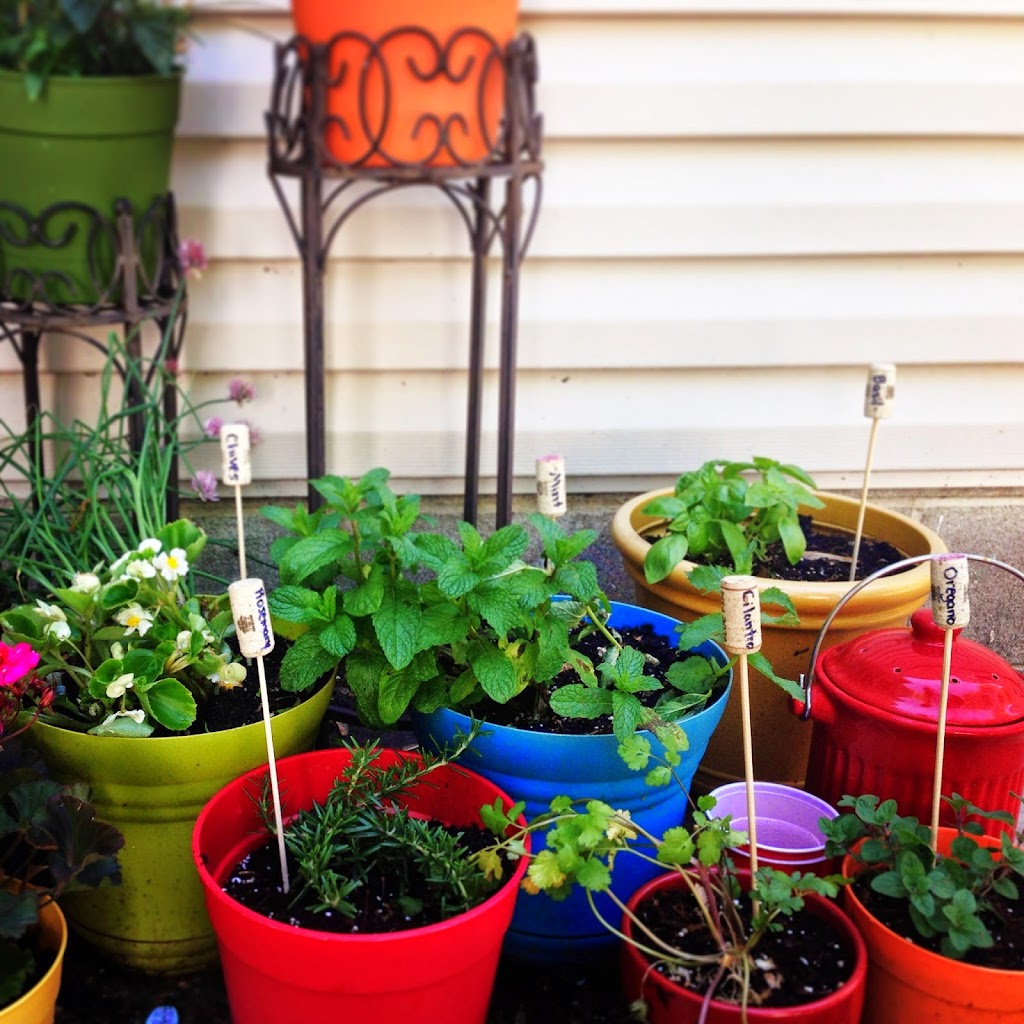
Wine cork garden markers are a creative and eco-friendly way to label your plants and keep track of what’s growing in your garden. These markers are not only functional but also a fun DIY project that repurposes wine corks. Here’s how to make them:
Materials you’ll need:
Wine corks
Wooden skewers or small wooden sticks
Craft paint or permanent markers
Paintbrushes (if using craft paint)
Hot glue gun and glue sticks
Labels (optional)
Steps to create wine cork garden markers:
Collect wine corks:
Start by gathering wine corks. You can save them from your own wine bottles or ask friends and family for their corks. You’ll need one cork for each marker.
Prepare the wooden sticks:
Cut the wooden skewers or sticks to your desired length, typically around 6-8 inches (15-20 cm) long. These will serve as the stems for your garden markers.
Paint or decorate the corks:
You can choose to paint the corks with craft paint or use permanent markers to write the plant names directly on them. If painting, allow the paint to dry completely before moving on to the next step. Use a fine paintbrush for detailed designs and plant names.
Attach the cork to the stick:
Once the corks are dry, apply a small amount of hot glue to one end of the stick and insert it into the bottom of the cork. Hold it in place for a few seconds until the glue sets. Make sure the cork is securely attached to the stick.
Label your markers (optional):
If you haven’t already, write or paint the names of your plants on the corks. You can also use labels or small plant tags to add more detailed information.
Insert the markers in your garden:
Place your wine cork garden markers in the soil next to your plants, making sure they’re securely inserted and visible.
These wine cork garden markers not only help you identify your plants but also add a unique and charming touch to your garden. Plus, they’re a great way to recycle wine corks and reduce waste. Enjoy your gardening!
Clothespin Flower Pots
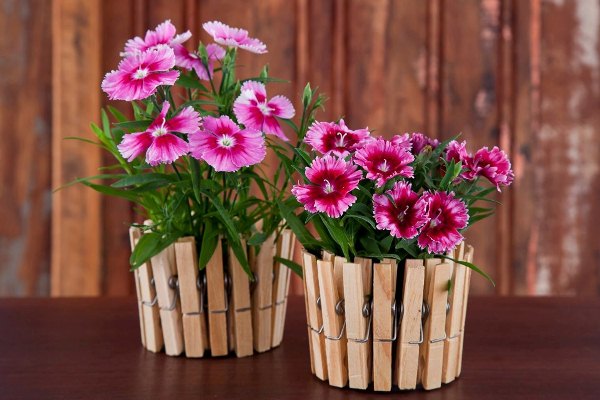
Clothespin Flower Pots are a creative and charming way to display your favorite plants or flowers. This DIY project combines the functionality of a flower pot with the rustic appeal of clothespins. Here’s a simple step-by-step guide on how to make your own Clothespin Flower Pots:
Materials You’ll Need:
Terracotta or plastic flower pots
Wooden clothespins
Acrylic paint in your choice of colors
Paintbrushes
Craft glue or a hot glue gun
Potting soil
Plants or flowers of your choice
Small saucers or trays (optional)
Instructions:
Paint the Clothespins: Start by painting the wooden clothespins in the colors of your choice. You can go for a uniform color for a sleek look, or get creative with different colors and patterns for a more eclectic feel. Allow the paint to dry completely.
Glue the Clothespins: Once the paint is dry, attach the clothespins to the exterior of the flower pots. You can arrange them in a neat row or get creative by making various designs. Use craft glue or a hot glue gun to secure the clothespins in place. Make sure they are evenly spaced and adhere well to the pot’s surface.
Add Saucers (Optional): To prevent water from seeping out and protect your table or windowsill, you can place small saucers or trays under the flower pots. This will help collect excess water and keep your surfaces clean.
Fill with Soil: Fill each flower pot with the appropriate amount of potting soil for your chosen plants. Be sure to use a potting mix suitable for the type of flowers or plants you plan to grow.
Plant Your Flowers: Carefully plant your chosen flowers or plants into the pots. Make sure they are positioned securely in the soil and water them according to the specific needs of your plants.
Display Your Clothespin Flower Pots: Once your plants are potted, arrange your Clothespin Flower Pots in your desired location. These charming and decorative pots can brighten up your home, garden, or any other space you choose.
Maintenance: Be sure to water your plants as needed, provide them with adequate sunlight, and regularly check for any signs of pests or disease to keep your Clothespin Flower Pots healthy and vibrant.
These creative and stylish flower pots make for a wonderful DIY project and can be a great addition to your home or garden decor. You can personalize them to match your style and enjoy the beauty of your favorite plants in a unique way.
Snazzy Ice Bucket
A “Snazzy Ice Bucket” is a stylish and fashionable container designed for holding ice, typically used for keeping beverages chilled. These ice buckets come in various shapes, sizes, and materials, often featuring decorative or elegant designs to enhance the aesthetics of a gathering or event. They can be made of materials like stainless steel, acrylic, glass, or even high-quality plastics, and are often accompanied by a set of tongs for easy ice retrieval.
The term “snazzy” implies that the ice bucket has a trendy, eye-catching, or chic appearance, making it a delightful addition to any party, celebration, or social gathering. It not only serves a functional purpose by keeping ice from melting too quickly but also adds a touch of sophistication and flair to your beverage presentation.
Starburst Mirror

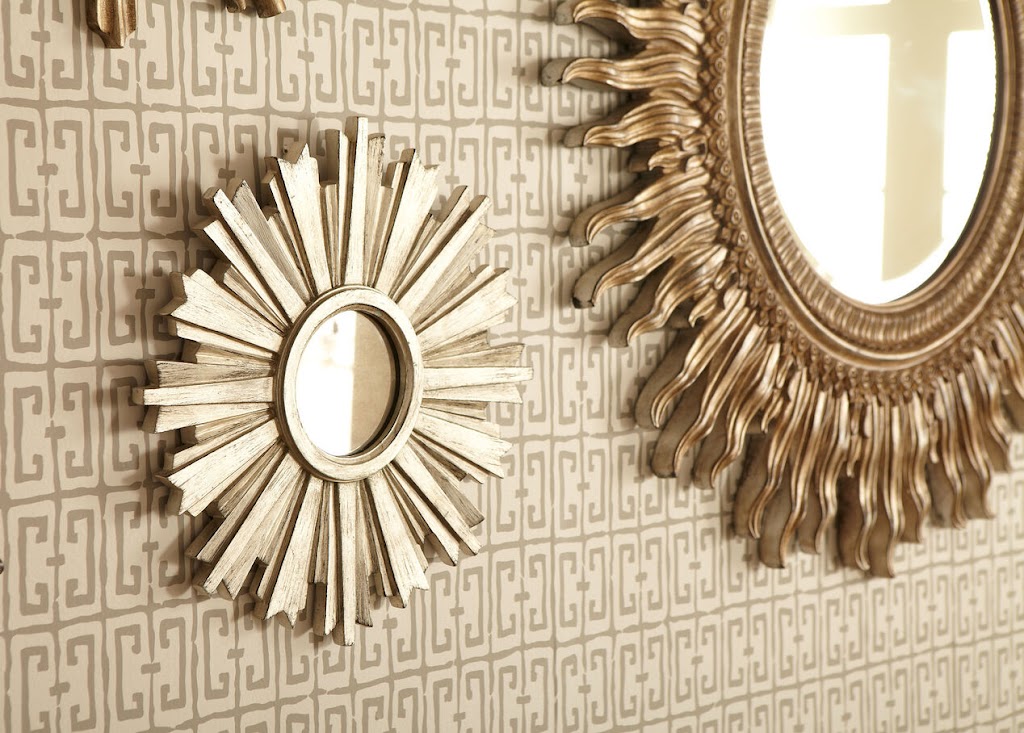
A starburst mirror is a decorative mirror that features a design reminiscent of a starburst or sunburst. These mirrors are typically circular and have radiating spokes or rays that extend outward from the center, resembling the rays of the sun or a starburst. They are often used as a focal point in interior design, adding a touch of elegance and glamour to a room.
Starburst mirrors come in various sizes and styles, allowing you to choose one that complements your overall decor. They can be made from various materials, including metal, wood, and even plastic, with the spokes often adorned with decorative elements such as mirrors, glass, or other embellishments. The mirrors can be used in various settings, from living rooms and bedrooms to hallways and entryways, where they can create a striking visual impact and reflect light to make a space feel brighter and more spacious.
These mirrors have been popular in interior design for decades and have a timeless appeal, making them a versatile choice for a wide range of decorating styles, from mid-century modern to contemporary and traditional. Whether you prefer a large, dramatic starburst mirror as a statement piece or a smaller one to add a subtle touch of glamour to your decor, a starburst mirror can be a captivating addition to your home.